Wood Spatulas a project from Working Wood 1&2

Paul Sellers has a project on learning how to carve wood.  I cannot say I am a sculptor by any definition but some things can be learned. I started by using a coping saw to cut out the rough shape.  I did this on piece of oak as well but I do not have a picture of that one.   I simply sketched out something that looked like a spatula resembling the shape in Paul’s book.  I cut out the rough shape with a coping saw.  Coping saws work….slowly, I’ll look at more course blade for next time.

WP_20141121_004

With the rough shape, I had to thin it down a bit.  Now the spokeshave did a great job on the oak.  It made quick work of things.  When it came to the maple, not so quick.  Sharp is key for maple, so I honed up the spokeshave blades and got to it.

WP_20141121_005WP_20141117_009

The final Oak version

WP_20141122_010

Maple, well there was a casualty.  While using the brace and bit to drill the hole I made a mistake.  I felt the bit getting tight, should have have reacted to the wood.  Instead I went a little further and it split.  Well this is supposed to be a learning experience and an hours work knocking down the 3/4″ maple out the window when I went to drill the final hole.  Before and after:

WP_20141122_001WP_20141124_002

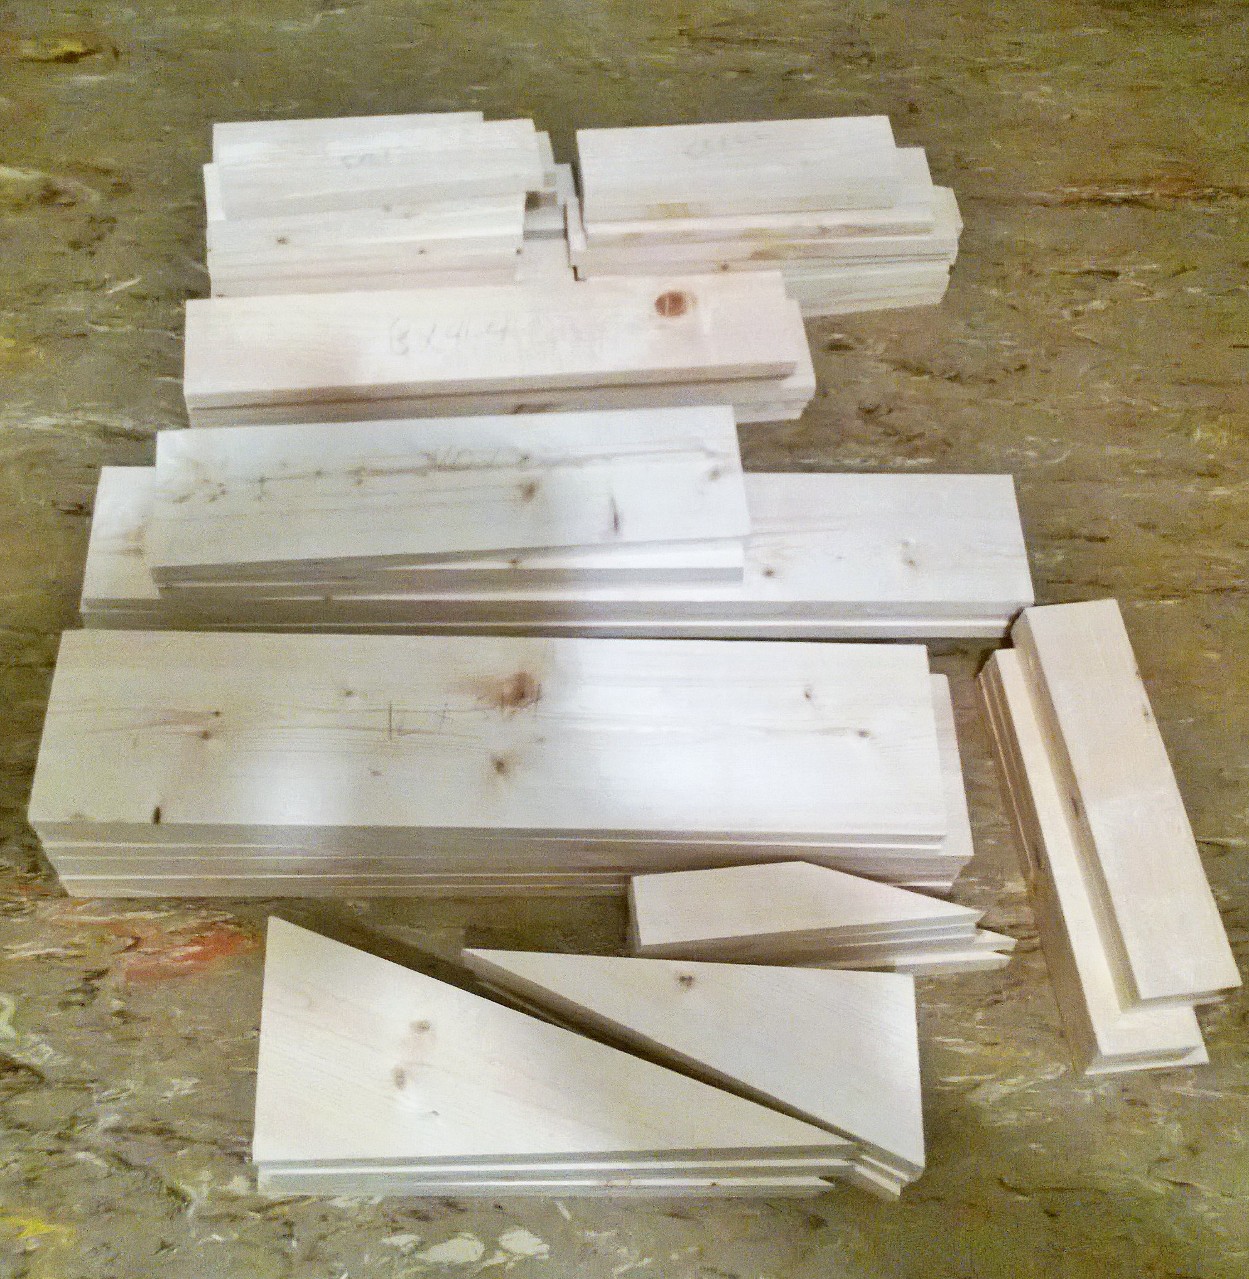
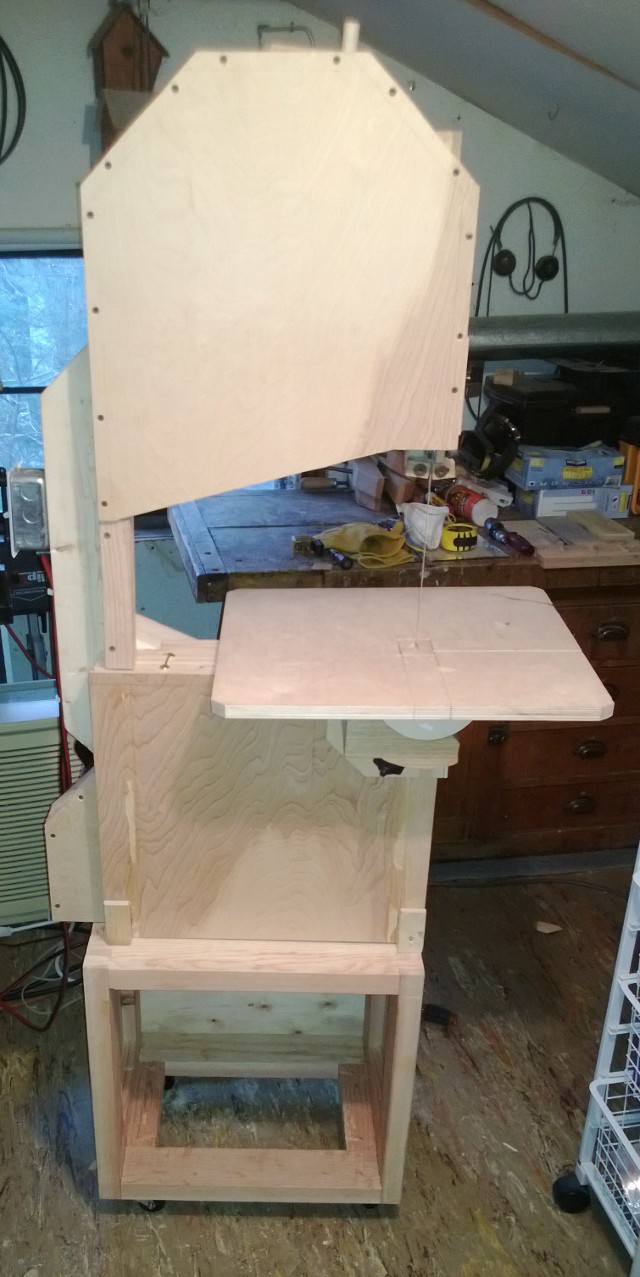
So round 3 entered the wood bandsaw.  Maple is hard wood to cut much less plane down to spatula thickness.  Since I have that wood bandsaw shown in an earlier post I decided to use it to re-saw the 3/4″ maple giving me stock for 2 spatulas instead of 1.  I also used it to trim close to the lines for less work with the spokeshave.  To the purist hand tool worker out there, I don’t have unlimited time and well its my time so I went down the hard road twice and well enough of that.

WP_20141122_004

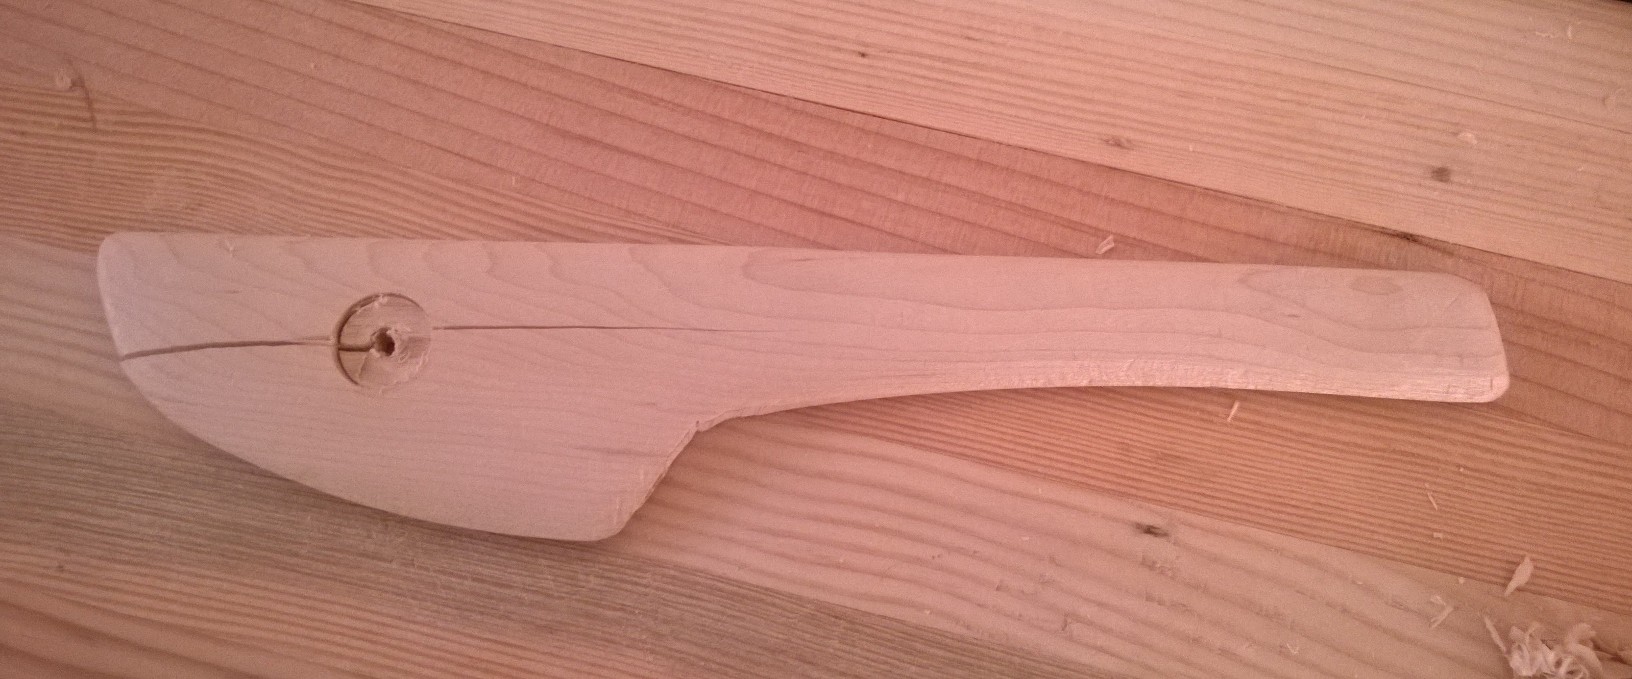
Notice I drilled first this round before I re-sawed so as not to split the maple.

WP_20141122_005

First one starts to take shape very quickly thanks to the bandsaw doing the worst of the stock removal. I used a Record 151 spokeshave.  I picked it up the flat bottom spokeshave from Jim Bode Tools for a good price, the blade was full and a perfect user.  I also picked up a round bottom, much more difficult to use I noticed but I was able to make it work for the tight curve.

WP_20141122_008

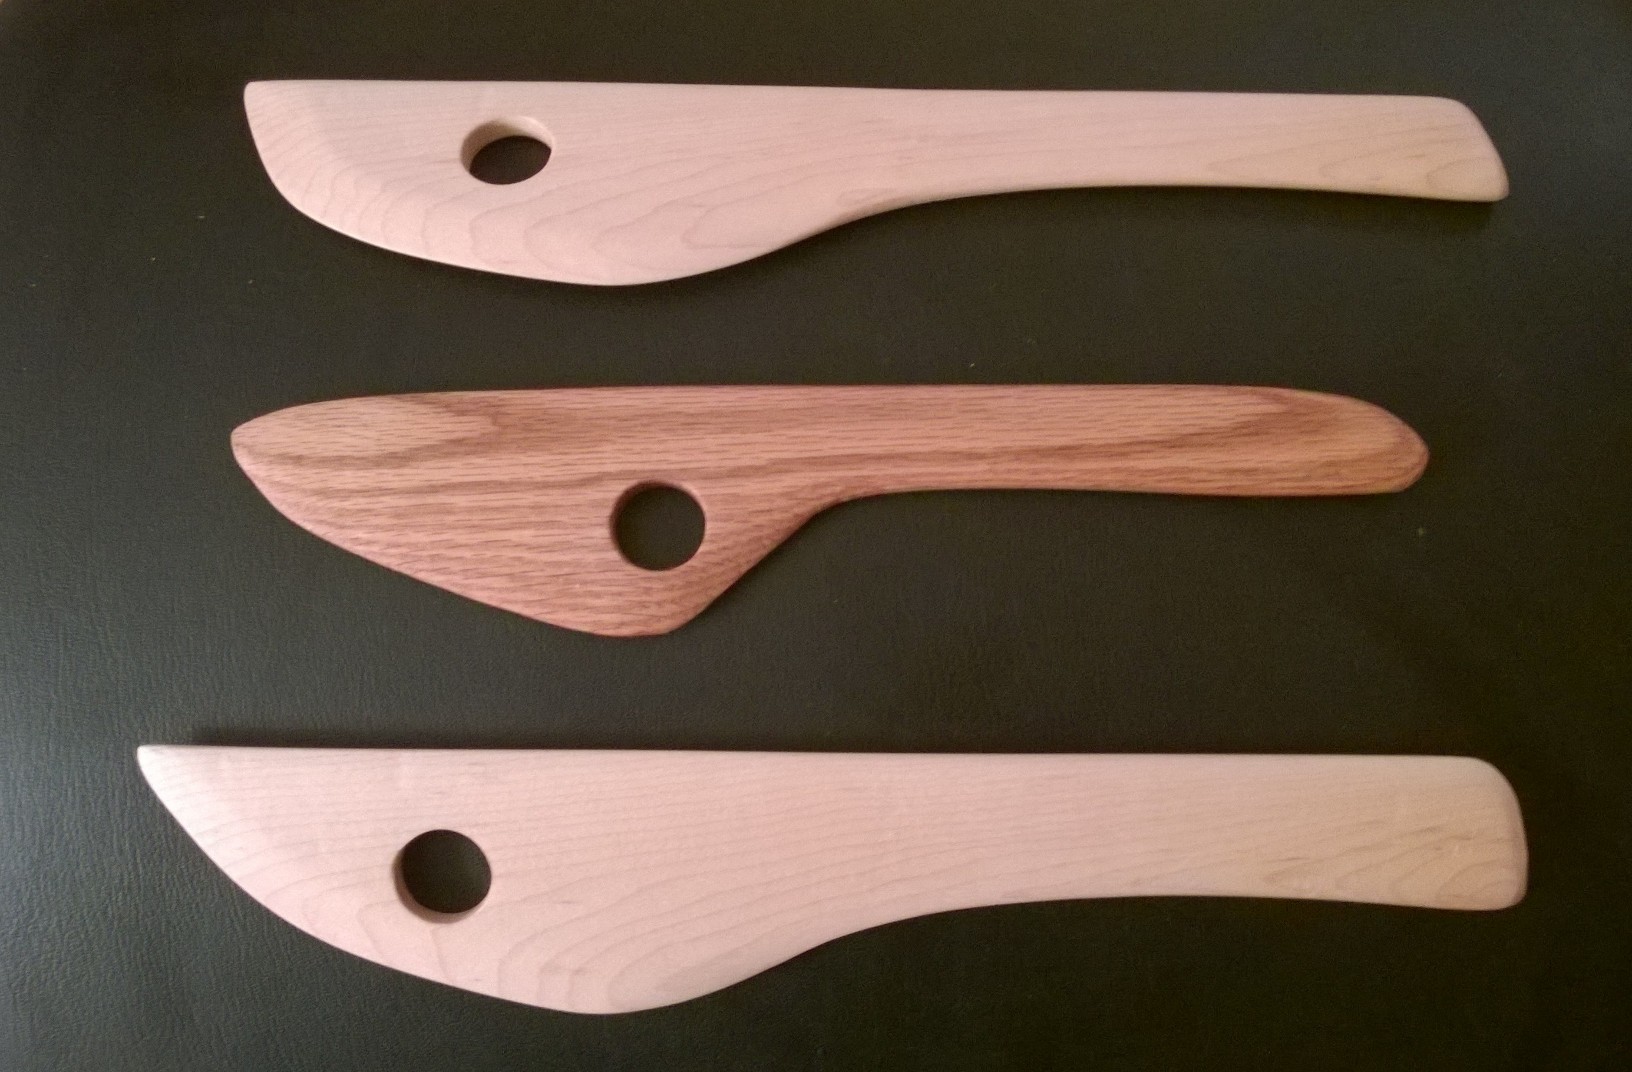
The final collection all treated with mineral oil.  You can see I did not really use a template, something for next round. Onto spoons!

WP_20141124_004


Wood Bandsaw from Woodgears.ca

A wood bandsaw you say?  What in the world are you thinking?  Well this is not something that hasn’t been done before!  Check out woodgears.ca for complete plans and sketchup drawings.   I needed a bandsaw to resaw some maple for some night stands I wanted to build.  I have a tight attic space to work in and a standard metal one seemed to heavy and unwieldy to use or fit into my tiny shop.  So what better than a custom wood bandsaw that is light enough to take apart by one person.  The only metal parts are the shafts, bearings and motor.  I have replaced the light switch with a proper safety switch with a start stop.

I used the Festool TS55 track saw for most of the work along with a Bosch contractor saw, benchtop drill press, ryobi bench top bandsaw, a Delta surface planer and various hand tools.  This project is something a reasonably handy person with some time and ok tools can build.  Accuracy is good but most things can be shimmed for alignment in the end so don’t fret if things are off by a few millimeters here and there during glue up, etc.


WP_20130420_002

All the wood here is 3/4″ pine purchased from the big box store and milled down with my old delta surface planer to the recommended thickness.  If you don’t mill it you will just have a wider saw frame which is no big deal.

WP_20130420_003

The glue up begins!  You can never have too many clamps.  I used a Festool table so I could clamp it flat.

WP_20130421_002 WP_20130423_029

Frame is all glued up and quite light!  Matthias did a test between his metal band saw and his wood bandsaw and had less flex on the wood.  All the laminations make it extremely strong.

Next up is the top bracket to hold the wheel and tensioner.  This was done on the table saw where I rigged up what is essentially a tenon jig to cut the slots for reinforcements.  Glued in the oak and that frame is rock solid.  A few other cuts for rabbets, etc and you end up with the picture on the right.  The shafts are stationery and do not rotate.

WP_20130419_002 WP_20130425_023

The wheels I used spare baltic birch that I laminated together.  I have seen many made out of regular ply and if I didn’t have the baltic birch I probably would have used it.  You can see the bearing glued to the wheel and my non OSHA approved lathe to add the crown to the wheels.

WP_20130428_001  WP_20130427_001 WP_20130429_004

Wheels mounted with a blade.  Followed by the table attachments and we have a bandsaw! Though the support leg is clamped to it as there is no base and well no guards :).

WP_20130427_003 WP_20130429_006 WP_20130427_002 WP_20130501_001

Base and guards.  You’ll notice the construction grade plywood drawers built with the box-joint jig from woodgears.ca which made for a super tight fit.  Note, I made the drawers after the bandsaw was built so I could use the bandsaw for making the box-joint gears.  I also used the bandsaw without the base to construct the bandsaw cut dovetail base out of 2x stock.


WP_20130508_001 WP_20130524_002 WP_20130524_001

Painted Matthias green :).  Complete.  Note: this switch is gone as you’ll see.  I realized it could be bumped on accidentally.


WP_20130531_001 WP_20130531_003 WP_20130531_004 WP_20130531_005 WP_20140623_017


Resawing some maple with my blades from timberwolfblades.com.  These have been great blades for me (even for my old ryobi benchtop).

WP_20130521_003  WP_20130521_001


Works great and can even make tiny reindeer, plans available on woodgears.ca

WP_20130504_003


A year out from the build and the saw still works great.  I had to replace a tire but that is it.  Great experience building it from scratch.  Its always nice to make mistakes on something that is more forgiving than a piece of fine furniture.  This was not terribly hard to do and I built it in just a few weeks.  Just over a month from start to final paint but I took some time off in between sections. It worked great resawing my maple I need for the nightstands that you will see  in a future post.