Now in the Store: ‘Stanley Catalogue No. 34’

Lost Art Press

Stanley_G8453-Cover-1

Every now and then, we like to release a book without a long preamble. Something beautiful, useful and inexpensive.

Today we are accepting pre-publication orders for a reprint of the Stanley Tools No. 34 Catalogue, a project that has been a technical challenge for the last few months. It is $25, which includes shipping in the United States and Canada. It is available for ordering in our store. It will ship out in mid-September (it also will be offered for sale at Woodworking in America).

You can place your pre-publication order here. Orders received before Sept. 15 will also receive a free high-resolution scan of the catalog in pdf format.

This 1914 catalog shows nearly every tool needed in a hand-tool shop, from the chisels to the butt gauges to every sort of plane in the company’s line. The catalog’s text explains what each one is used for…

View original post 505 more words

Lever Pins for my Lever Espresso Machine

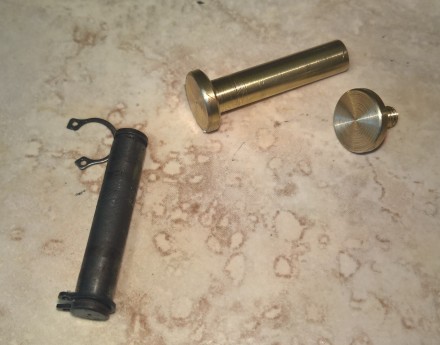
Lever espresso machines have the lever attached to the group with steel pins and snap retaining rings.  These rings require a special tool to remove.  I have also seen different retaining rings that push on.  Either kind is a pain to remove and I have scratched more than one lever handle removing them.

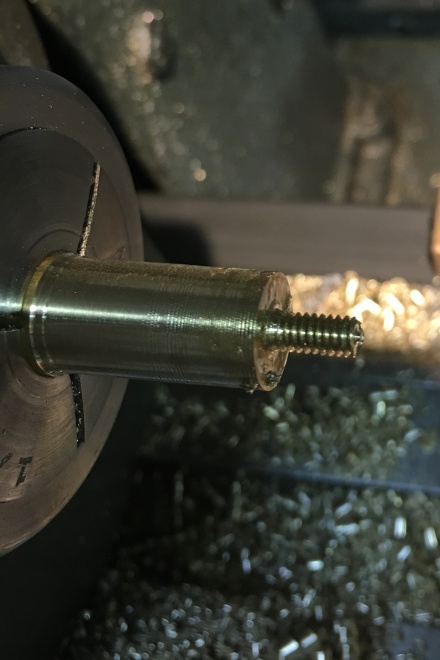
The solution, brass lever pins with a screw on the end to make easy removal.

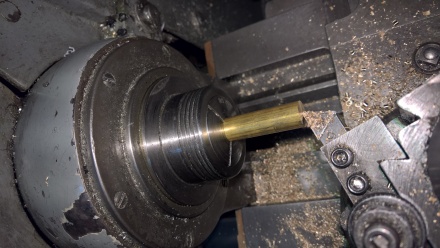
We start with 360 brass rod 1/2″ diameter from online metals, I also picked some more up from 6061 Dude on ebay (great prices and shipping).
WP_20160511_12_55_21_Rich

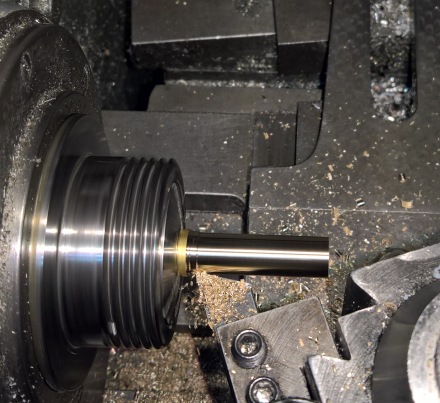
Next step is to clean up the rod.  No rods are not perfectly cylindrical from the factory.  Machinist and tool and die folk know this but this was new to me.  I turned the outside down to 7/16 or so for the outside of the pin.
20160511_190320328_iOS

Next up, center drill.  How I ever was able to drill without one of these?

Drill with a #29 for a 8/32 tap.
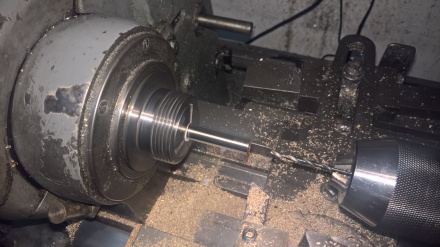
WP_20160513_13_16_07_Rich

Early, when I first started making these I would tap at the end of all my cuts.  Now I just do all the drilling and tapping before I turn down the pin.

The pin diameter gets turned down to match the steel pins.  The width is based on the machine.  Cremina’s were 1.1″ wide, Pavoni’s varied from Gen 1’s .95 with the cast handles, to the gen 2’s with the pressed handle at .87-.9, La Cara .94, La Graziella .928, and Millenium Pavoni at .857.  I had 12 machines to do so I custom sized each pair.

Once turned down to the right pin diameter I round the edges just a smidge with a file.
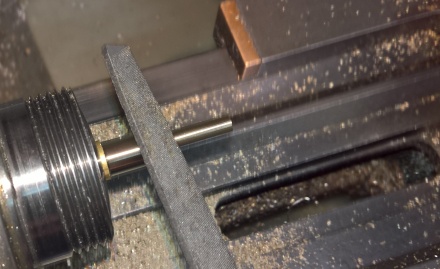
WP_20160513_13_11_27_Rich

Now we are ready for to cut off the pin.
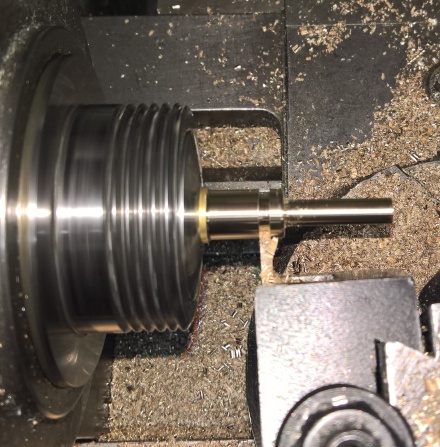
WP_20160513_13_12_19_Rich

Then i re-insert the pin back into a smaller collet and finish the end to size and round over the corners like before. Sorry for the out of focus photo.
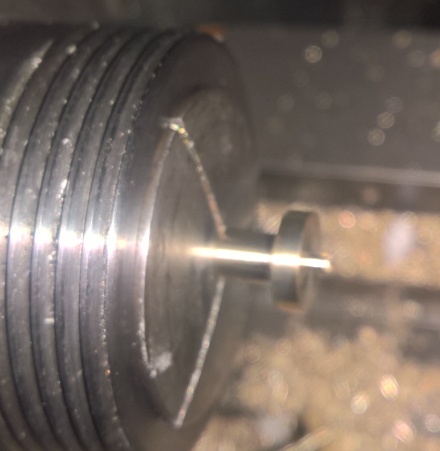
WP_20160513_13_25_00_Rich

Now how do we make the other end.  The same procedure is used for the end except we are turning down to a diameter to use a die for threads instead of for the pin.
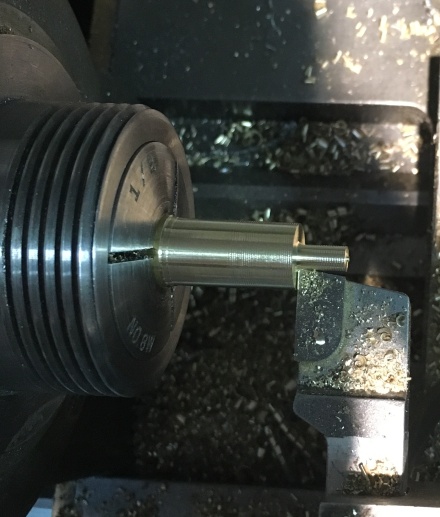
20160527_200338693_iOS

Once turned, we use a die.  A bit of oil and it takes but a moment to cut.
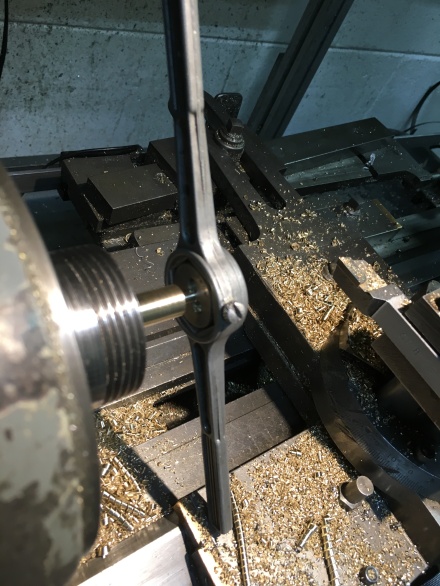
 

20160527_200410714_iOS


20160527_200448433_iOS

Next we clean up the inside and outside of threads to length.
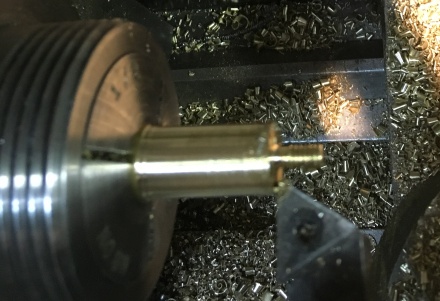
20160527_200634609_iOS

The cutting off is the same as the other.  I re-inserted it into a collet and trimmed the end to size.  On occasion I would tighten the collet a bit too tight and I’d have to run the threads through the die by hand to clean them up.
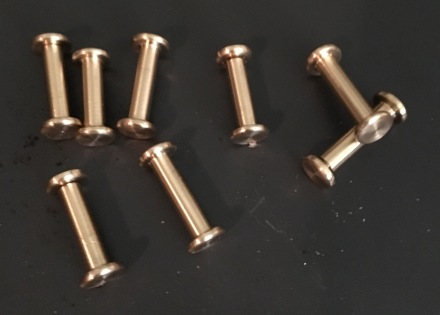
20160516_214422310_iOS

The old and the new.

WP_20160511_15_10_23_Rich (2)Installed on a Cremina next to the old pin still in the back.  Apparently I need to clean my machine more as everything shows up in the photos!
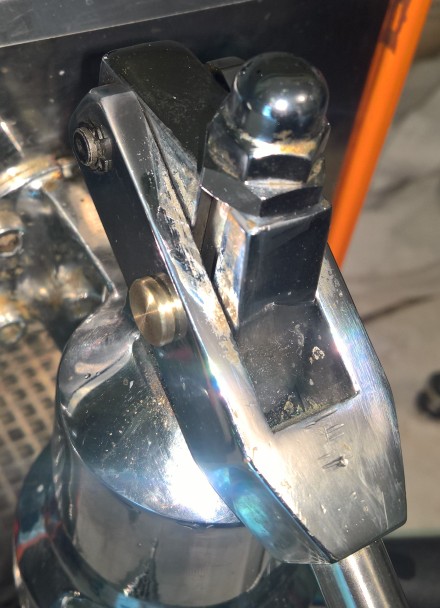
WP_20160511_15_16_38_Rich (2)

What did we learn here:

  • I get a lot faster with each set.
  • A CNC lathe would make this much faster and automated or a screw machine. I don’t need that many and I do not have access yet to a CNC lathe which would make them profitable to sell.
  • Maintenance now is so much easier. No longer do I have to search for snap ring pliers or worry about scratching the lever.  I just unscrew with my fingers and remove the pins.  They stay together quite well and on occasion I tighten them if things loosen up.

Other solutions I have seen people do is thread brass rod with acorn nuts.  I didn’t like the aesthetics of the acorn nuts so I went this route.

Brass wears before the steel lever, piston rod or the group head and was selected for this reason. These are expected to wear and are easier to replace than a rounded out group head or piston rod. I use some pin lube from Orphan Espresso on installation.

Another upgrade is using bearings with the back pin instead of the roller.  I did get some from ebay , MR126ZZ 6 X 12 X 4 Bearing, from the seller rc-bearing .Shims from McMaster Carr, part number 98055A106, Spring Steel Round Shim, 0.2mm Thick, 6mm ID, 12mm OD. I put three bearings with shims between and on the outside.  This replaces the back roller.  For more info on this check out home-barista.com and search on lever pins.  This upgrade was from the contributor DrGary.

 

Rebuilding the La Pavoni Generation 1 73/74 Element Repair and Rebuild

Base came back from powder coat and I reassembled.  Quite easy once one has taken a dozen of these apart or more and re-assembled them.

Checking the element with a volt meter set for resistance one can see if its leaking to ground.  Well only if its really toast, a Megger is what is needed to really test an element. The megger puts a real actual load on the element while testing.  Too bad I don’t have one of these!

So what to do?  Element seemed fine. I installed the element. Lets plug it in and test.

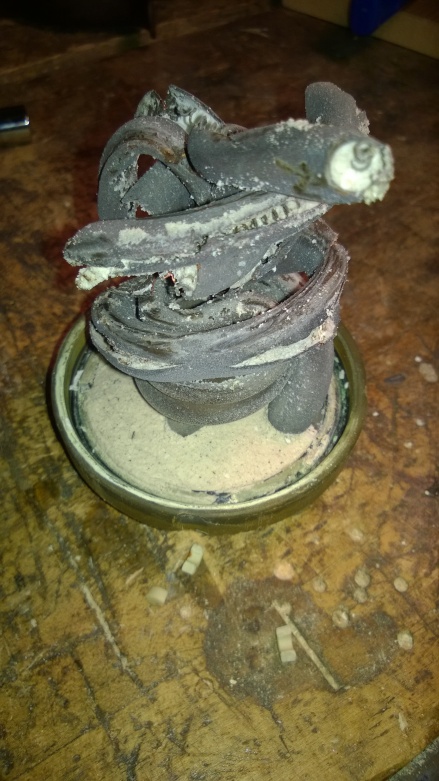
Boiler filled with water (critical as you do not want to fry your element!) or it will come out looking like this:

WP_20140719_005

This is what happens to an element one leaves on with the boiler empty!

Plug in the La Pavoni,  and I check with a volt meter the tank to ground. Crap 40 volts!!!  Every damn one of my old 200/800 elements went to crap when plugged in.  I saw from 3 volts up to 80 volts, amps, not sure but you are not supposed to see any voltage to the boiler!

Well 40+ years of scale, crap water, put away with water in the tank, etc has left pin holes in the elements.  When voltage is applied at 110v and a tank of water, voltage to boiler :(.

Now all these old La Pavoni’s have 2 prong cords.  Something of note, the 70-73 has a ground on the boiler ring and the ground wire is in the cord, just cut off at the plug.  The 73/74 does not have that ground or the hole on the boiler ring.

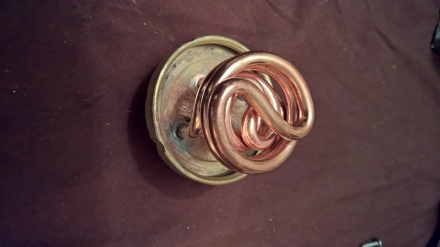
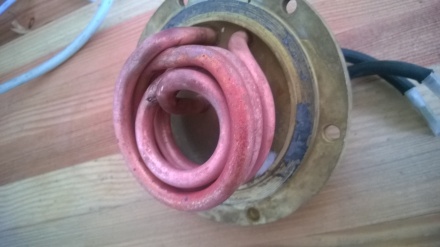
An old element and a rebuilt side by side, you can see the old ones have had their better days.

WP_20151118_002

So how does one go about a new element?  The fine thread elements on the right are no longer made by La Pavoni.  You can’t get them new.  The option is a fine thread conversion ring and a new stainless element.  Thing is, you can only find the fine thread conversion rings on ebay every once in a while and a place in Austria that rarely has them in stock.  I am looking into getting some made in the future but that is another post. So that is out for the moment.

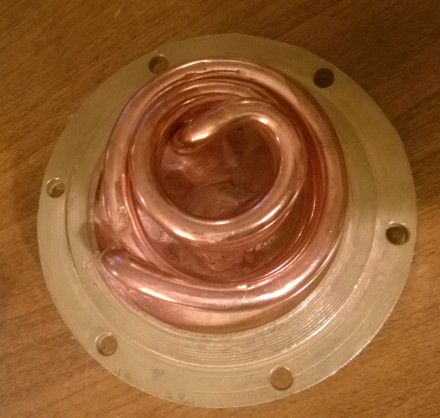
There is a factory in Hungary that still rebuilds them on the side.  Yes you heard that right, you can get them rebuilt.  Francesco who has the history of the La Pavoni and other machines on his site and lots of useful information has the contact info.  After sending overseas which takes about 2 weeks it then gets sent over for rebuild which takes a month or so, then two weeks for shipping back to the US.  Is it worth it?  Look at this new rebuilt element up close:

WP_20151130_20_14_46_Pro

Its a work of art!

Here is a rebuilt La Cara element before and after:

WP_20150724_002

You can see the rough texture to the element.  You can’t see in this photo but it was actually soldered for repair at one point.  I bought this machine as a parts box so this was not unexpected.

WP_20151117_005

So nice, a work of art in itself one almost does not want to install it into a machine!!


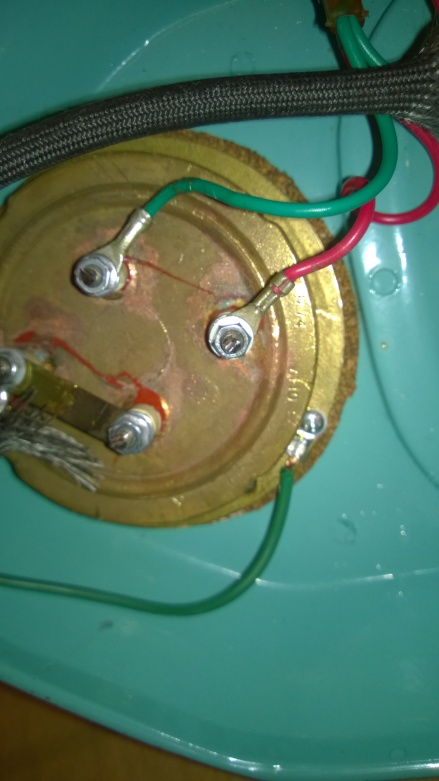
Here is a La Pavoni element reinstalled.  Notice the ground screw on the right.

WP_20151118_015

I drilled and tapped a hole in the brass boiler ring for a stainless cap screw to hold the ground.  This meant adding a new cord with three prongs.  Now if there is voltage to the boiler it will go to ground and to a ground fault outlet that will trip!  If you have one of these machines you must run it for your own safety on a GFCI outlet!!!

No voltage to boiler, yay!  New elements to last another 40 years, yay!

Please send me your old elements if you have them kicking around without a machine 🙂  If you have a machine that you toasted the element it, all is not lost, its repairable!

Removing a 1972, 73, 74 La Pavoni Europiccola Boiler from its base with a home made spanner

As seen in a previous post I have somewhat of a La Pavoni problem.  I like the old ones, the 1972, 73, and 74s.

A few differences from the newer ones:

  • The group head screws into the boiler. The newer ones the group head bolts to the boiler.
  • The boiler cap is also different as it has female threads and a flat gasket versus the male threads and the o-ring gasket.
  • The portafilter gasket is square and flat versus the o-ring style on the newer ones.
  • No safeties except for the pressure relief valve. This means you can burn it up.
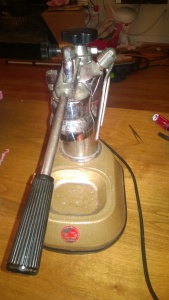
  • A brass ring mounts the boiler to the base requiring a spanner to remove.

A 1974 La Pavoni Europiccola I found on ebay for a pretty good deal.  I picked it up as a spare to my 72 and 73.  It is missing the porta-filter and the grate but those can be easily sourced.  This base is a bit worn on the paint side so my plan is to powder coat it.  Now to powder coat or paint,  the boiler first has to be removed from the base.

WP_20150616_001

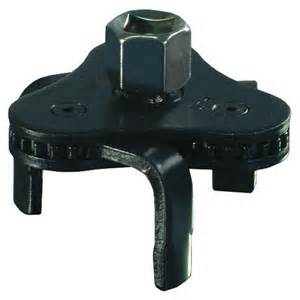
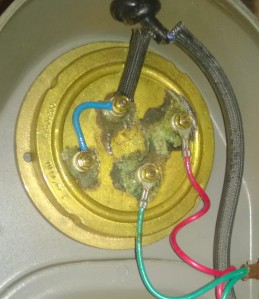
As you can see before the boiler can be removed the element has to be removed.  As shown here, the three leg oil filter wrench is useful in removing boiler heating elements.  This can be found on amazon or your local auto parts store usually. There is a smaller version and it is not nearly as useful or as strong.

wrench

WP_20150616_004 1

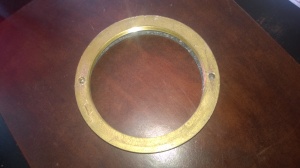
The next obstacle in removing the boiler once the element is removed is the brass ring.  You’ll see in the photo there is a hole on the left side.  There is a corresponding hole on the right side.  Previously I have tried using the oil filter wrench but there is not enough room to get in between the base and the ring properly.

Next option, put to 5/32″ drill bits in a metal or wood vise the width of the ring and try turning.  This way actually can work but it generally bends the drill bits as they are too long to reach the ring.

I then tried 3/16 steel rod filed down at the top to fit into the ring.  These too also bent as the base is an inch or so tall so the pins must reach from the vise.

Another opting is to whack at the holes in the direction you want to turn with a brass rod, that is an option as well and I have used it but do not really recommend it.

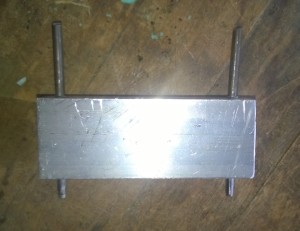
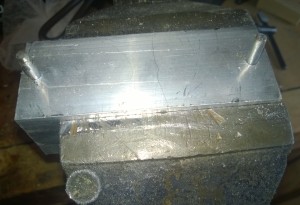
This round after taking two of these apart previously, I decided to make a proper spanner.  This only took maybe 10 minutes and is really easy to do.  Using the 3/16 rods I had tried to use in the vise, I straightened them back the best I could.  I then dug through my scrap bin for a bit of aluminum. I found a piece of square channel and cut off a few inches just barely wider than the ring so it could still turn freely without hitting the sides of the base.  I then drilled 2 3/16 holes the width of the holes on the boiler ring. Then I tapped the old pins through the holes with just enough sticking out to hold the ring and keep the aluminum against the boiler base.

WP_20150618_003

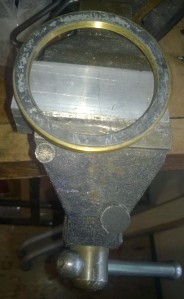
Then it was time to put it in my vise and try it out.  A woodworking vise would have worked as well here.  I did not trim off the excess as I didn’t have time for that though it would make it look cleaner.  One could just have easily welded something out of some scrap steel.

WP_20150618_001

I set the entire machine on top lining up the holes with the spanner pins from below.  I then simply rotated the machine with the base and group head held firmly and off the ring came.

WP_20150618_002

You can see the ring on the spanner.  This worked really well.  You can also apply some heat with a torch to the ring.  I usually need to use a torch to loosen up finicky boiler elements and rings.  This time it was a very clean machine and came right off.

WP_20150618_004

Now with the ring off its time for powder coat.  Then its new gaskets and reassembly.  This unit style the 72-74 the group head does not come off.  When the base is off you have easy access to the seal at the top of the group head to change it.  Otherwise with the base on you are working with a mirror upside down with snap ring pliers.  Both ways work but I’ll take the previous any day.

Any questions please comment, I have about 7 of these machines at the moment, 4 in rebuild stages.  I have a millennium but I generally stay away from later machines if possible.  They both make great shots and I have had them side by side on the counter.

Tool Chest By Paul Sellers Part 4, hardware and tools, complete.

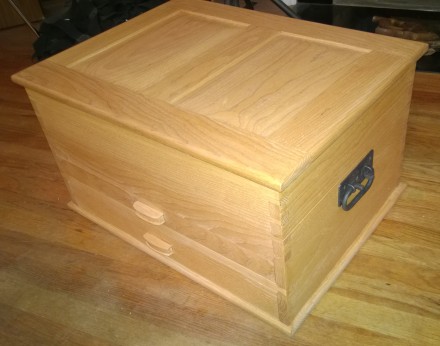
With the top and carcass complete, drawers are done.  Its time for hardware, shellac and tools!
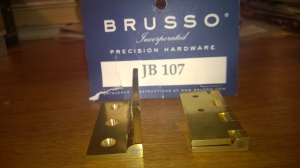
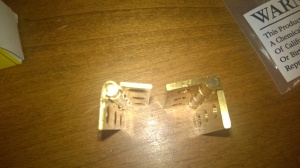
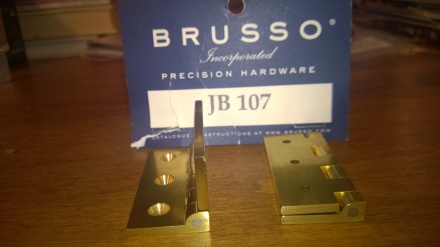
Lets start with Brusso hinges. A separate blog post covers these but they are so well made they deem mention again.  The machining is fantastic and all the specs are on their website.  I picked up this set form toolsforworkingwood.com.  The install was a learning experience.  Brass wood screws do not like hardwood.  They like soft pine.  Solution, use a steel screw first then replace it with a brass screw.  Sounds intuitive, its not :).  It took be 4 broken screws before I got this down solid.

WP_20150427_002 WP_20150427_005 \

After the hinges were installed I added brass chains on both sides for added support.  The lid is quite heavy so every extra bit helps.

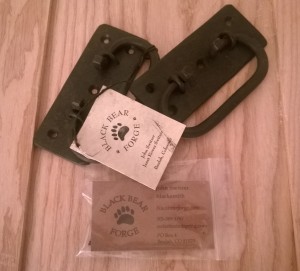
Hinges are hand forged iron hings from Black Bear Forge.  These are some solid handles that can support the weight of this tool chest.  This chest is meant to be moved.  The other choices on the internet were disappointing as most could not hold any weight.  The remaining available ones at the hardware store and amazon had no style or character.  After all the work on the chest I wanted something that stood out.

WP_20150430_001 1

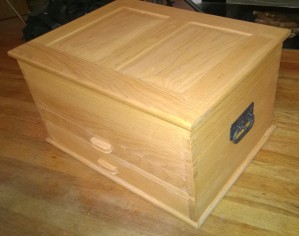
Lid is installed with the Brusso Hinges and the handles are attached and a few coats of garnet shellac from Tools for Working Wood and a coat or two of bowling alley wax.

WP_20150503_007

I did not have many shots of the drawers, the wood handles are mortised into the drawer front.

WP_20150502_003 1

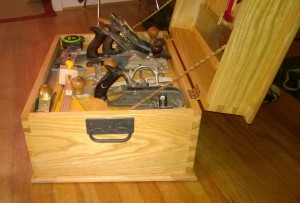
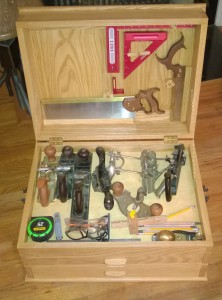
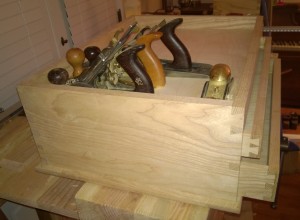
Lots of room for the most popular planes I use. No its not the Anarchist Tool Chest, but it can hold most all the tools I used to make the chest and then some.

WP_20150503_009 1

For some space saving I glued up some scrap pieces and attached them to the inside of the lid to hold my sash saw and dovetail saw along with my go to Woodpecker squares.

WP_20150503_008

Tool Chest By Paul Sellers Part 3, Raised Panels and Drawers

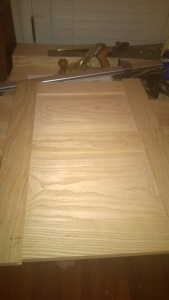
The top is a raised panel door and the bottom is a just a plywood panel set into a mortise and tenon frame.

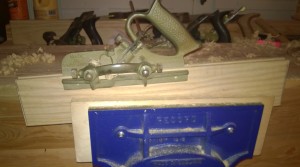
First a Record 44 plow plane to cut the grooves.

WP_20150325_001

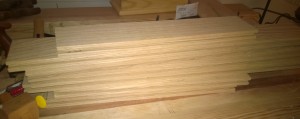
A complete stack of rails and stiles for the top and bottom.

WP_20150325_002 1

Skipping a bunch of steps as I do not take as many pictures.  All the videos are available on Paul Sellers site. The mortises are cut with my Sash saw and cleaned up with a router plane.  The mortises were chiseled with a bevel edge chisel the Sellers way.

WP_20150402_004 1

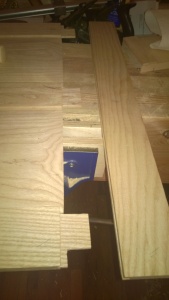
Getting read to final fit and assembly.  The panels are 5/8″ thick, I had to take 7/8″ stock and plane it down.  I did this with my #5 set as a scrub plane and then cleaned it up with a #4.

WP_20150402_003

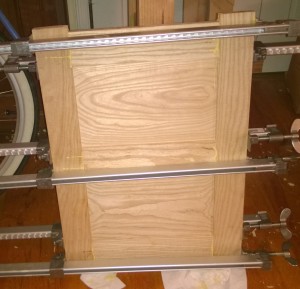
Dry fit and glue up.

WP_20150402_001WP_20150402_005 1

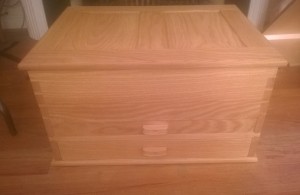
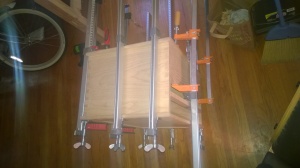
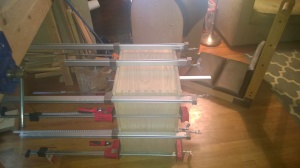
Gluing the top and bottom to the carcass. Everything went smoothly. The only error was a shoulder line that can’t be seen in the final build.  I am better at mortises than dovetails.

WP_20150413_003WP_20150413_001

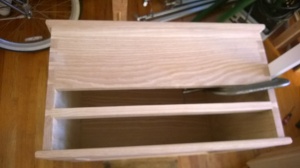
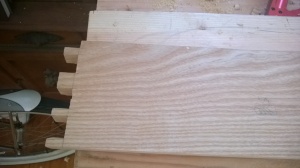
All ready to be cut in half now!
WP_20150413_004

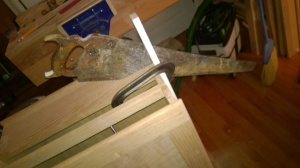
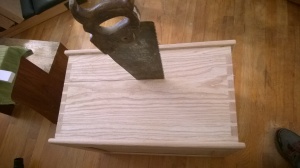
It all started off so well 🙂  I had a guide, a pencil line and then it went so so wrong.

WP_20150425_003WP_20150425_006

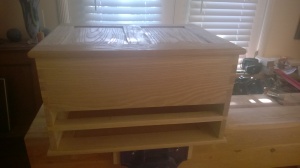
The front, I wasn’t paying attention for a few strokes of the saw and it went off the line by 1/4″.  This means I lose a 1/4″ of height.  Luckily I added a good inch or so of height before I added the lids due to my incorrectly measuring somewhere along the line.  I topped the carcass with a 1 inch wider or so piece mitered at the corners (held together at the miters with a domino, yes its wrong, I know but I didn’t care).   I had to plane off that 1/4″ from the top and bottom and level things all out.

WP_20150425_001 WP_20150425_014

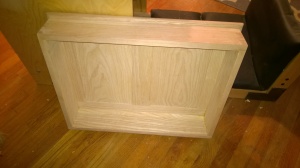
The aftermath of the planing can be seen below:

WP_20150425_008

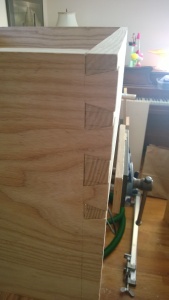
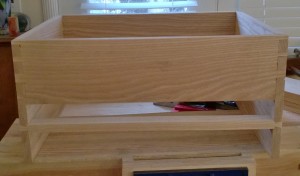
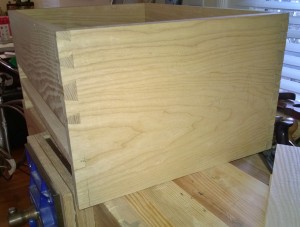
The drawers were next and I did not get a lot of pictures.  The are half blind dovetails with a grove for the plywood.  There is also a mortise with some wedges to add stability.  These drawers are rock solid.

WP_20150421_001

Test fitting the planes.

WP_20150425_010

Next up, Hardware, Shellac and Tools

Tool Chest By Paul Sellers Part 2, Dovetails

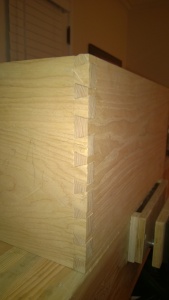
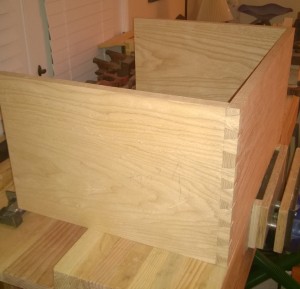
Time to start putting the chest together.  I had followed Chris Schwarz’s recommendation and cut dovetails in pine every night for a month.  Well it worked out to often but not every night.  I think this can be a good practice but not if your technique isn’t changing or you haven’t mastered sharpening.  I found Paul Sellers videos with his knife line and chiseling and was sold. WP_20150322_001 The biggest problem for me was the shoulder lines being consistent and not pushing into them.  Ash is a reasonably hard wood but I still managed to have not so great dovetails.  I attribute my first crappy dovetails to my lack of precision on the shoulder lines. Some overhang allowed for cleanup of the not so perfect fitting dovetails. More practice is definitely needed in layout more than chiseling.  The dovetails did get better as I moved along. WP_20150314_030 Two sides and the back ready to go. WP_20150314_027\ Once again no so perfect on the front. WP_20150322_004 The  dovetail for the drawer divider was actually quite easy to do on the first try. WP_20150322_008 Ready for glueup. WP_20150322_009 All glued up and planed.  I did get some wood swelling that filled in the minor gaps I had on glue up.  I also used the sawdust from my bandsaw when I did the ripping and resawing and mixed that with some wood glue and used as wood filler.  This filled in the remaining gaps that in the end are no longer visible.  So I can imagine if my dovetails improve the fit and finish will as well. WP_20150322_011 A different view. The chest is coming together nicely.  Next is the top/bottom and sawing the carcass in half. WP_20150322_010 1

Tool Chest by Paul Sellers Part 1

Having collected some hand tools, mainly planes and spokeshaves, I needed a place to put them other than the tool well. Where was I to go, I tried to find one, but the plastic cases at the big box stores had no appeal and just were not practical.  Even my favorite Festool had nothing that appealed unless I could combine a max systainer with a sortainer and it still would not have any style. So left with out a purchasable choice I had what I considered two options:  The Anarchist Tool Chest by Chris Schwarz (a very good book btw and you should pick up a copy here)  and the  Paul Sellers Tool Chest.

I had to rule out the Anarchist Tool Chest due to my shop being on my front porch, I needed something portable.  Not that my neighborhood is full of thieves but I am not leaving a tool chest out there. I’ll save that for a later build when I get some molding planes.

I searched through Paul Sellers WoodWorking Master Class Site and found the tool chest gallery.  A shameless plug for Paul’s site, if you have any interest in hand tool woodworking or woodworking, his site is 15 bucks a month if I remember right and that gives you access to ALL videos and the ability to download the ones since you joined.

So off to Paxton Lumber in Denver to find an appropriate wood.  I checked out Mahogany, $$$ per board foot, not a good first big project wood for me.  Pine, almost went this route since that was used in the Anarchist Chest but I thought it would be too soft and I had worked with a lot of pine already.  So I went with Ash, it was cheaper than Mahogany and more expensive than Pine.

WP_20150325_002

I sized most of these up with the hand saw.  Actually a Gramercy 14″ sash saw from Tools for Working Wood (my favorite store after Lost Art Press).  I am short a good crosscut saw but the sash saw did fantastic.  The stacks below are ready for ripping.  My hand saw for ripping needs the teeth set so I opted for my bandsaw.  Who am I kidding, even if the teeth were set I would have used my bandsaw.

WP_20150208_001 1

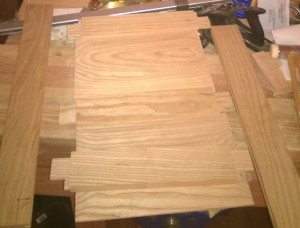
All ripped down and ready to go.  I re-sawed a few pieces on my bandsaw for the drawer sides and backs then cleaned them up with my #4 Bailey.  I did thickness plane down the raised panels with my #5 set up as a scrub and cleaned up with the #4. I only used my surface planer for some 1/2″ x 1/2″ strips to hold the drawers and panels.

WP_20150210_003

Next post, I try dovetails in hardwood.

Hinges, good ones are hard to find

I am making a Paul Sellers Tool Chest and was in need of some hinges for the lid.  Heading down to the local hardware store I found some basic national hinges.  I bring them back home and open them up and they just did not look like they were worthy of the tool chest I have been working on for the past few months.

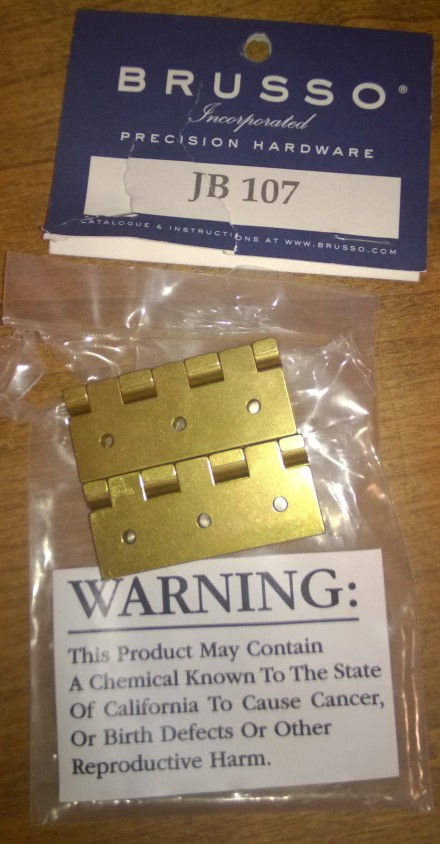
So onto my favorite tool website https://toolsforworkingwood.com/ where I found Brusso Hinges.  First the warning, Californians are nuts, I have never eaten a brass hinge.WP_20150427_003

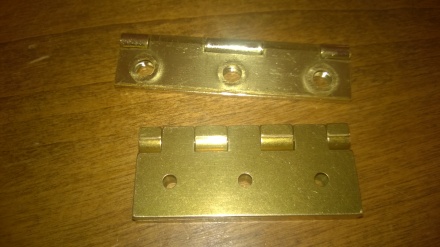
Not to knock the national hinge on the left but the Brusso is on the right is a piece of hardware!

WP_20150427_005

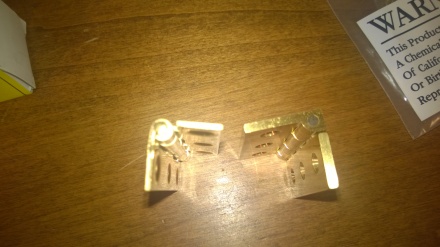
I picked up this hinge as it has integrated stops.  Turns out my top is too heavy for those but they are built so much better than the national’s I kept them.  I enlarged the holes just a bit and countersunk them some more.  Metal likes a single flute countersink, doesn’t jump or make noise.

WP_20150427_006

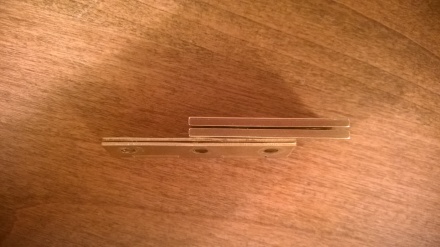
Not a great picture to show the gap as the national hinge is closed, if they were parallel its is almost a 1/8″ gap.  This means much more mortising the hinge into the carcase. The Brusso hinge, hardly a gap at all.  They actually publish PDF’s of the specifications on their website.WP_20150427_009

One last photo of these stunning hinges!  My install was ok, but doesn’t match the perfection of the machining. I’ll post a few blog posts on the tool chest when it is all done.

WP_20150427_002

New Irons for the Record 44 plow plane

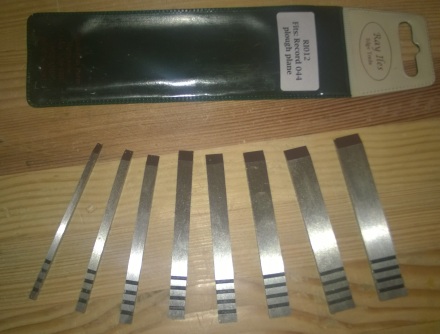
I am in the middle of working on a tool chest which I will post later based on some Paul Sellers plans.  Making the drawers required a groove for some 1/4″ plywood.  Of course most of us know 1/4″ plywood is not 1/4″ plywood, its actually thinner. So my plan was to file down a iron for the Record 44 to match up to the plywood.  Didn’t seem right to do that with an original set so I ordered up a new set from Ebay in the UK.  Yep, the UK and they arrived in 7 days!  Pricing was still better than buying them from Veritas (could use in the record 43).

WP_20150417_004

Turns out I didn’t need to grind one down, I got away with the 3/16 and a little planing of the panel on the edges.  A very nice set of irons for the Record 44 and they fit great!  So now my plow planes are all set.