I have two tiny workbenches in a attic with a sloping roof. I can stand for about 2 feet if I am just under the peak. The benches are old workbenches that look to be from a school or the university. One had a tail vise with out a screw, it worked on a cam lock mechanism. I added a Record vise to the other bench and that helped significantly in my trying to cut dovetails. But at 6′ 3″ and a bench at 33″ was just not going to work long term.
I also have 2 Festool tables that are fantastic to cut sheet stock on and to move around. Unfortunately they are not rigid enough for planing without having it against a wall and even then questionable.
What to do? I have 4 perfectly good benches but they are not for hand tools. I guess I would call the first two more of cabinets and the Festool’s are tables. I looked at Chris Schwarz’s books on building workbenches and design. I was waiting for the DVD on the Nicholson Bench from Lost Art Press. While I was waiting I discovered Paul Sellers. Paul has been a craftsman for 45 years using all sorts of benches and hand tools. I started watching some of his videos and started his Wood Working Master Class website (a steal at 15 dollars a month). The short story is I made a modified Paul Sellers Youtube bench crossed with his Bench from the book Working Wood 1& 2.
Why Paul’s bench? Its cheap, made out of douglas fir. A grand total of 130 dollars was spent on the wood. If I don’t like it, well that is a pretty cheap investment when it comes to a workbench and I can always use it for firewood. I have heard people making them out of maple which last I checked was north of 7 dollars a board foot. I’d rather make furniture with maple, that is just me. The Nicholson bench linked above would have been a great options as well. I am space constrained at the moment so maybe next round.
Tool well, yes I chose a tool well. I know Schwarz devotees (everyone on the Internet is an expert) will frown upon that , but this is my bench :). I had a Stanley Number 8 shimmy itself of the Festool table as I was planing the bench top. Lesson learned. I ebay’d a new plane body and there will not be any shimmying or knocking off the bench with a tool well.
On to the build, it took a few tries to get started. I got all my lumber from Boulder Lumber in town. I glued up the top once and manually planed each board after they went through the delta surface planer. Well I learned I sucked at planing. I needed practice and I got it on this project. I took off too much on some, not enough on the other. I was not happy with the first glue up as it had a few gaps. I ended up scrapping it and taking it to the bandsaw to cut the legs out of it. So not really lost, just re-purposed. I went back to Boulder Lumber and picked up some more wood, this time paying close attention for knots on the sides of the 2x stock (I did not do this carefully enough previously). Planing and gluing the second round went much better.
,
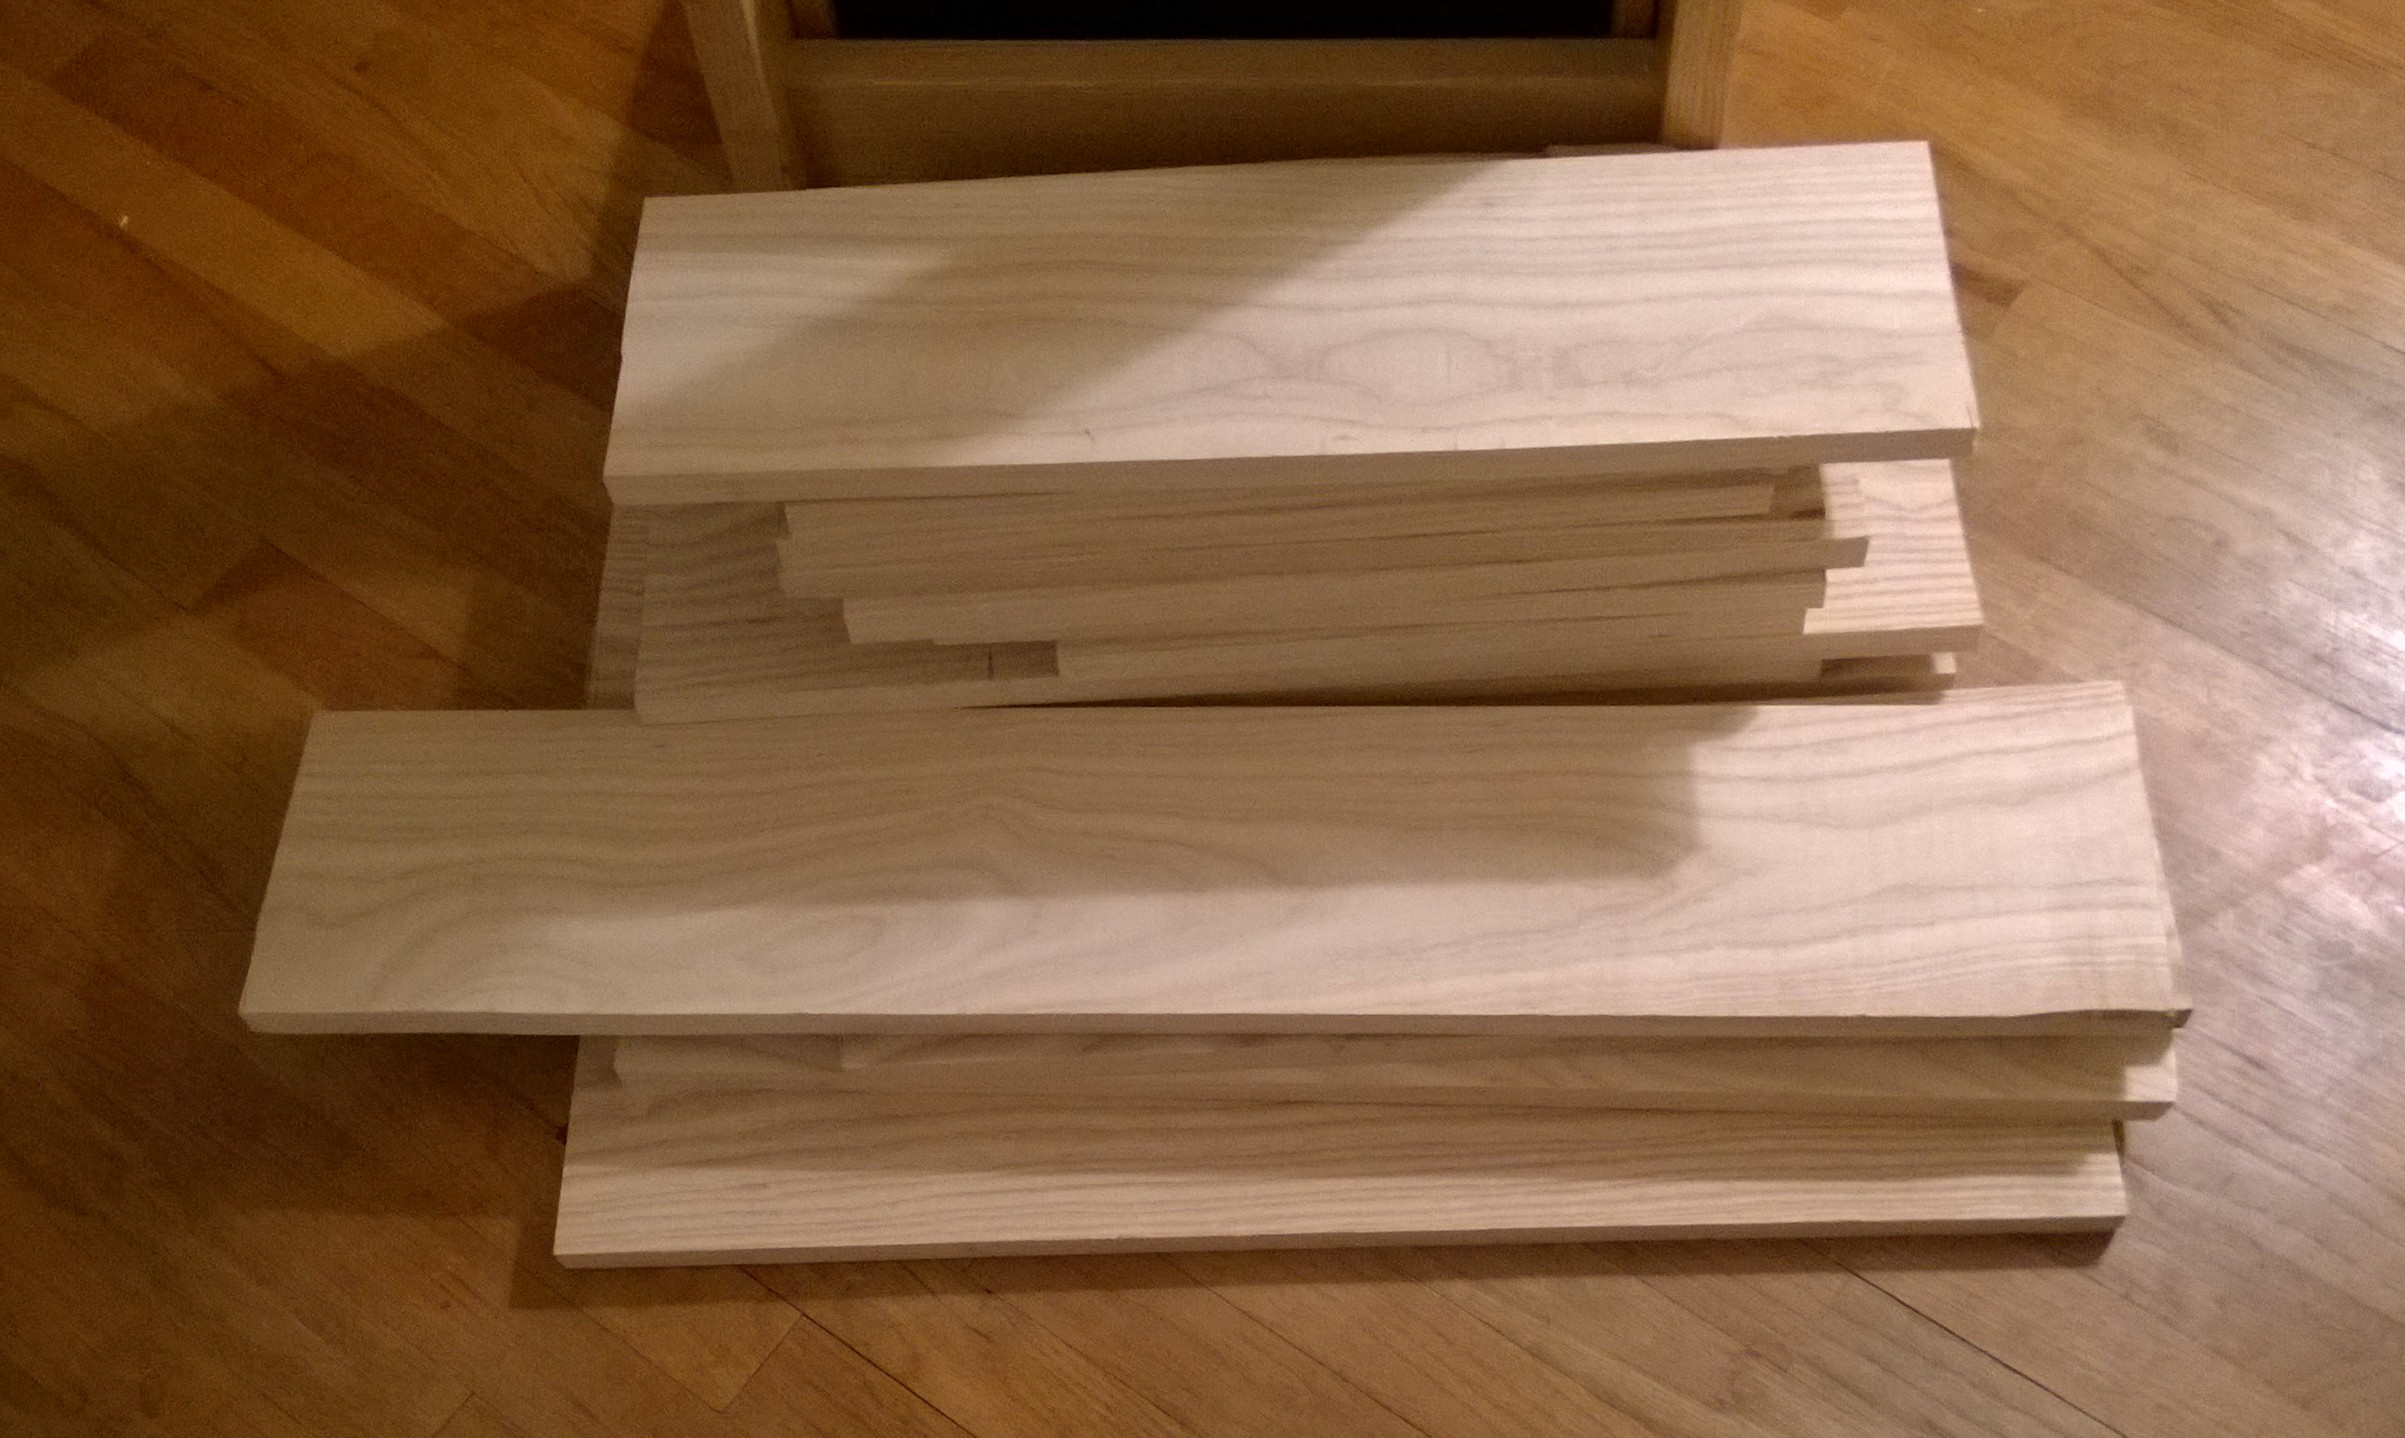
I didn’t take pictures of the planing though I filled a compost bag or two full of shavings. The aprons and bench tops are glued up. I did use a Bailey #4 and a Lie Nielsen #4 to smooth up the 2x stock before gluing. My gluing needs some work as the aprons did not glue up well. I had to re-glue the end of one, lesson here, don’t remove the clamps early….
The legs. Mortises cut with a crappy sharp 1/2 chisel with mallet recommended by Paul on his blog. Worked great. I had never cut mortises before and I thought it would be a lot harder. Paul’s technique on his you tube videos worked great.


All done except for the notches for the the tenon at the top. I didn’t leave room for a tail vise, I thought about it but it didn’t happen.
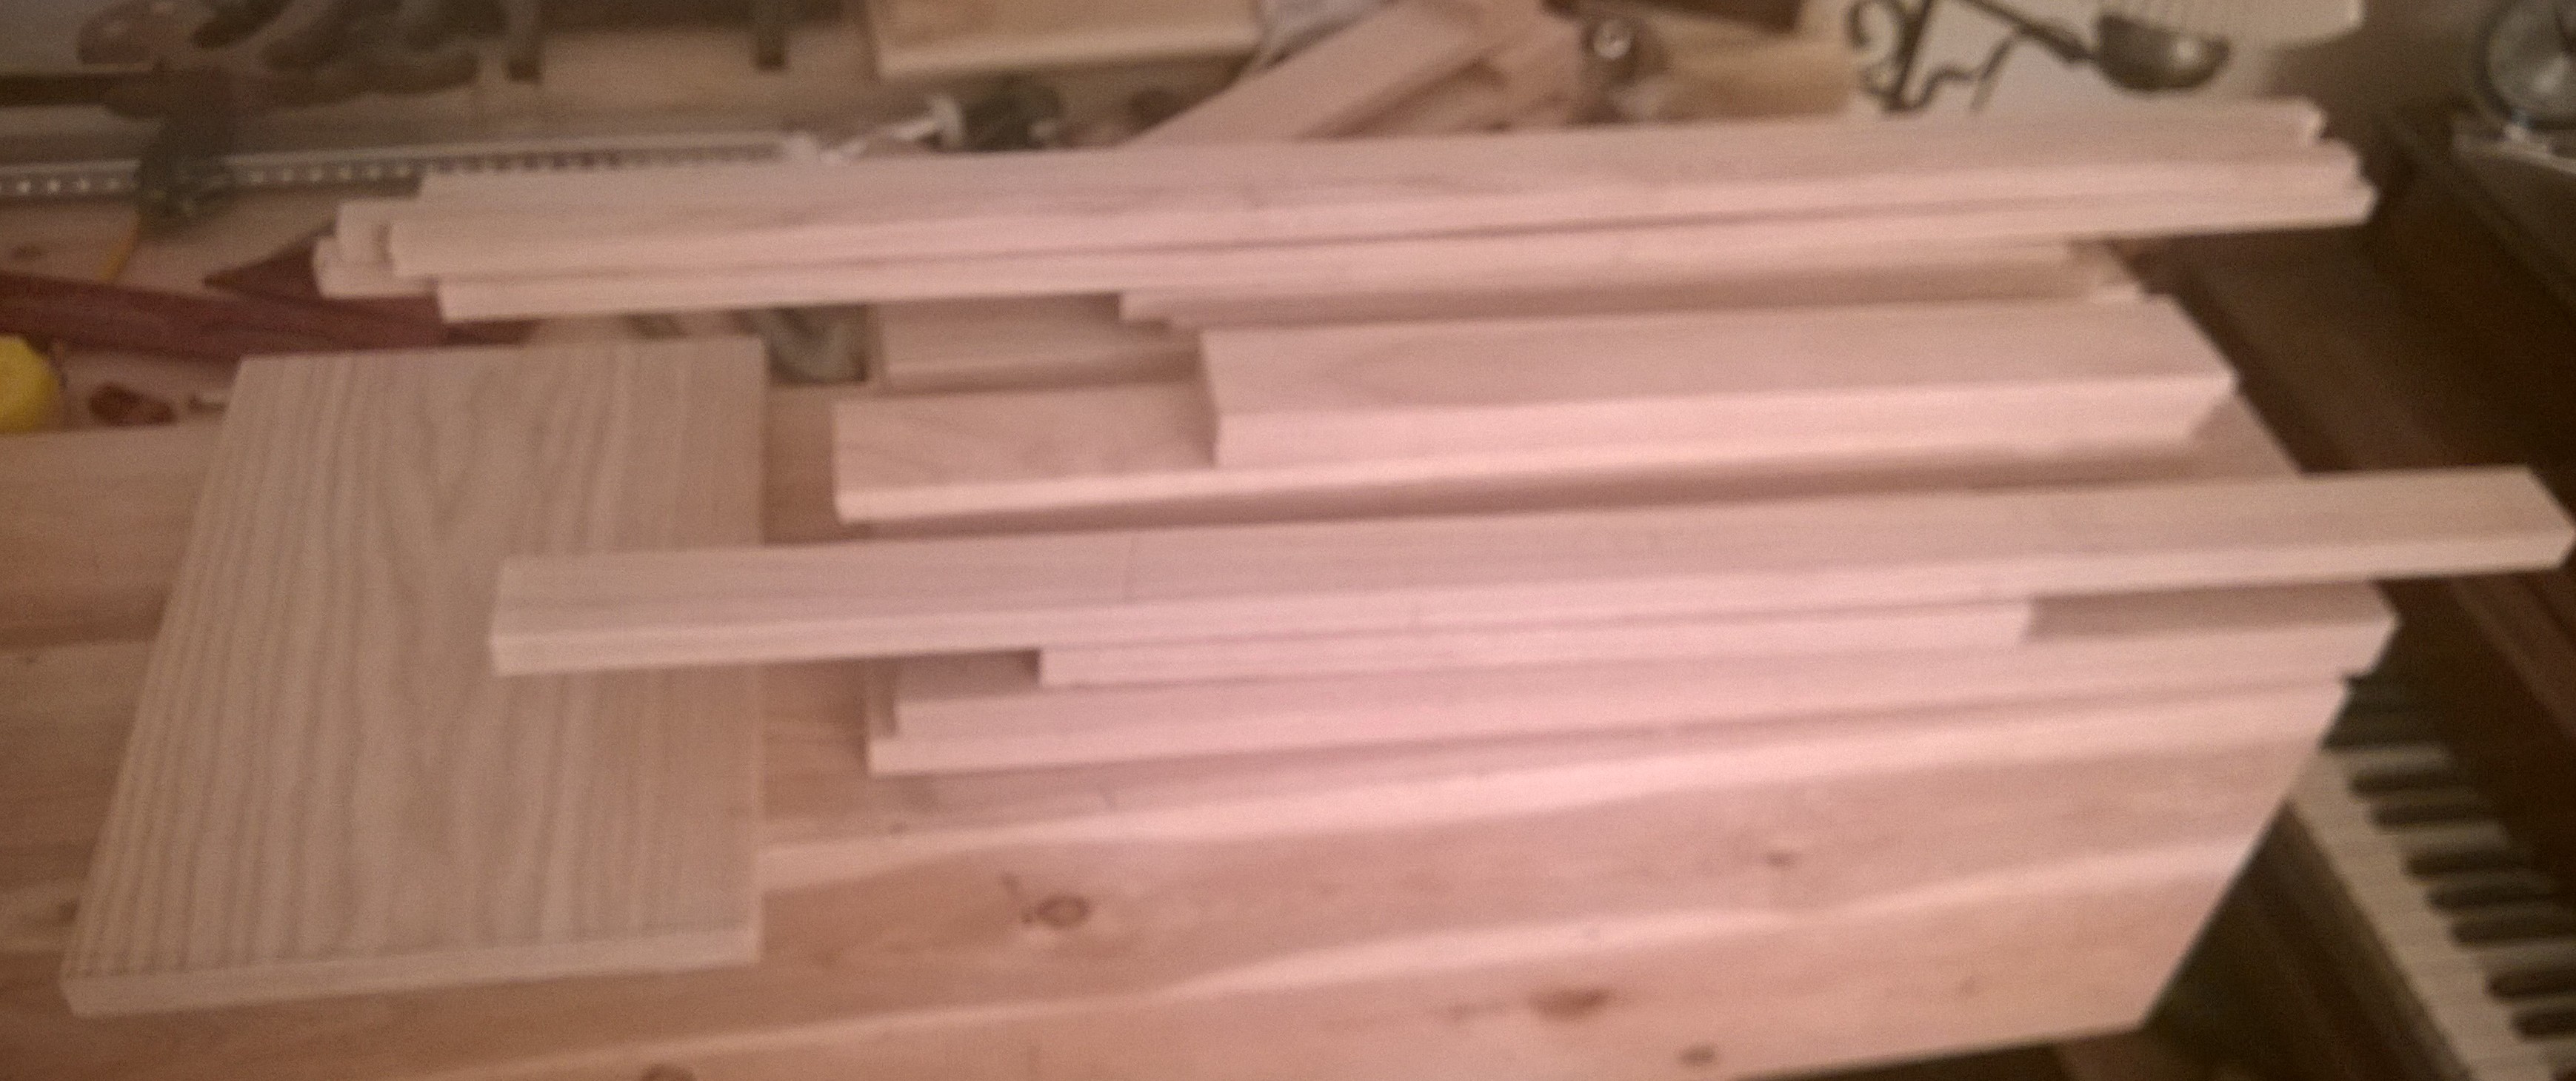
The tenons. I sawed the first one, it seemed like it took a while. I may have to sharpen my handsaw :(. I setup a knife line and chiseled to it first to create a guide.

The rest of them I chiseled since Paul’s book recommend trying it out. It worked well on about 50% of the tenons. It was interesting to try though as I learned a lot about how the grain works. About half had straight grain so they chiseled real nice and made for some quick work. The others, well they were questionable with the grain going down into a bowl and angling down. It was a good first attempt and I don’t care too much for looks.

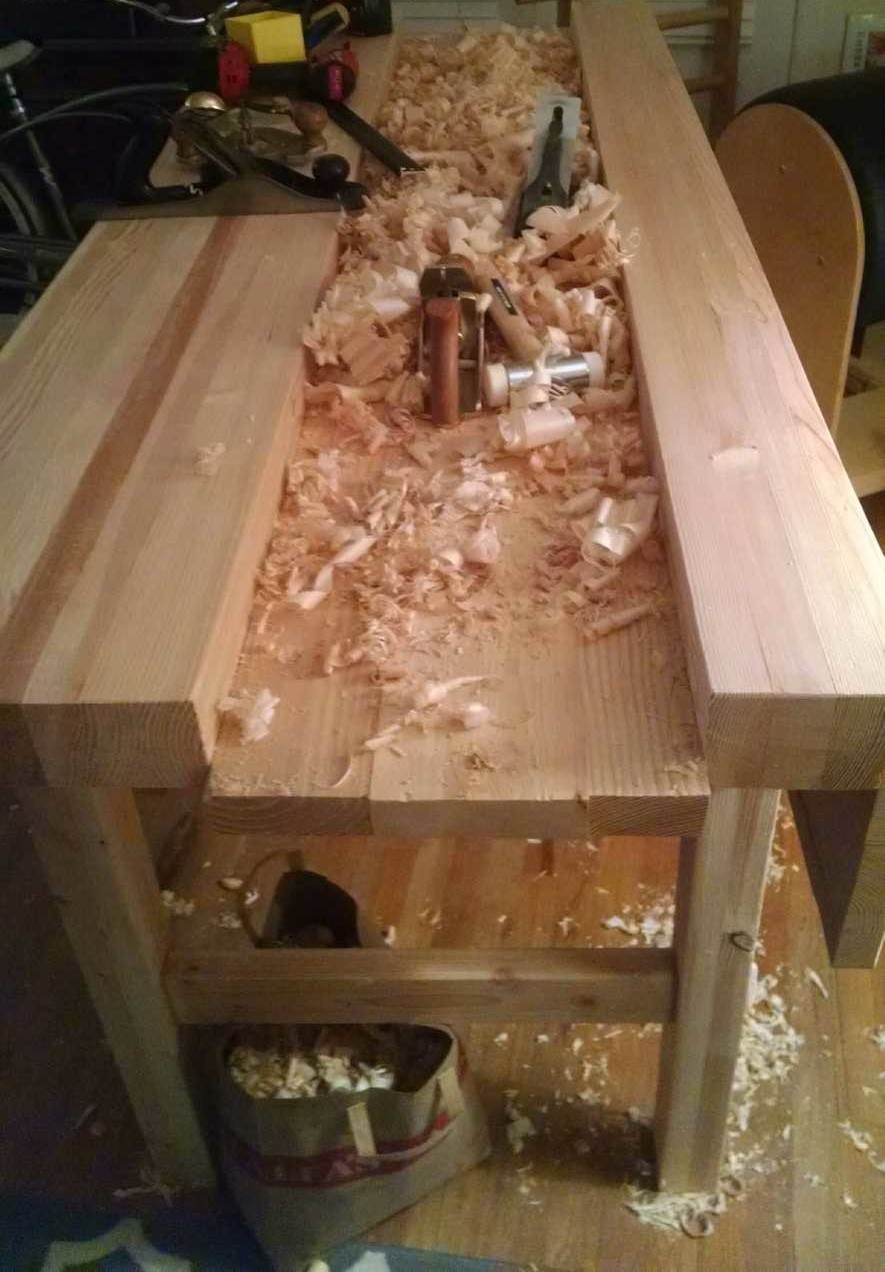
The aftermath of chiseling.

Cleaning up after the chiseling with a block plane and the Stanley 71 1/2 router plane to get uniform depth.

The legs glued up. The Festool table worked great or clamping and passable for chiseling.

The Festool table allowed me also to clamp the assemblies flat to the table.
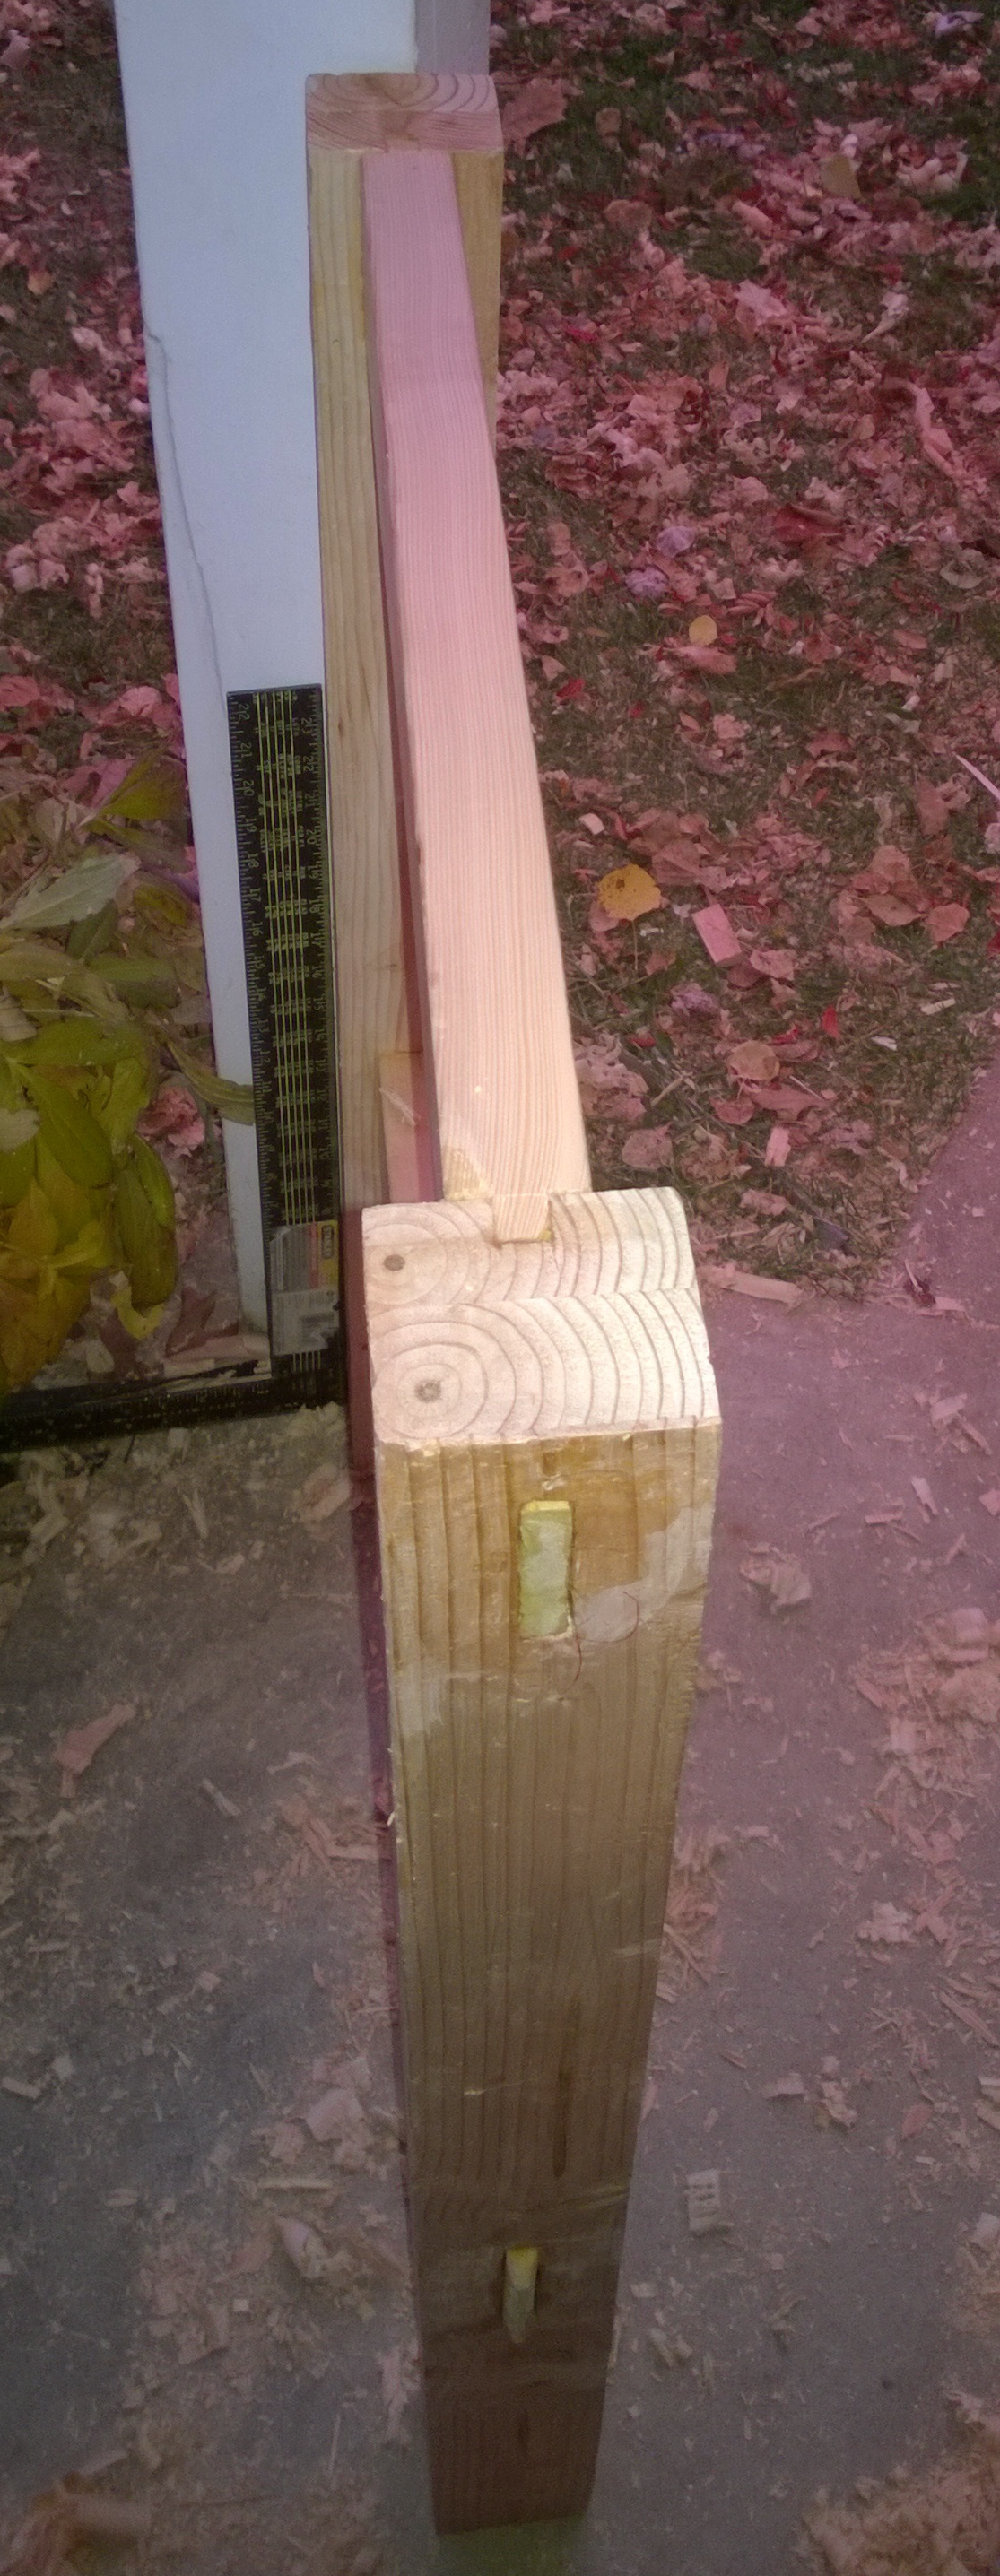
The tenons and shoulder on the top cross member can be seen below. The second picture has the bearer screwed to the top. I did not clean up the glue at this point.


The legs rest in a dado on the apron which helps to stabilize the bench.

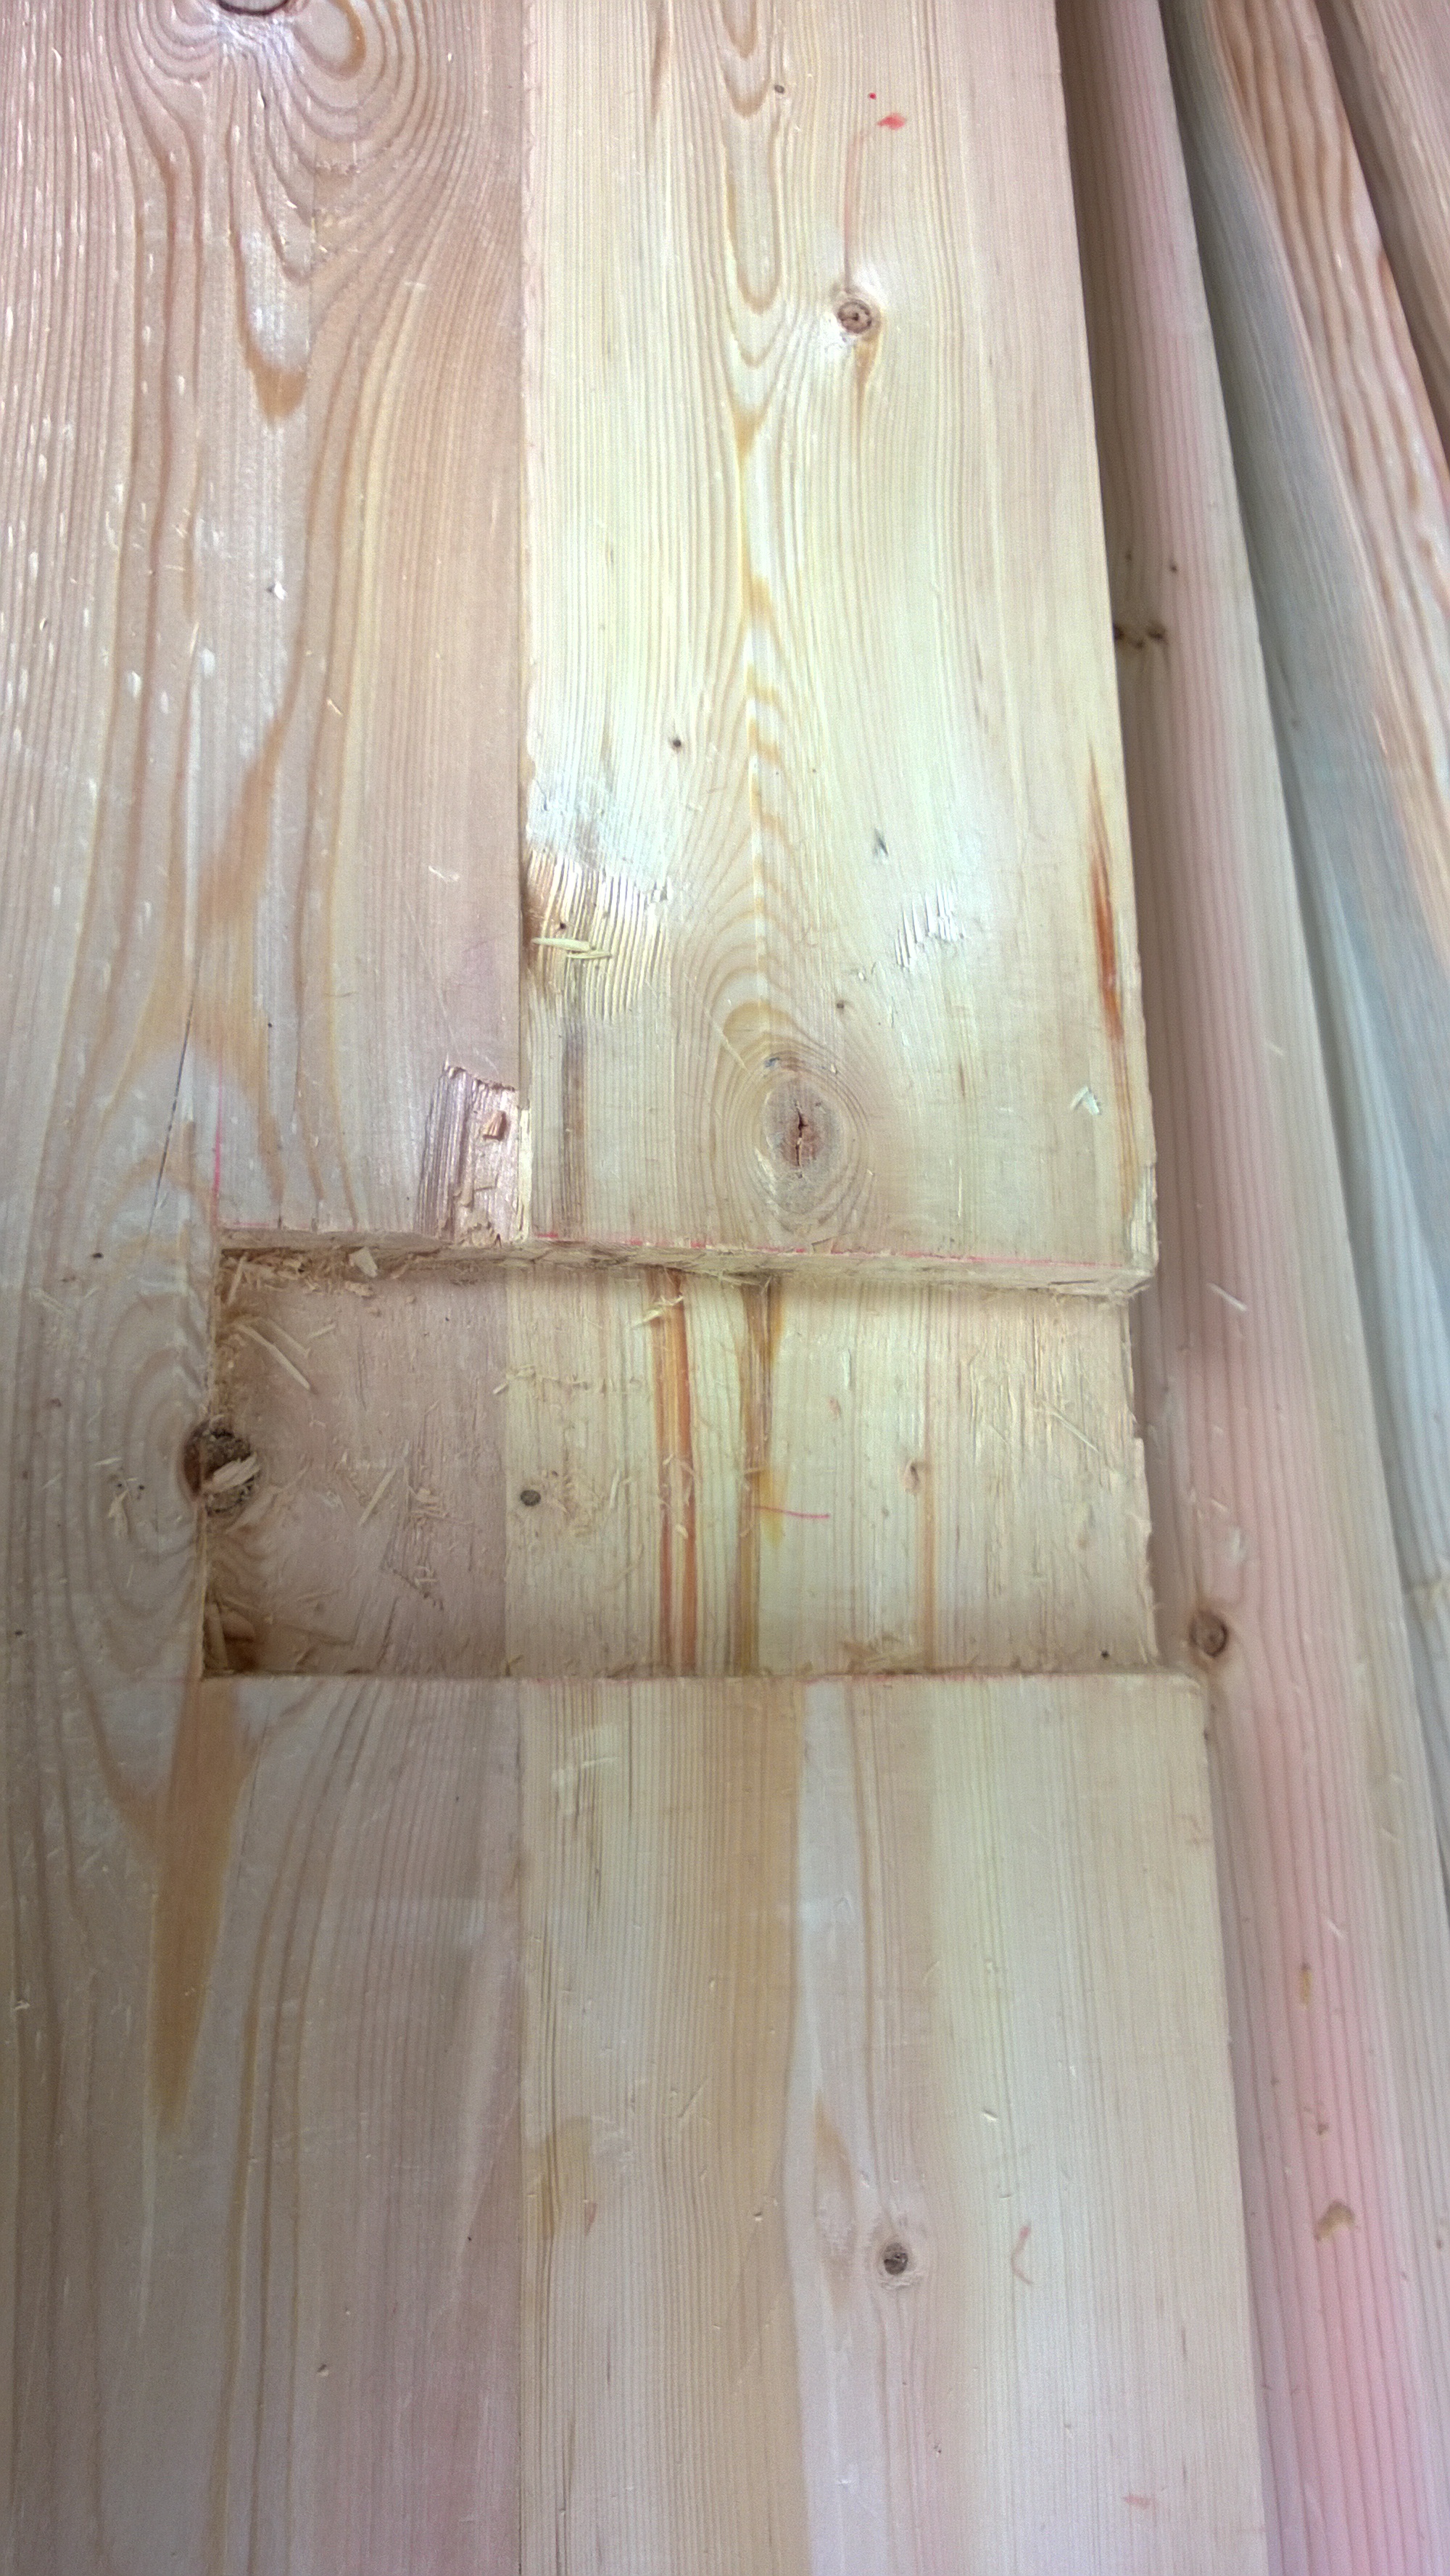
Knife line again followed by the chisel to begin.

Next step was to clean it out with the router plane.

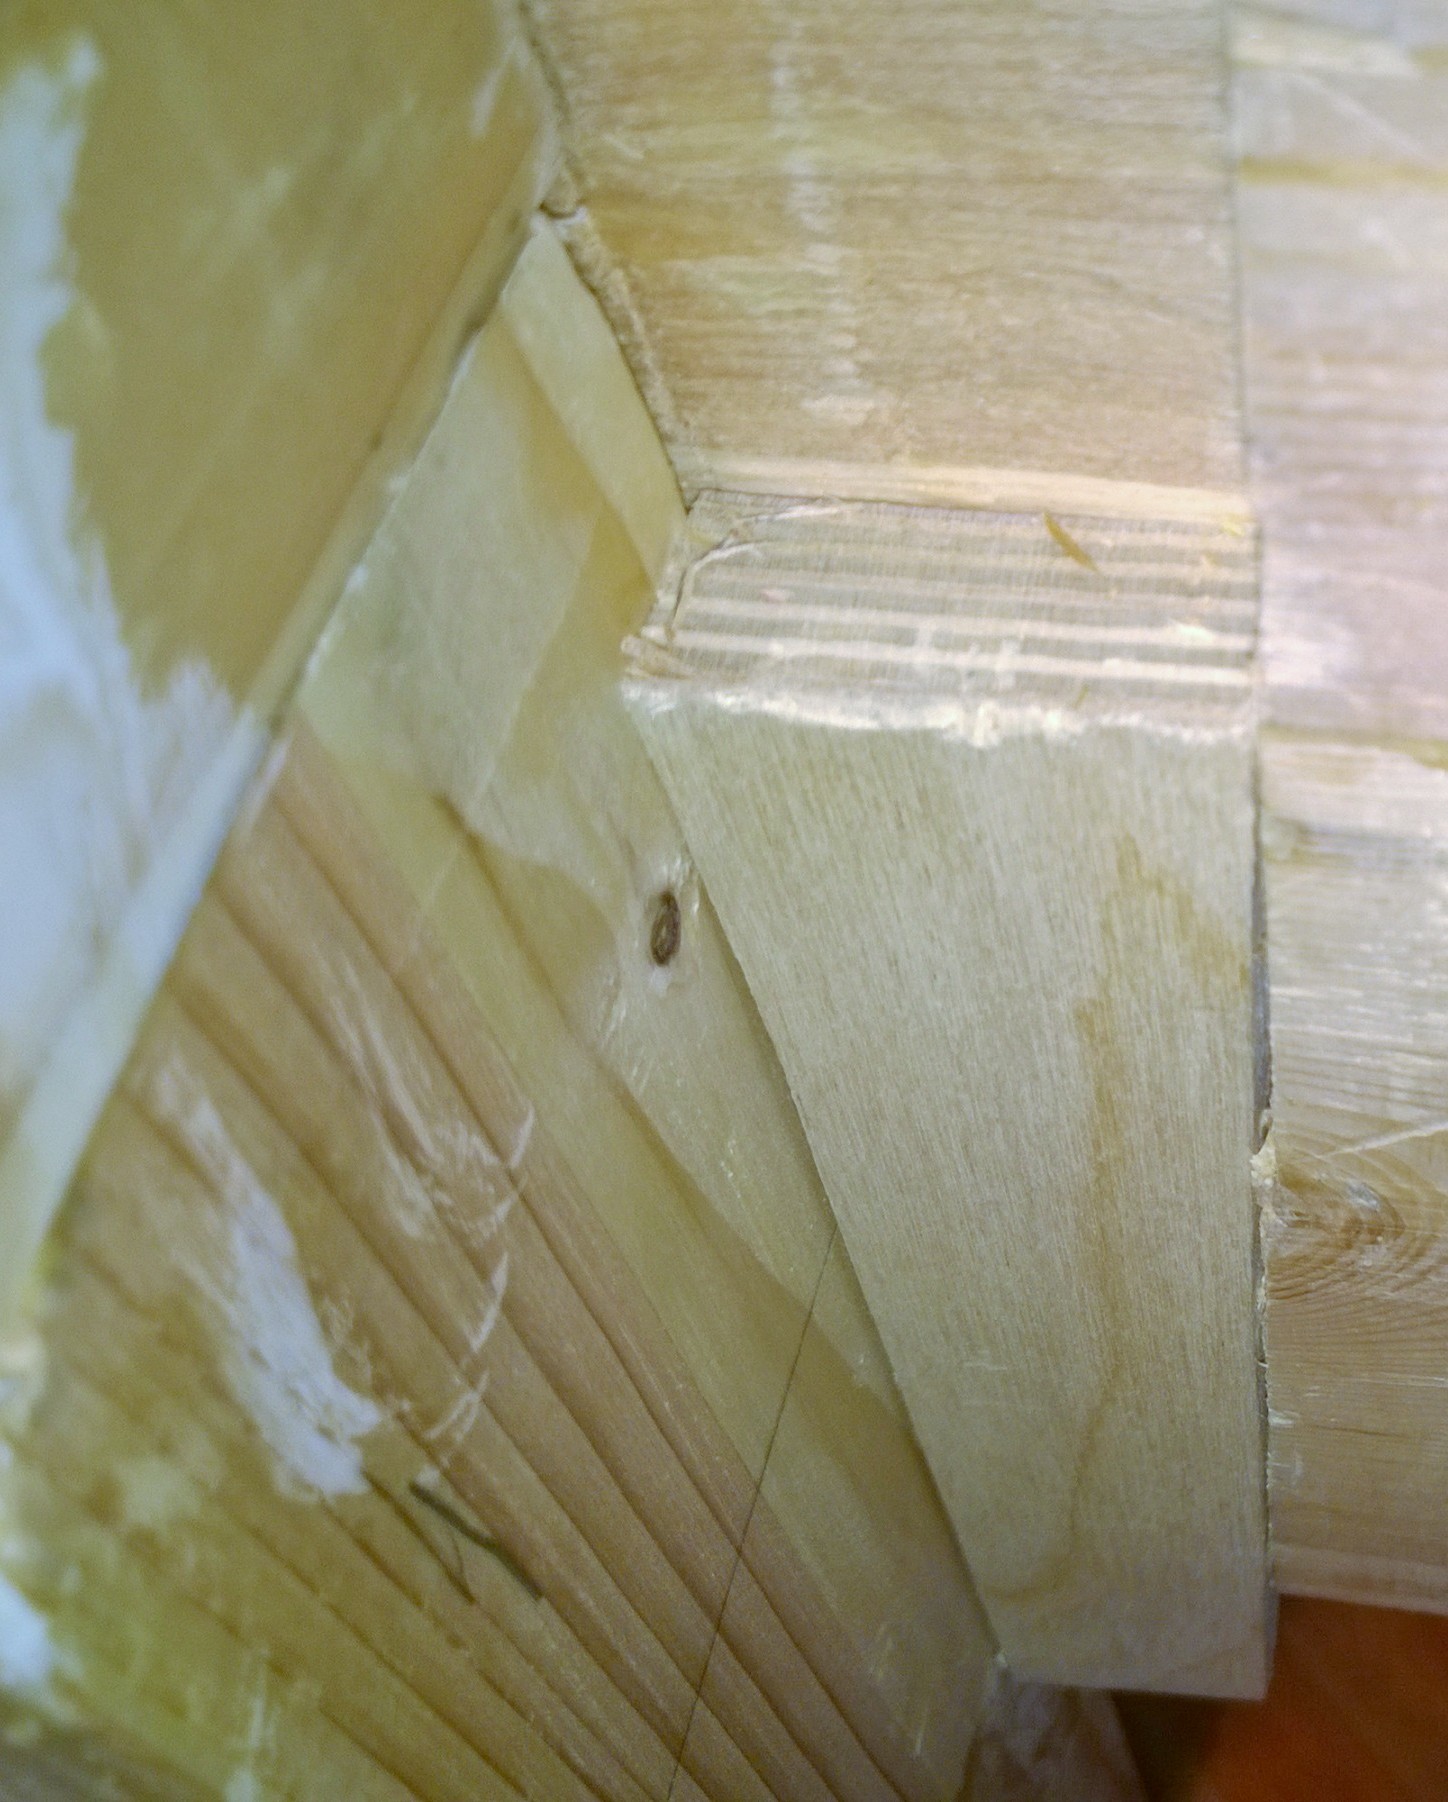
I was debating on adding Paul’s wedges to make it a knock down bench. I was initially thinking I would just glue and screw the aprons to the legs. I waited an evening and decided it might be nice to take it apart as I can’t lift heavy things very well. It was a good choice as the wedges make the bench rock solid. Even if I glued it I would want to have the wedges in for extra stability. Basically you make the dado wider on the apron to insert a wedge as shown below. I then made a piece of wood to hold the wedge in.
Note:one of the aprons twisted after glue up, good ole construction lumber. It was a good opportunity to try out the winding sticks and try to remove the twist. I removed a lot of material to get it close to flat. I didn’t have the time or patience at this point to go buy more 2×6’s and redo the apron. I put the challenged on the back of the bench.

Note, when you attach the aprons, check for square! I apparently skipped this step so my bench ended up askew by a half an inch 😦 . Its a bench so it was a good lesson learned and will not hurt functionality.
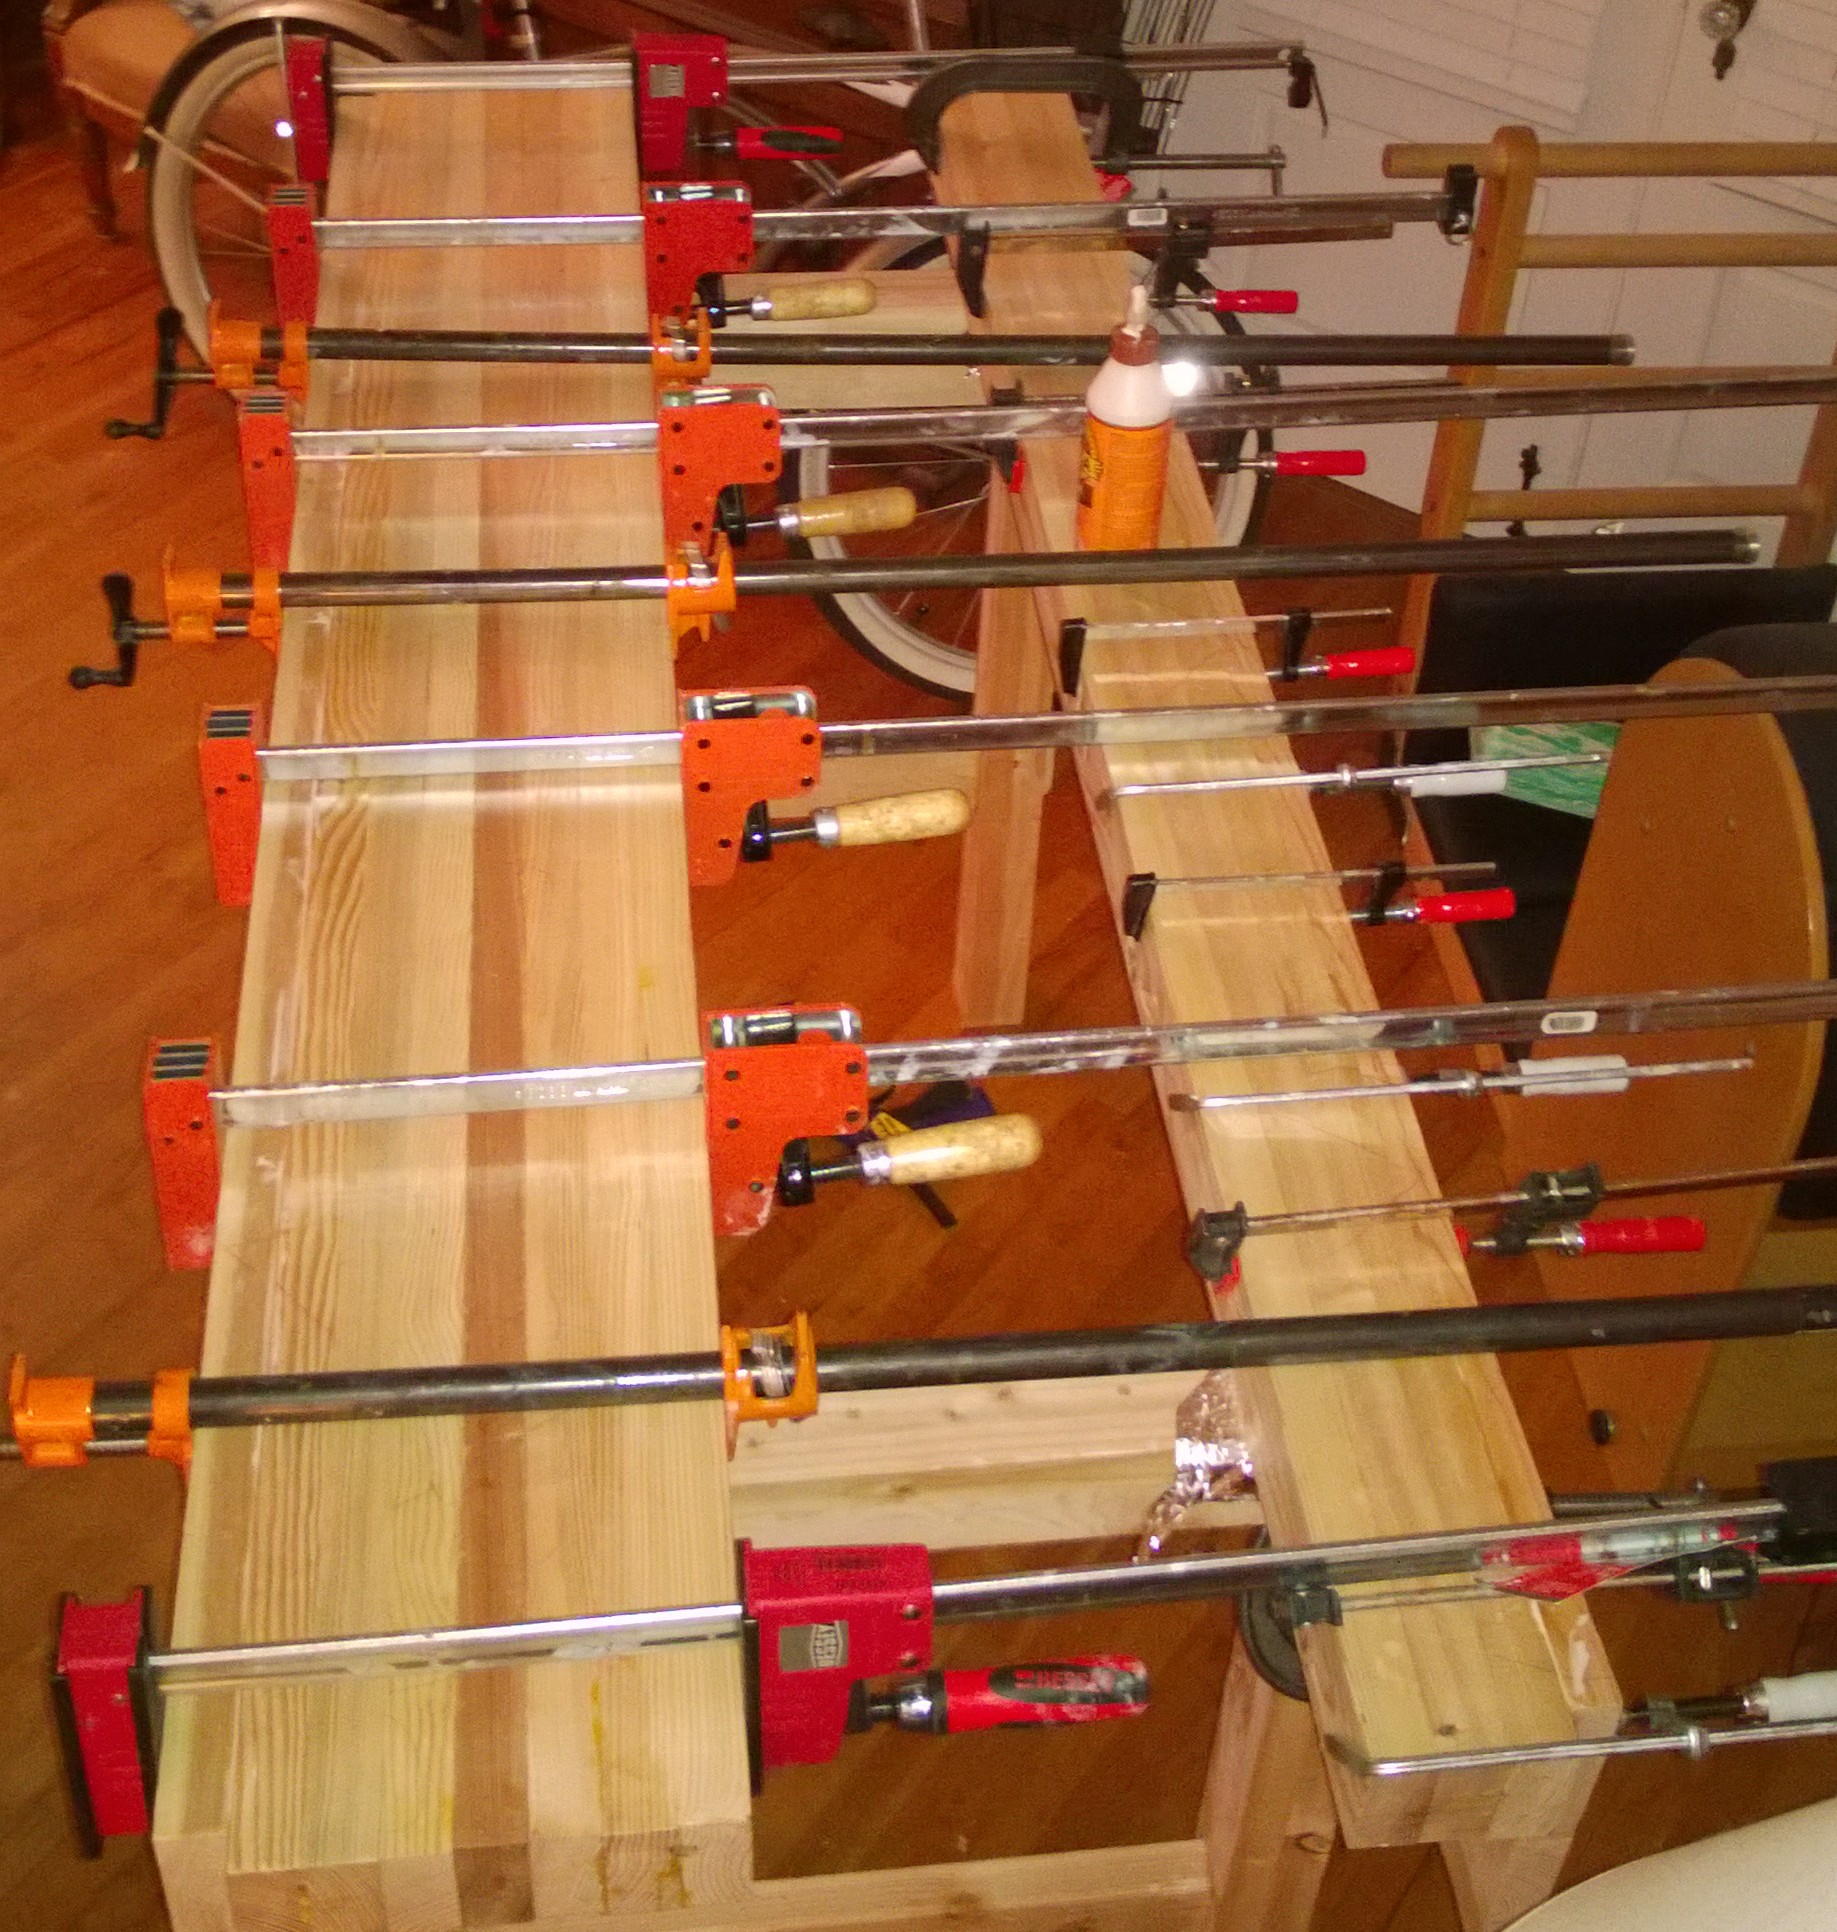
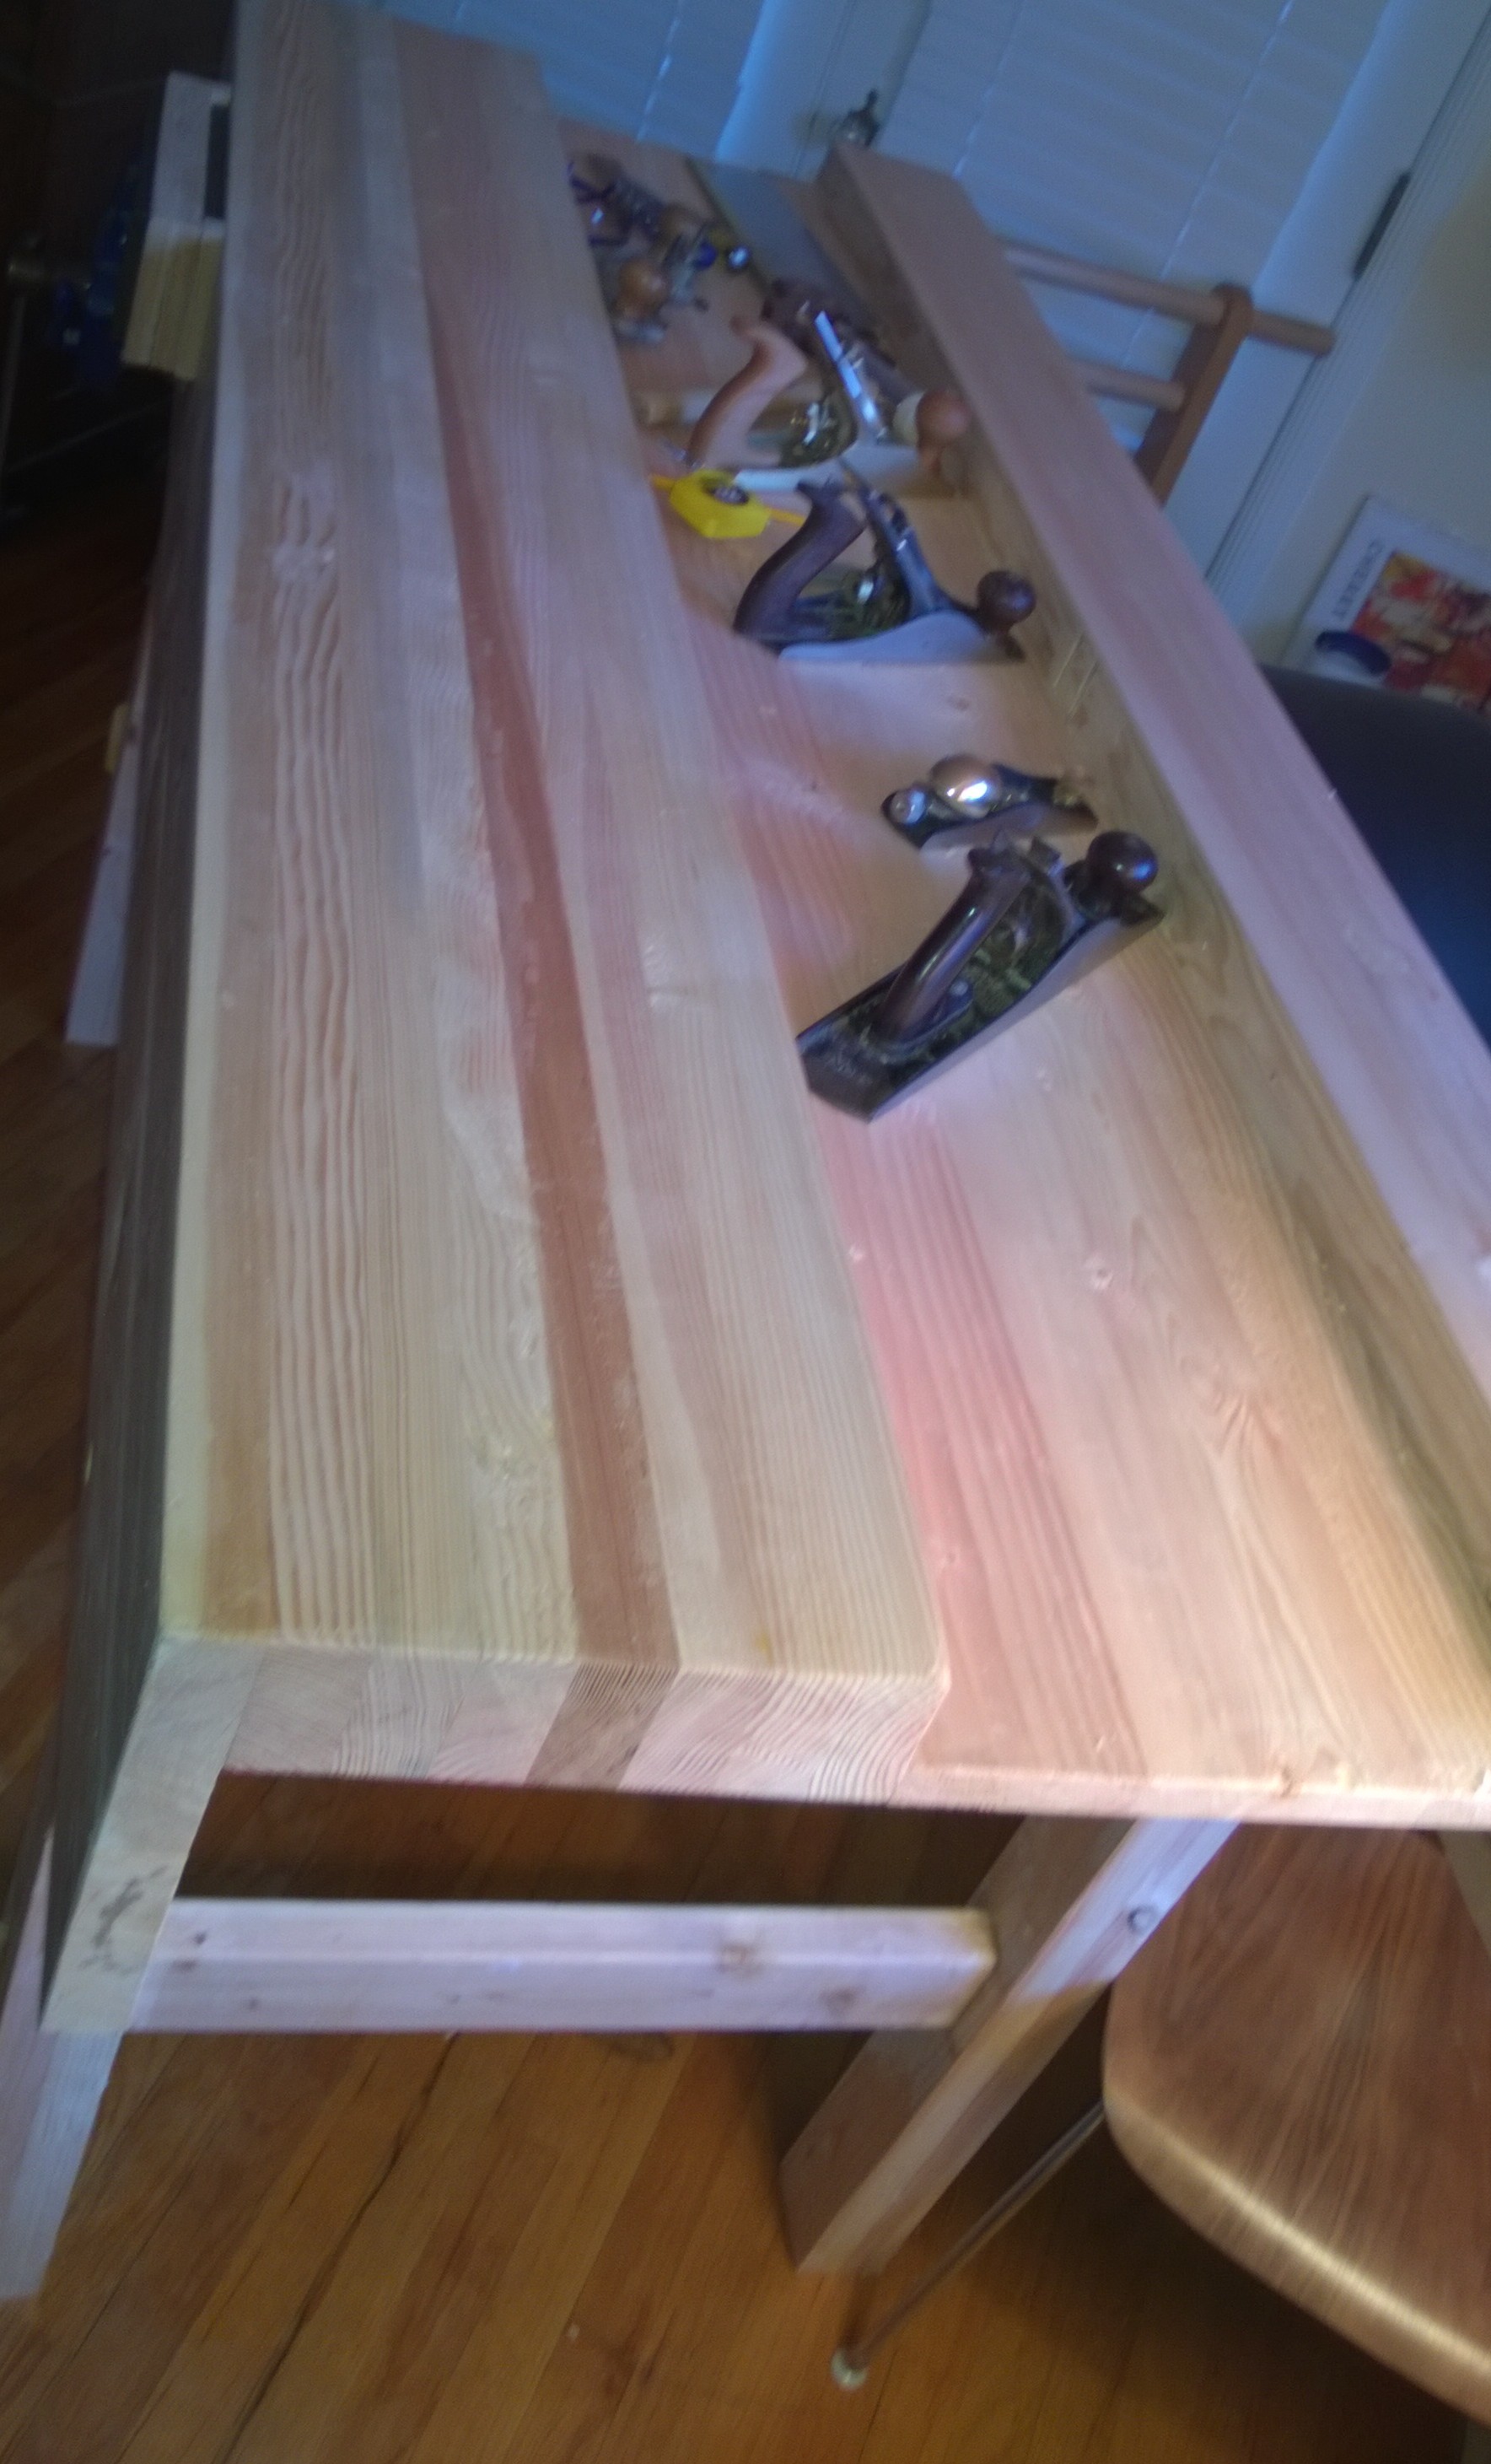
With the aprons attached it was time to glue the laminated tops to the aprons.
Note:I did hand plane the tops after I sent them though the Delta surface planer :). Glue up was quick and this time I left the clamps on overnight.

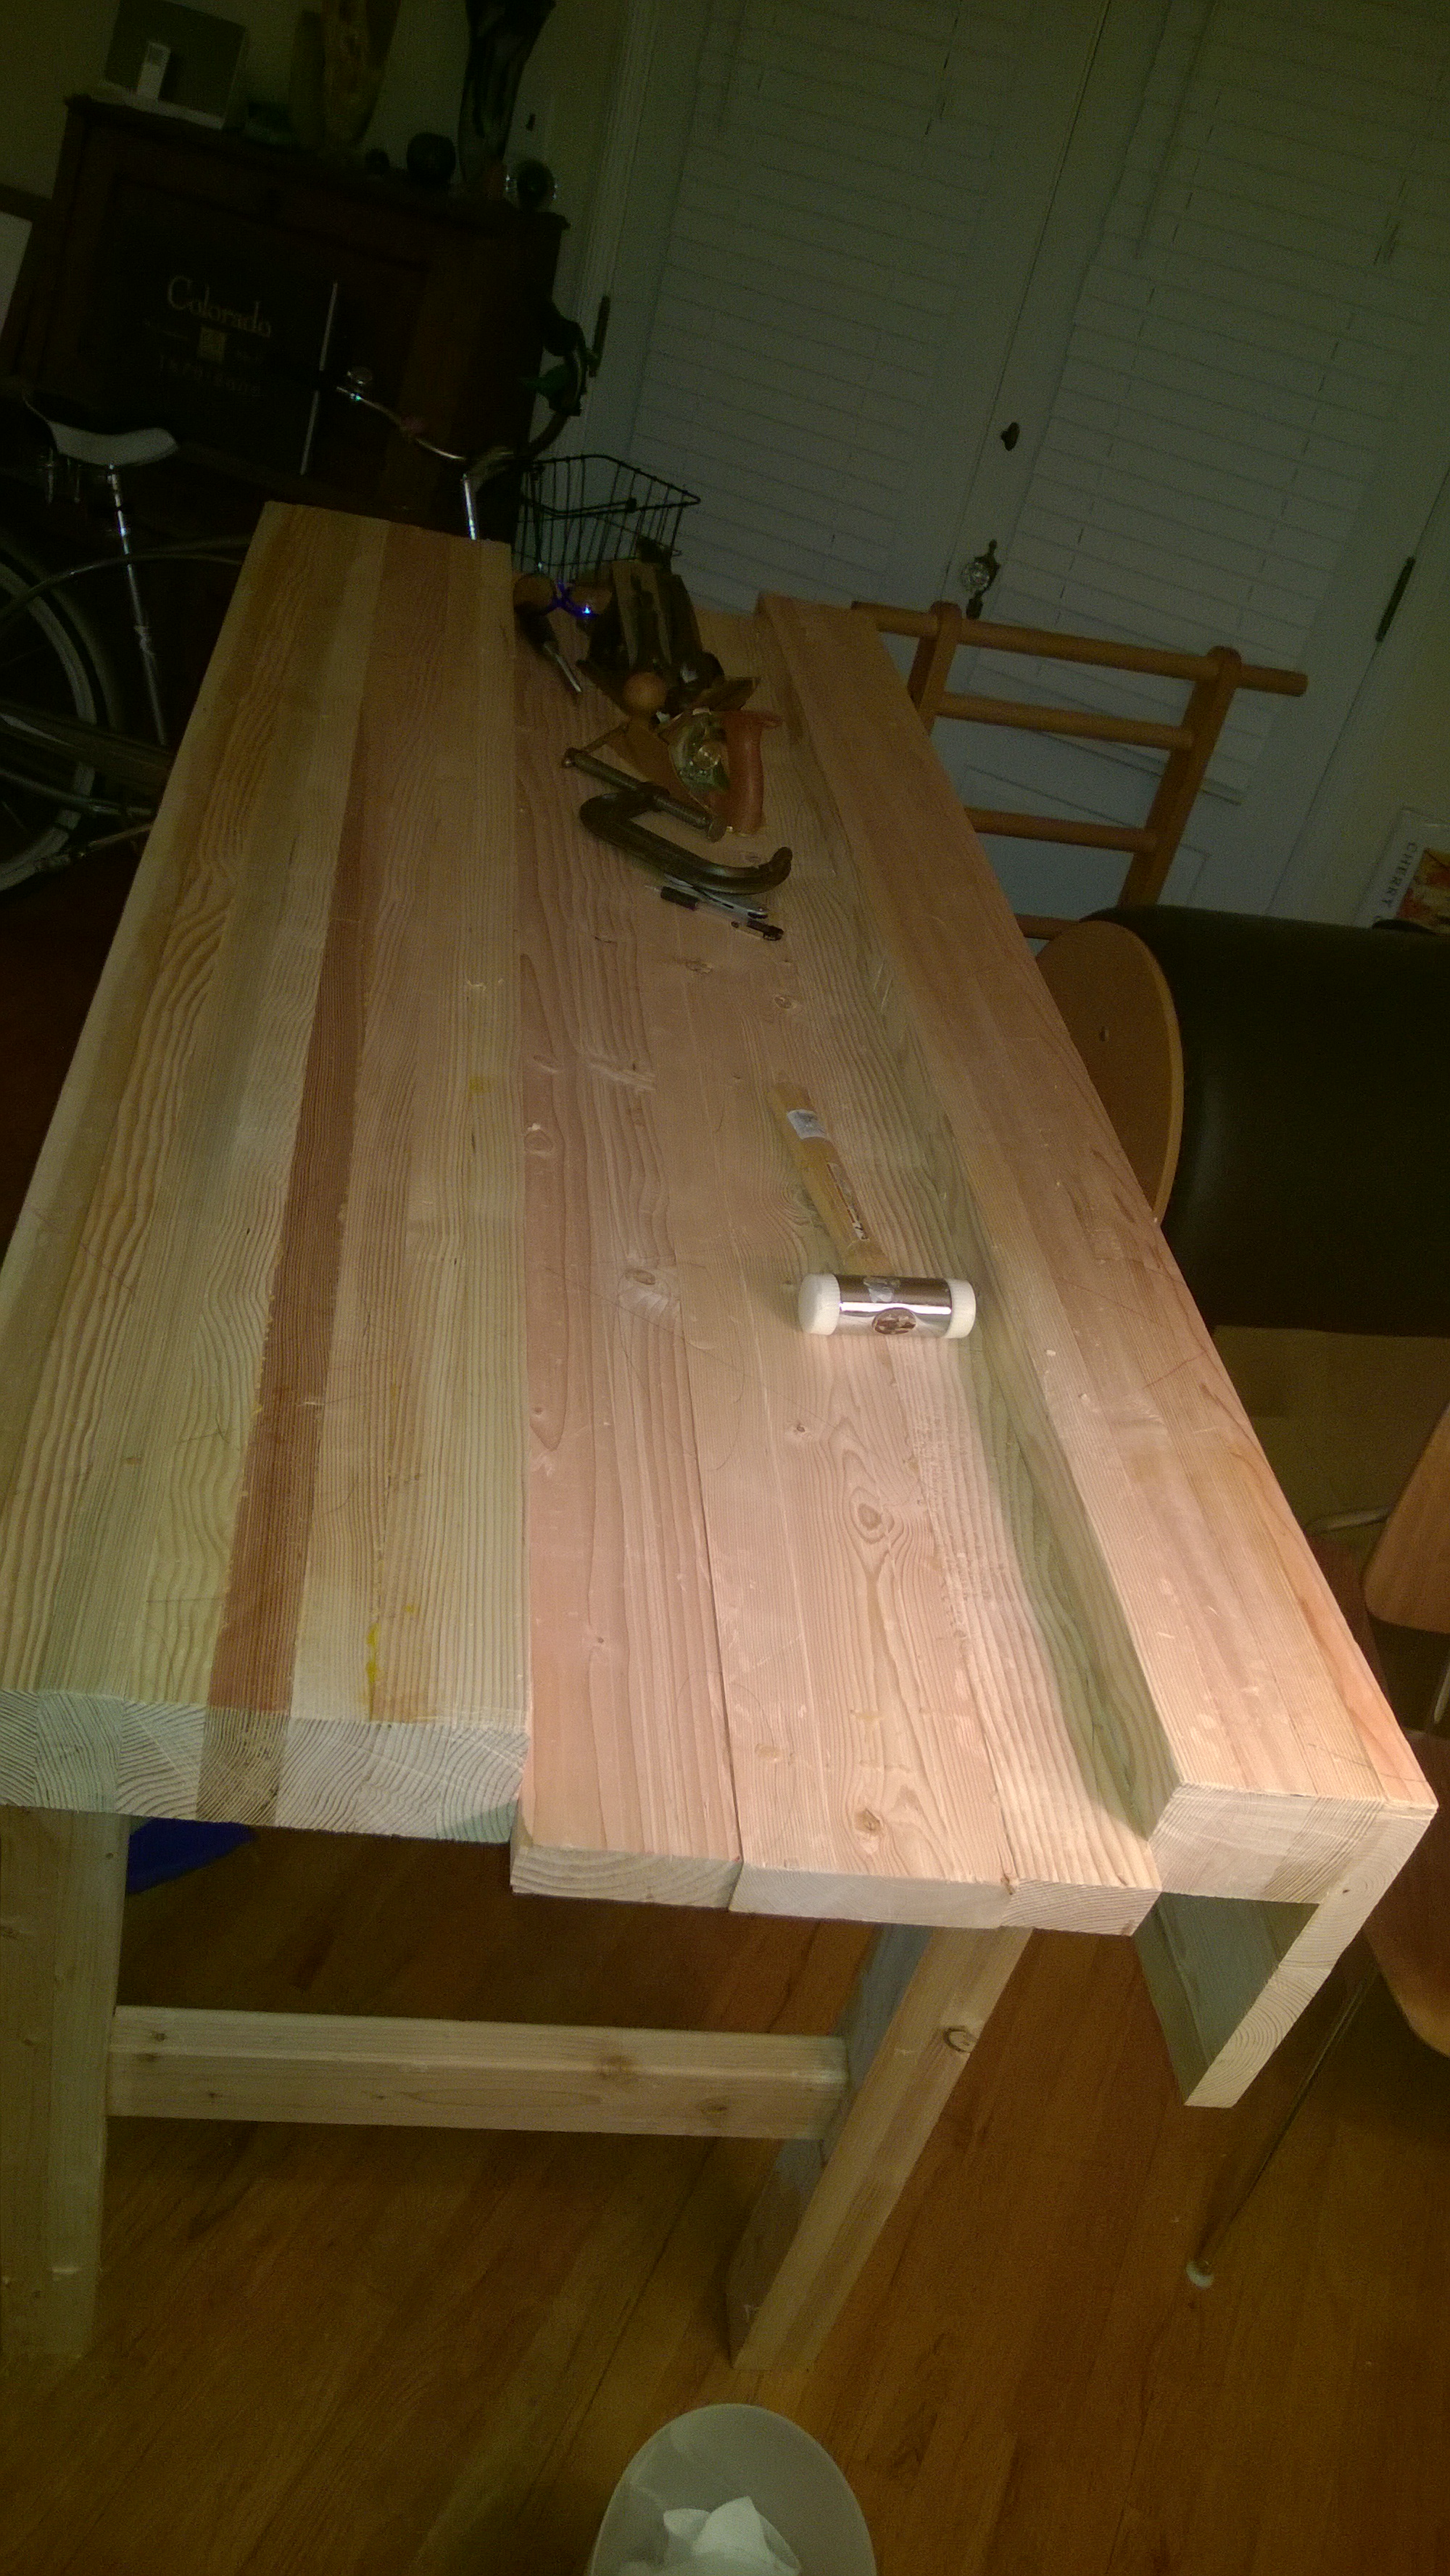
As you can see I went with a short bench on the back of the tool well as I figured it might be handy if I was working with a large piece of furniture to have the something more substantial than just a back rail. Time will tell whether this was a good idea or not. I am space challenged so I could not do the full depth bench that would have been 36″
Note: A good time to talk about height. You’ll look at the picture and say damn that is high! Yes it is, I am 6′ 3″ and I have lower back issues that get annoyed by having to hunch over (hunching over is bad even if you back is healthy). So I made my bench 42″. 42 inches you say, yes, its my bench and it works for me but may not work for all. If it is too tall after I use it for a few months I can cut off the legs an inch at a time, I can’t add it as easily! Paul has a good link on heights of people and benches.

Trimming up the tool well with the Festool TS75. I am short a handsaw for ripping at the moment and well I am lazy with a TS55 panel saw handy. Yes its cutting in the middle of the living room. The dust collection is amazing on this saw with the Festool Midi HEPA vac.

It didn’t take too long to trim the well board with the plane to make it fit perfectly
 .
.
Dado for the well board so it will rest down lower to give more space. This was done with a handsaw for the sides followed by a chisel to clean out the bulk and a router plane to finish.

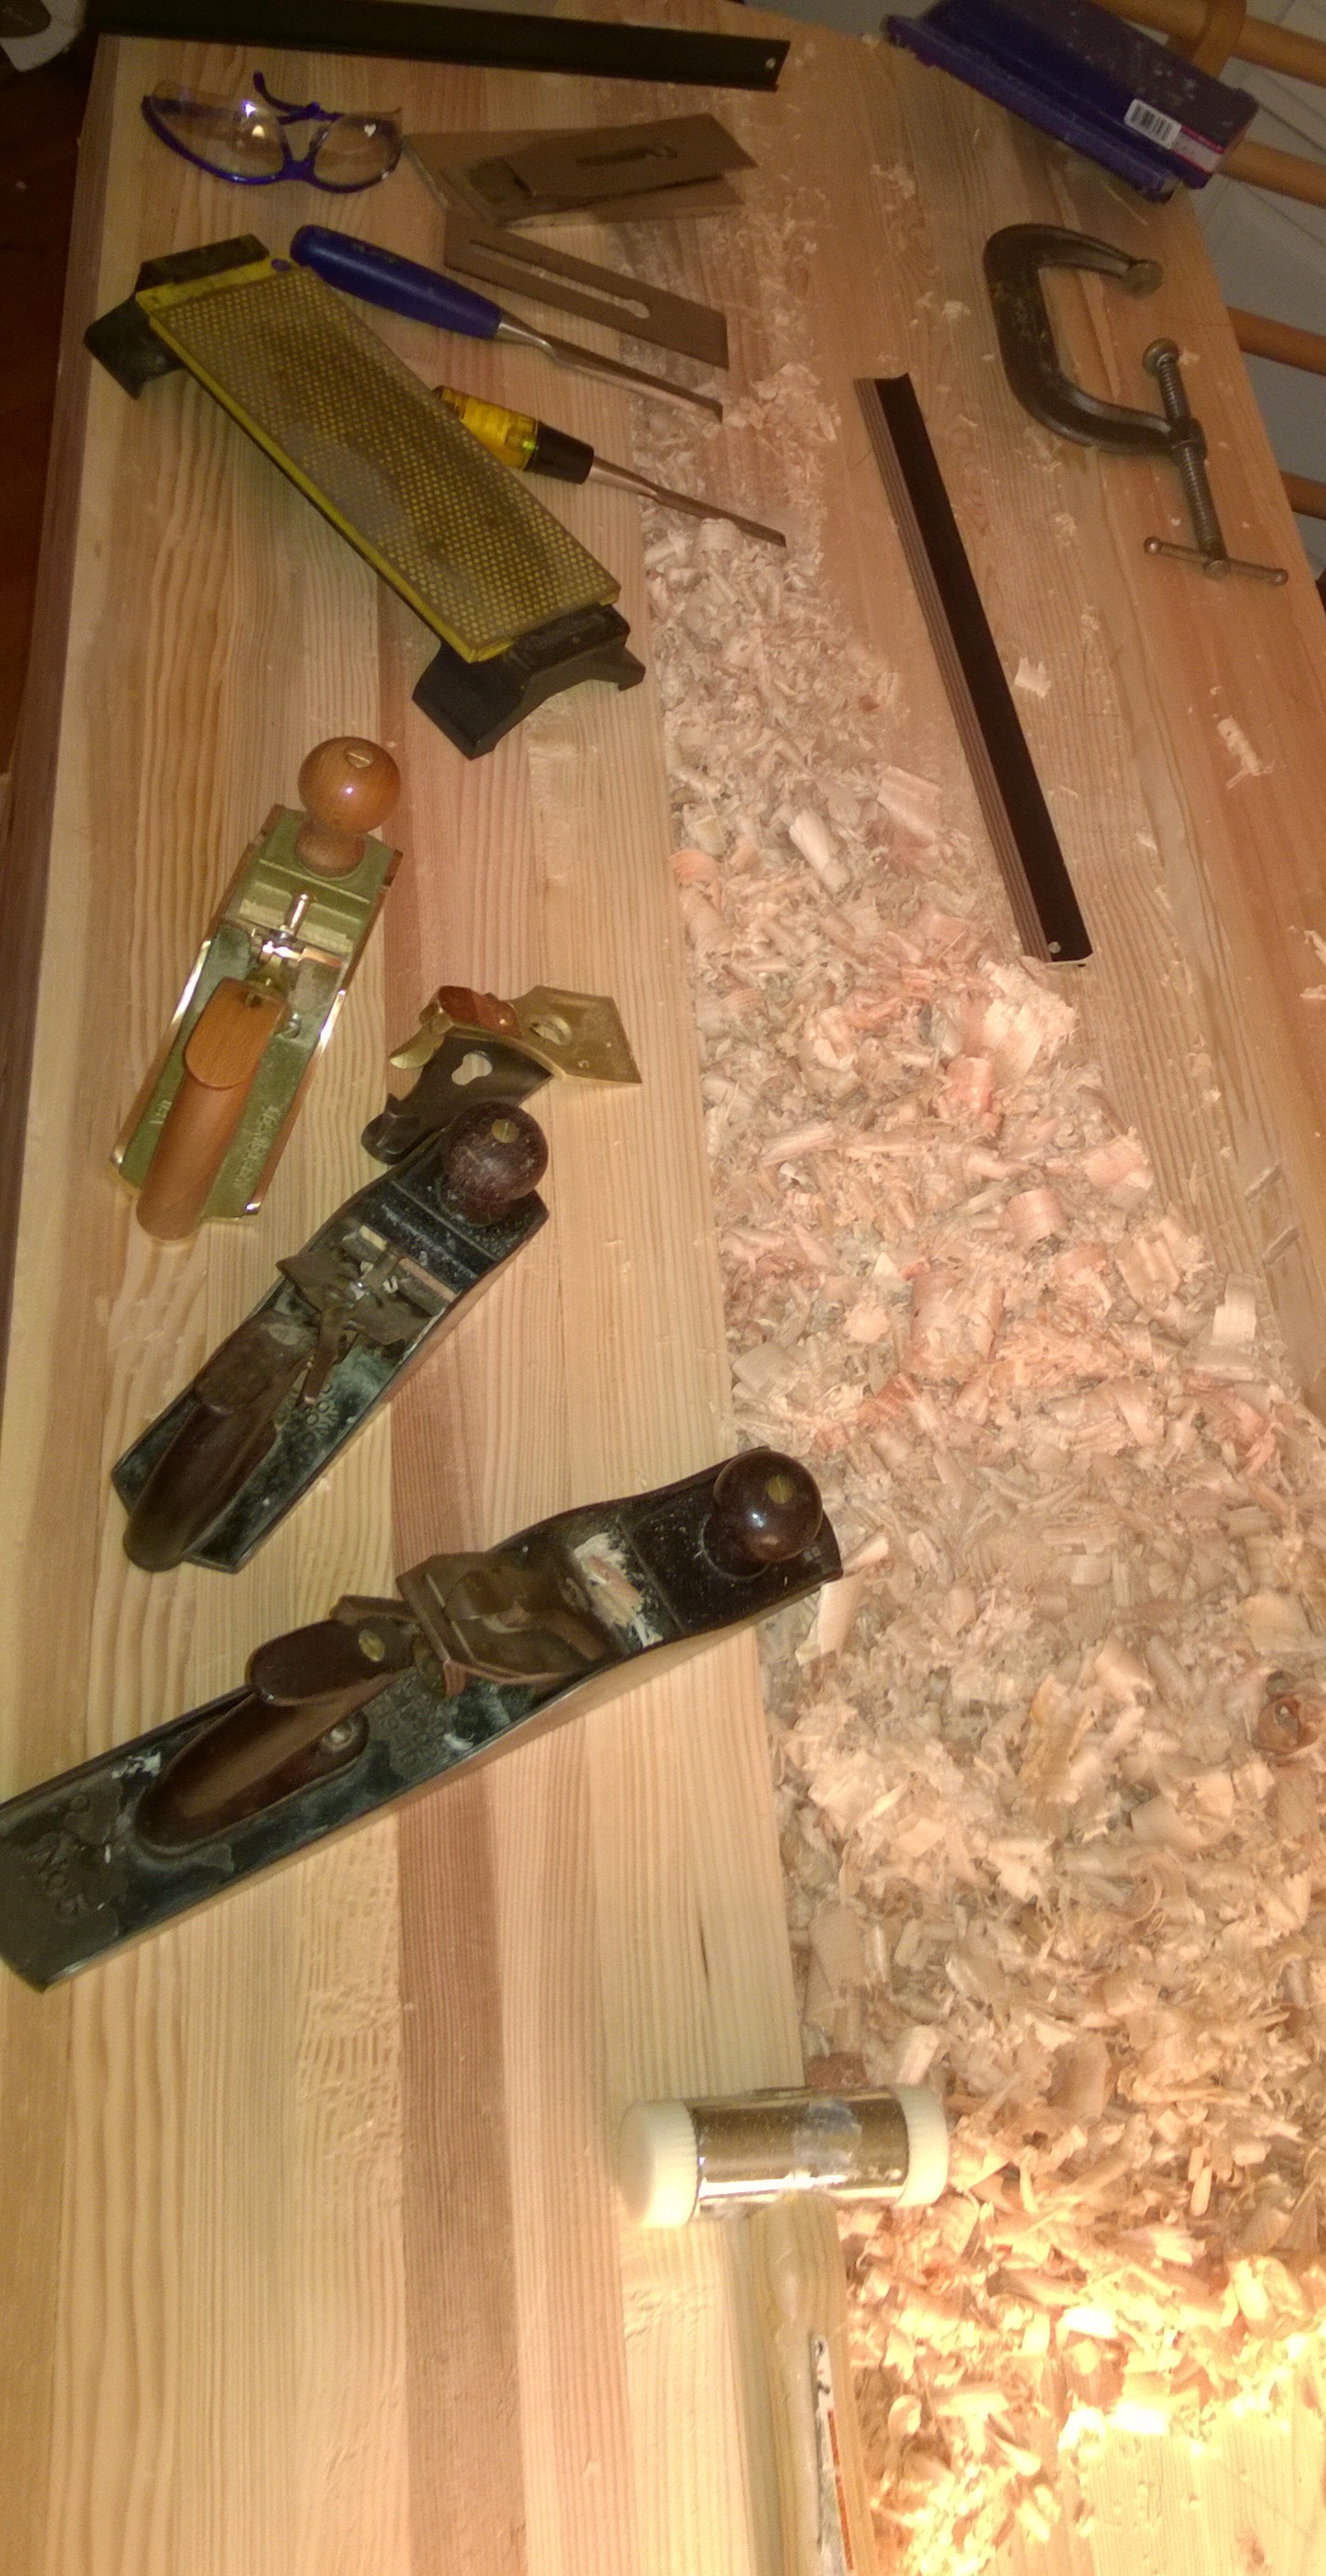
Time to flatten the top! Took out the #5 Bailey that I have setup as a scrub plane to rough depth the top. I then cleanup with a Number 4. I must have sharpened the Bailey iron better than the Lie Nielsen, as it planed some great shavings verus the Lie Nielsen (entirely user error).


Notice the diamond stone and water stones at the back. I had not sharpened things since I started and well that gave me some unexpected tear out. I stopped and sharpened the planes up and what a difference.

The well board is cut to length and chamfered on the bottom to match up to the tops. The bench is almost done.
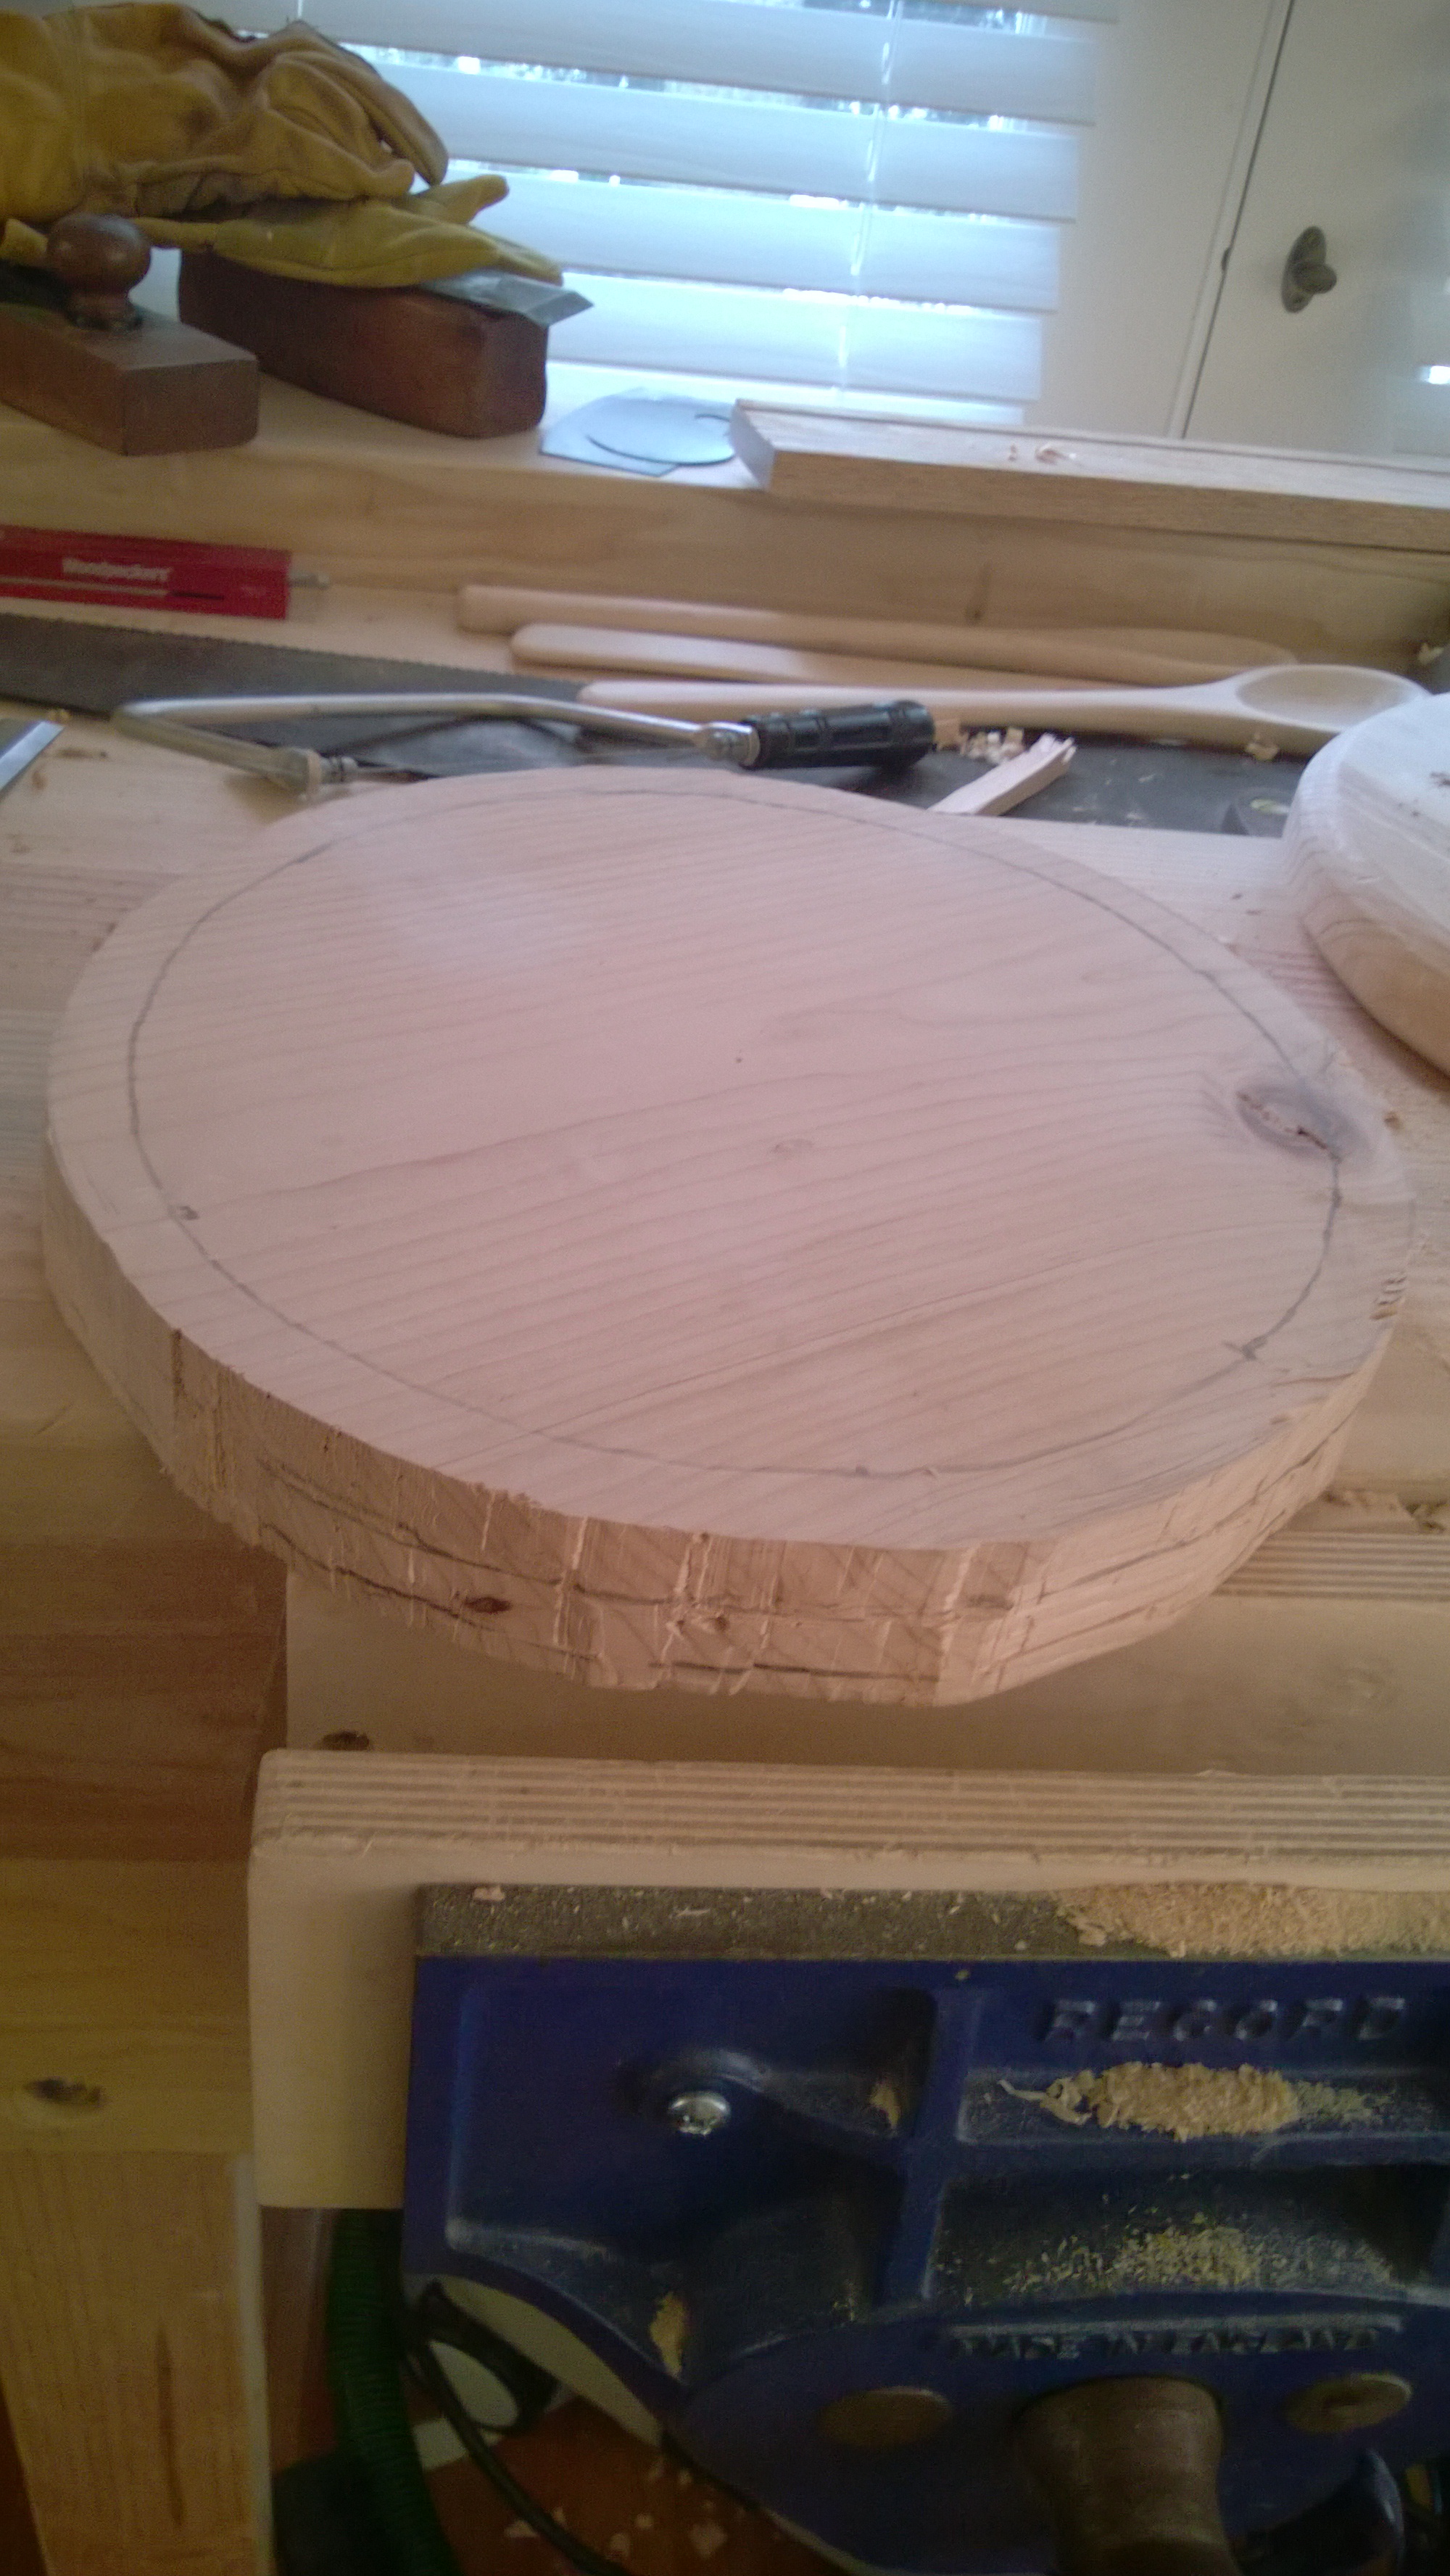
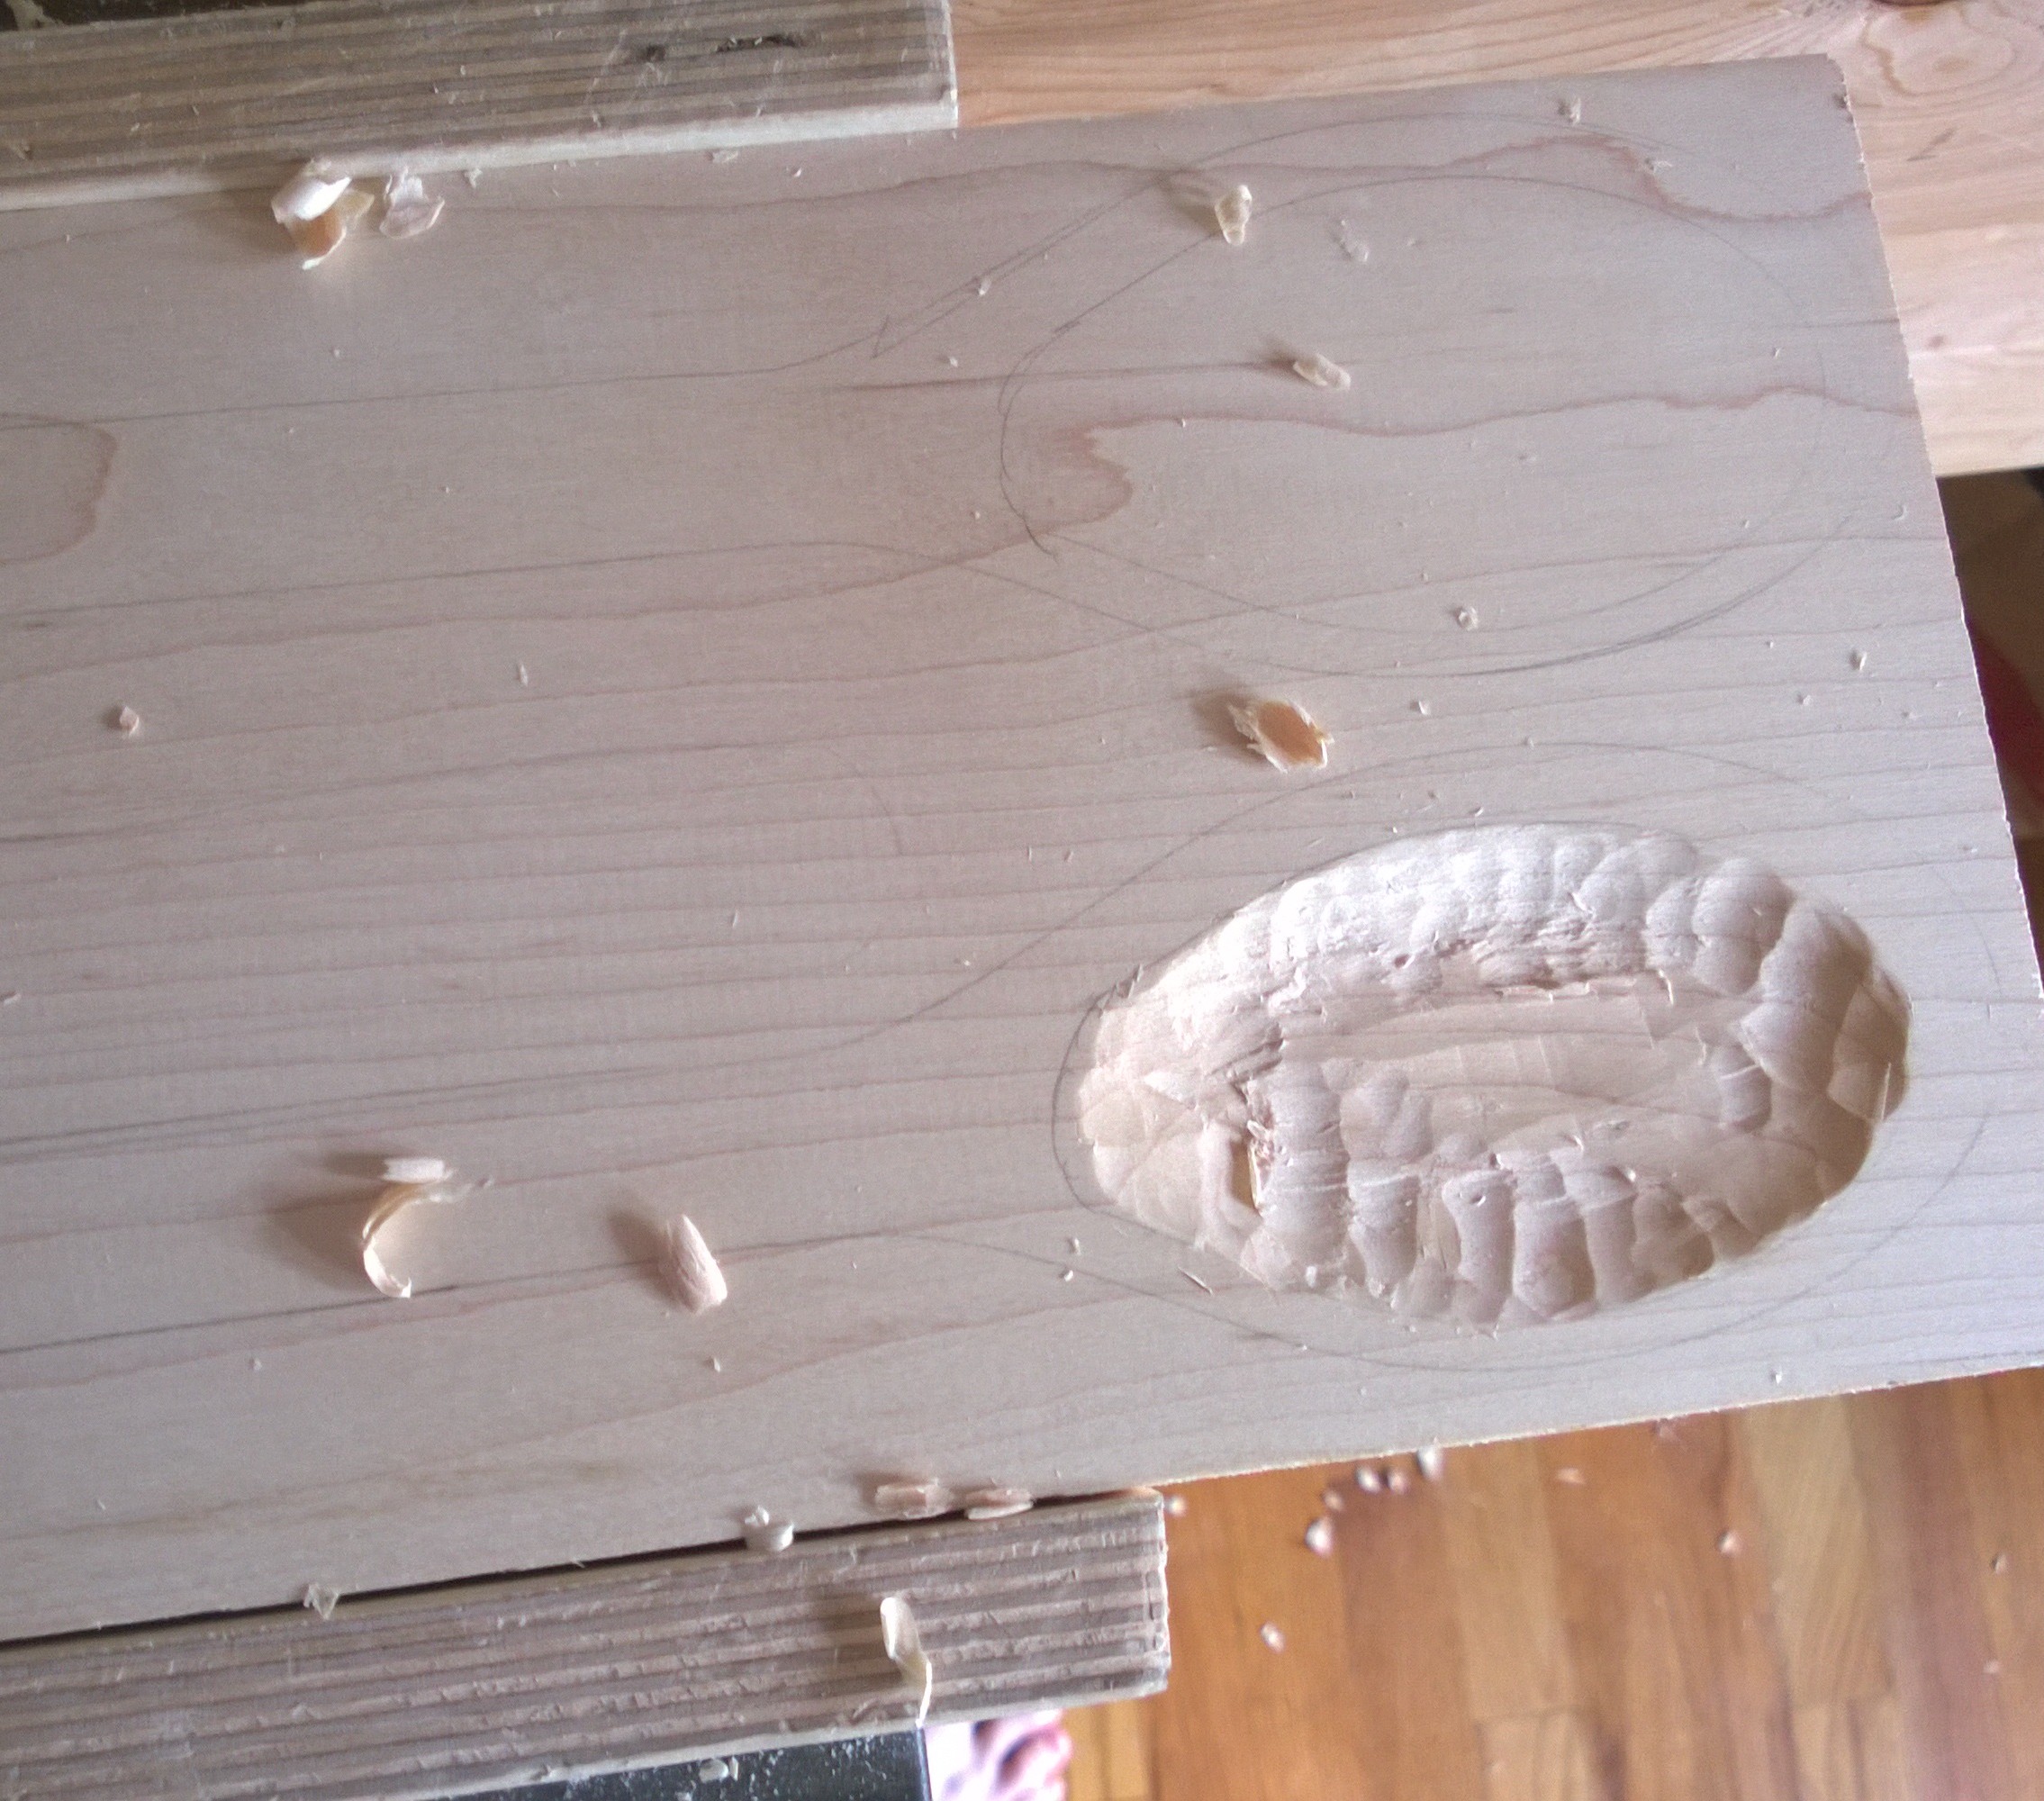
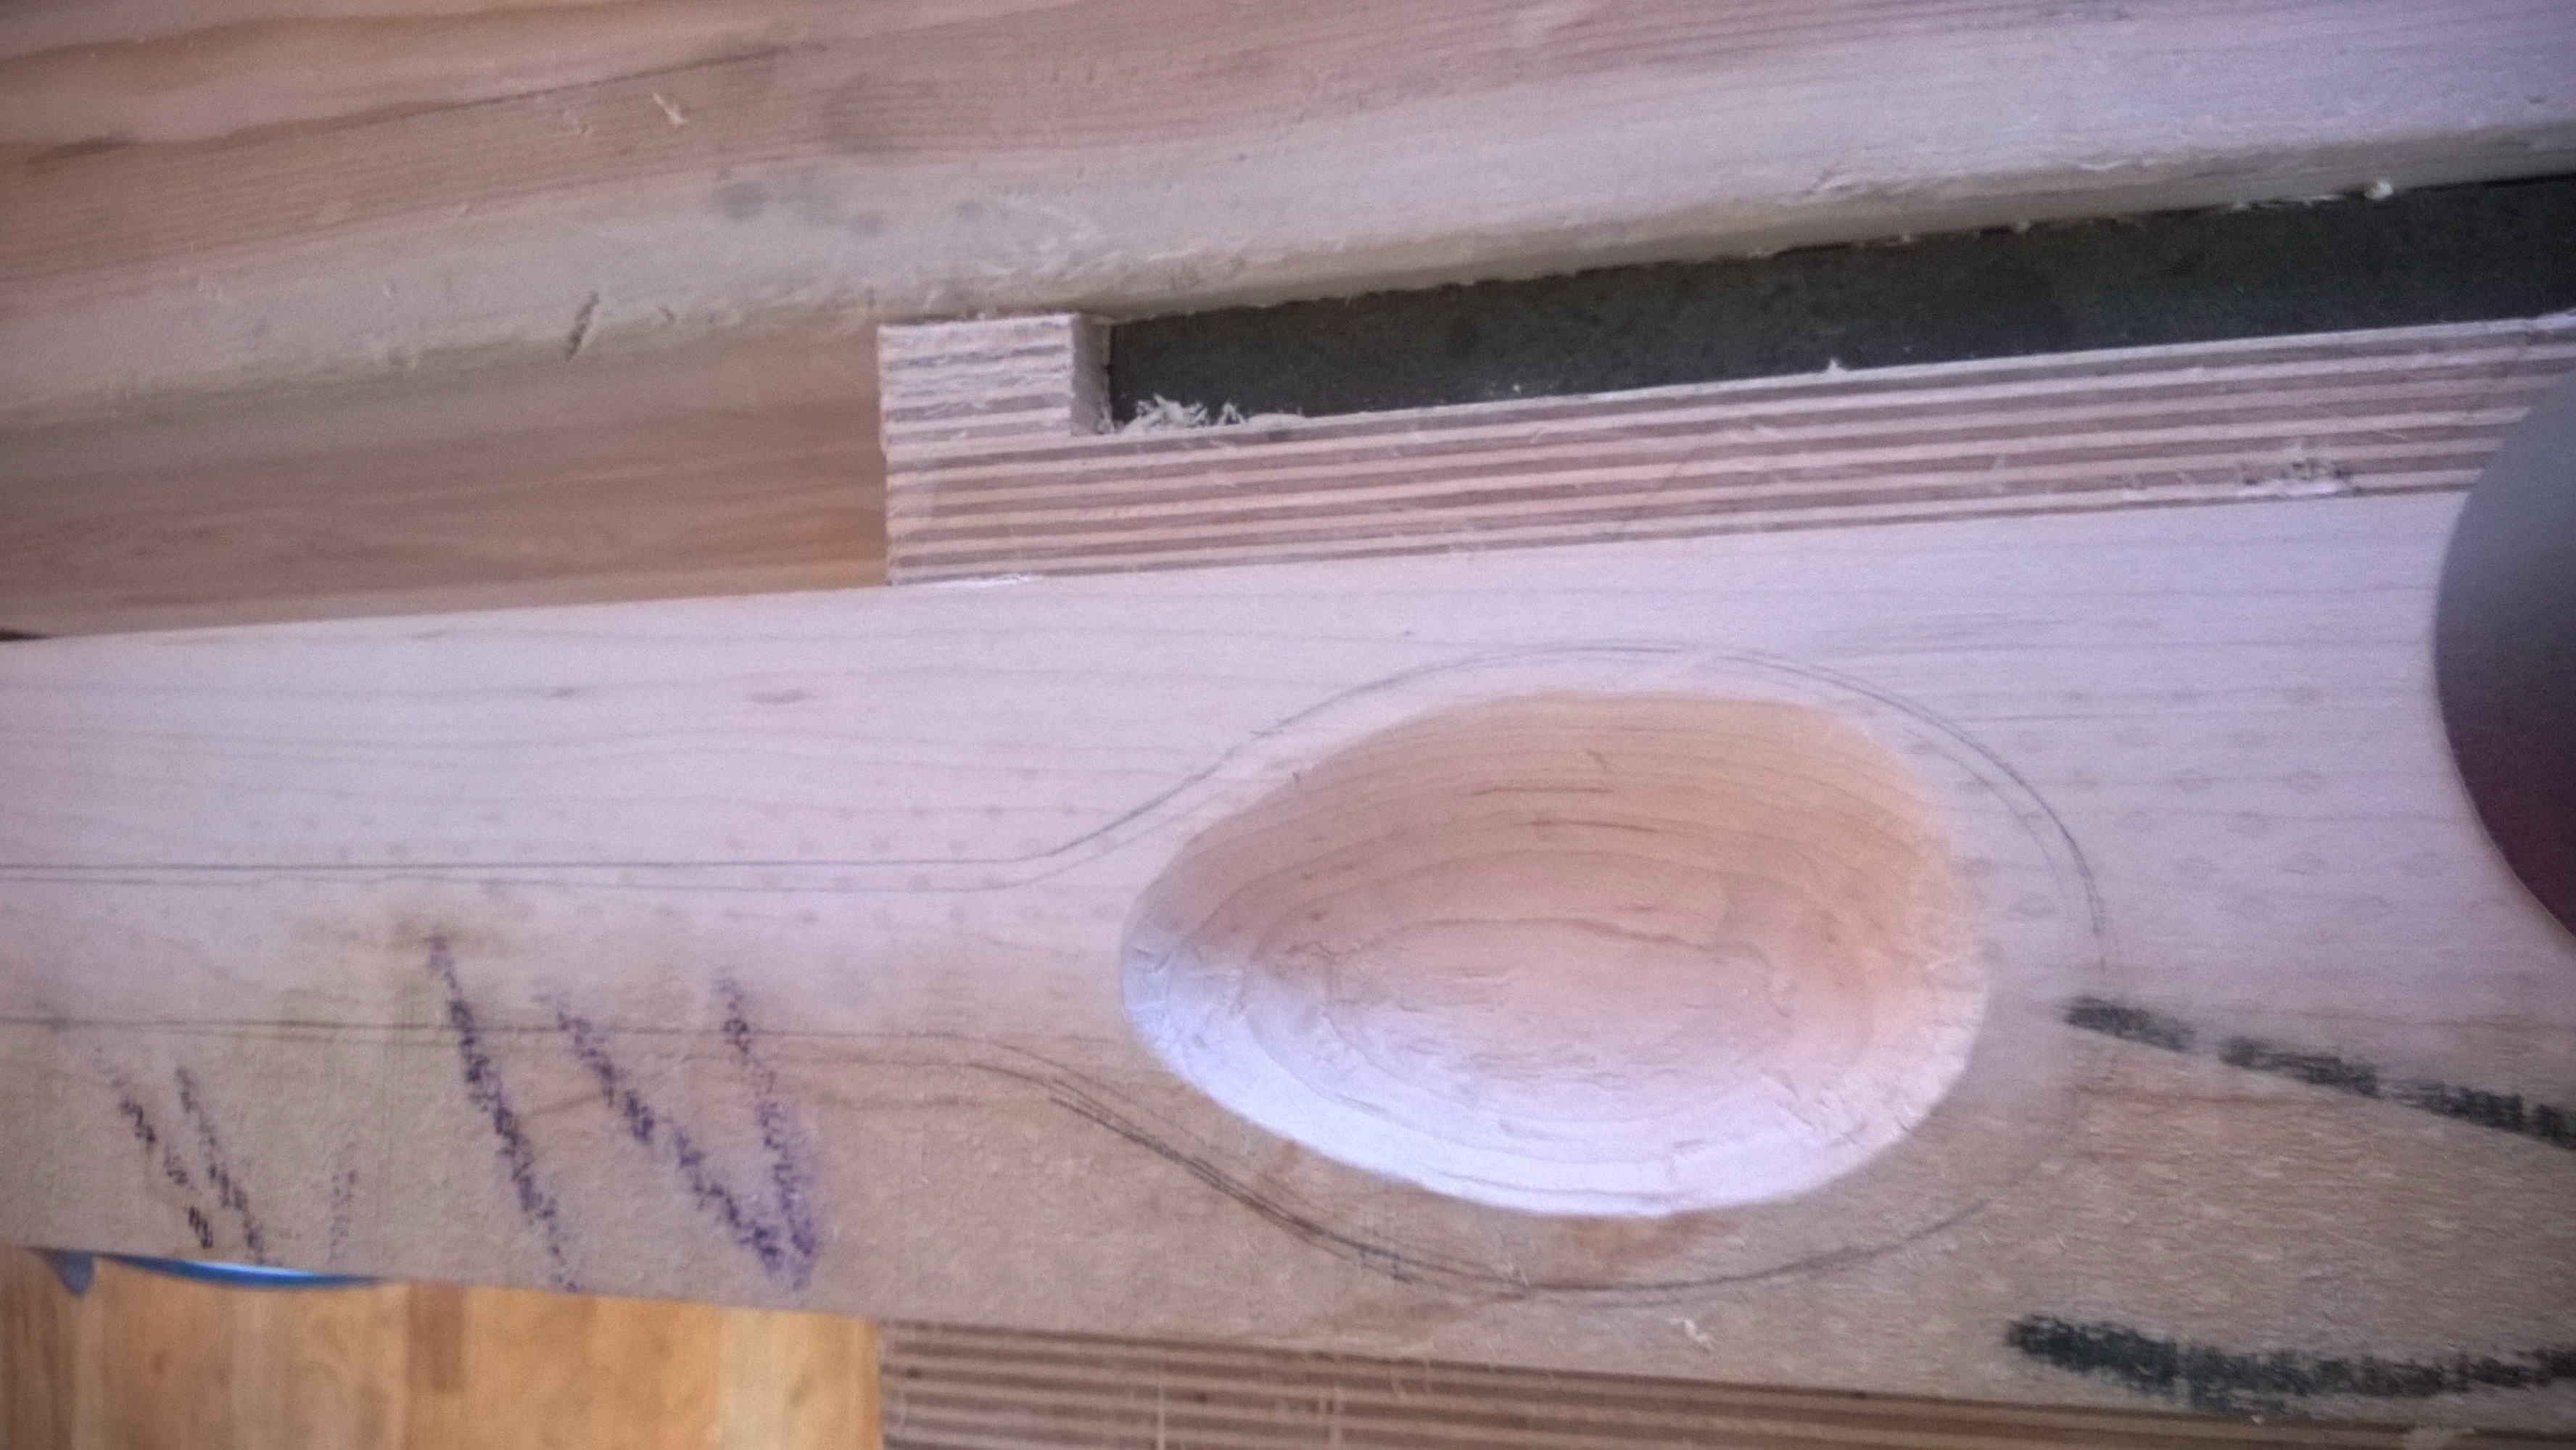
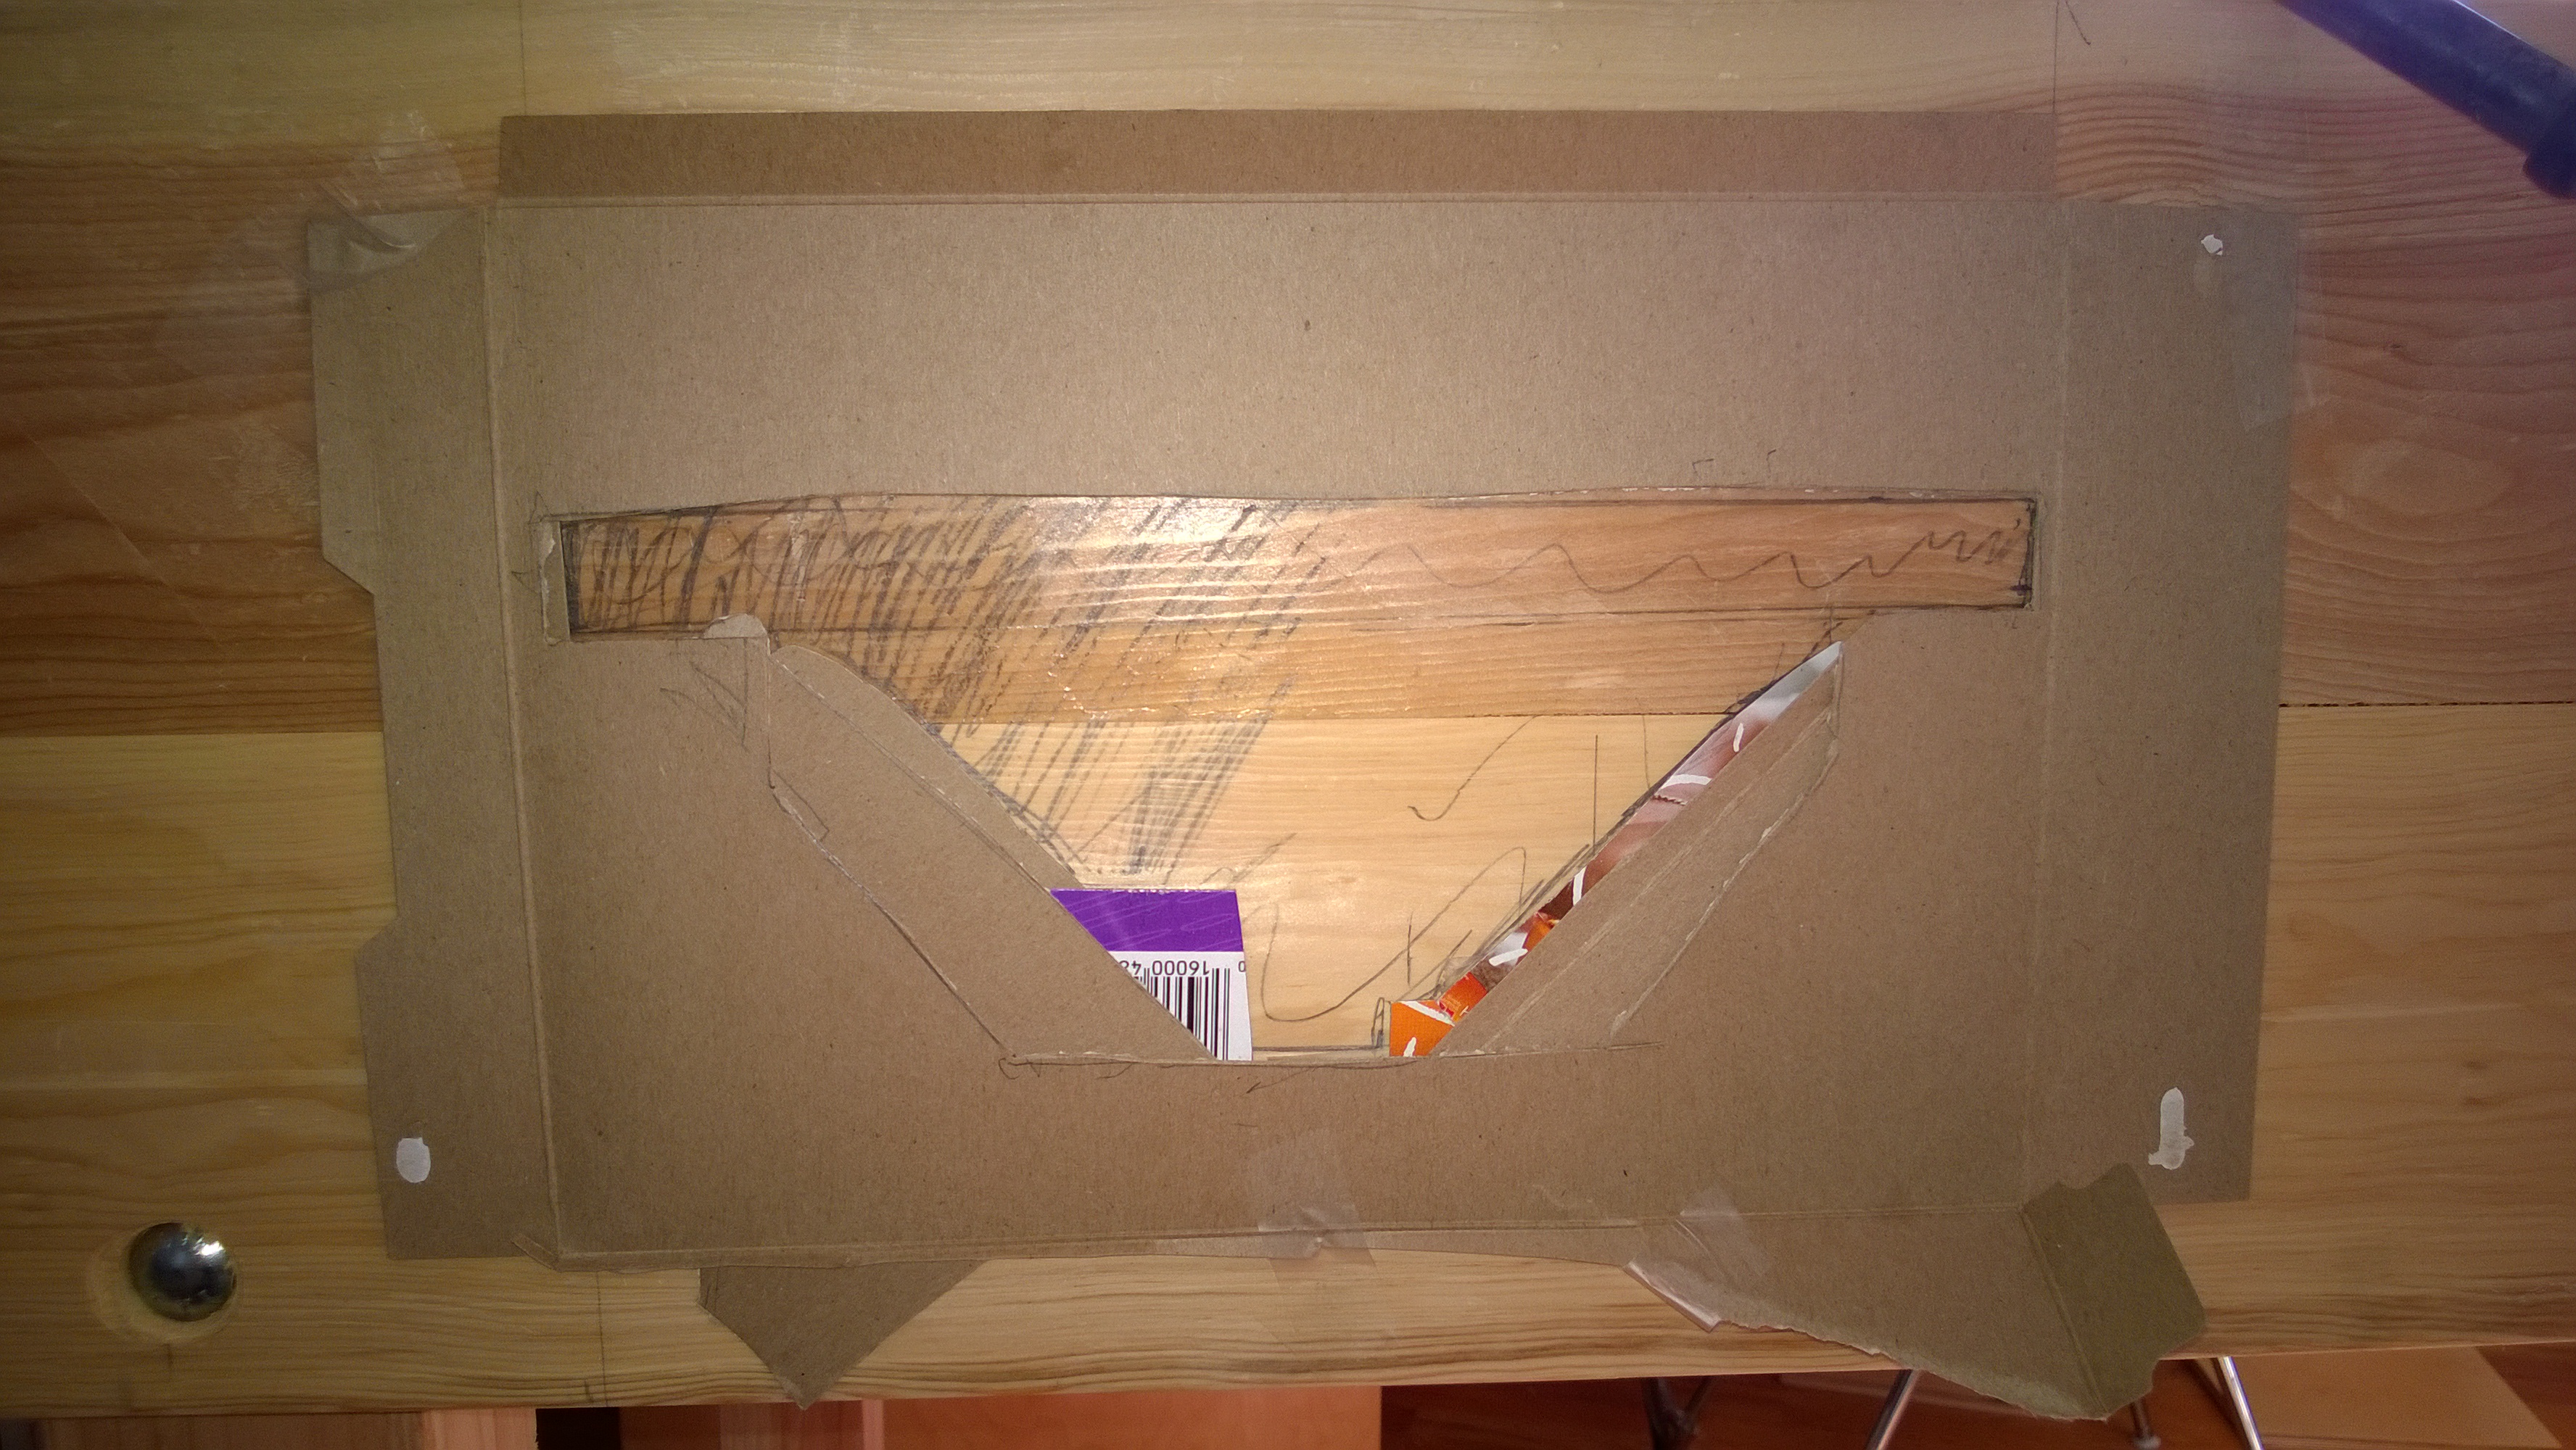
Time to add a vise. I thought about how Paul did it, he held the heavy vise up against the bench and traced things. Paul has a healthier back then me so I went the way of non lifting, I made a template. I started with the basic measurements of where it was going like Paul did, then I put that on a template. I flipped the vise on its back on the bench and completed the template leaving some room for adjusting the vise. You can see the template material is expensive construction grade cardboard held together with industrial tape :).
Note: I did not leave enough room for the quick release to work but that was fixed in about 30 seconds with a chisel and I didn’t even have to remove the vise.

Template was then taped to the bench where I colored in the cutout as I had some markings on the side before the template idea came to me.

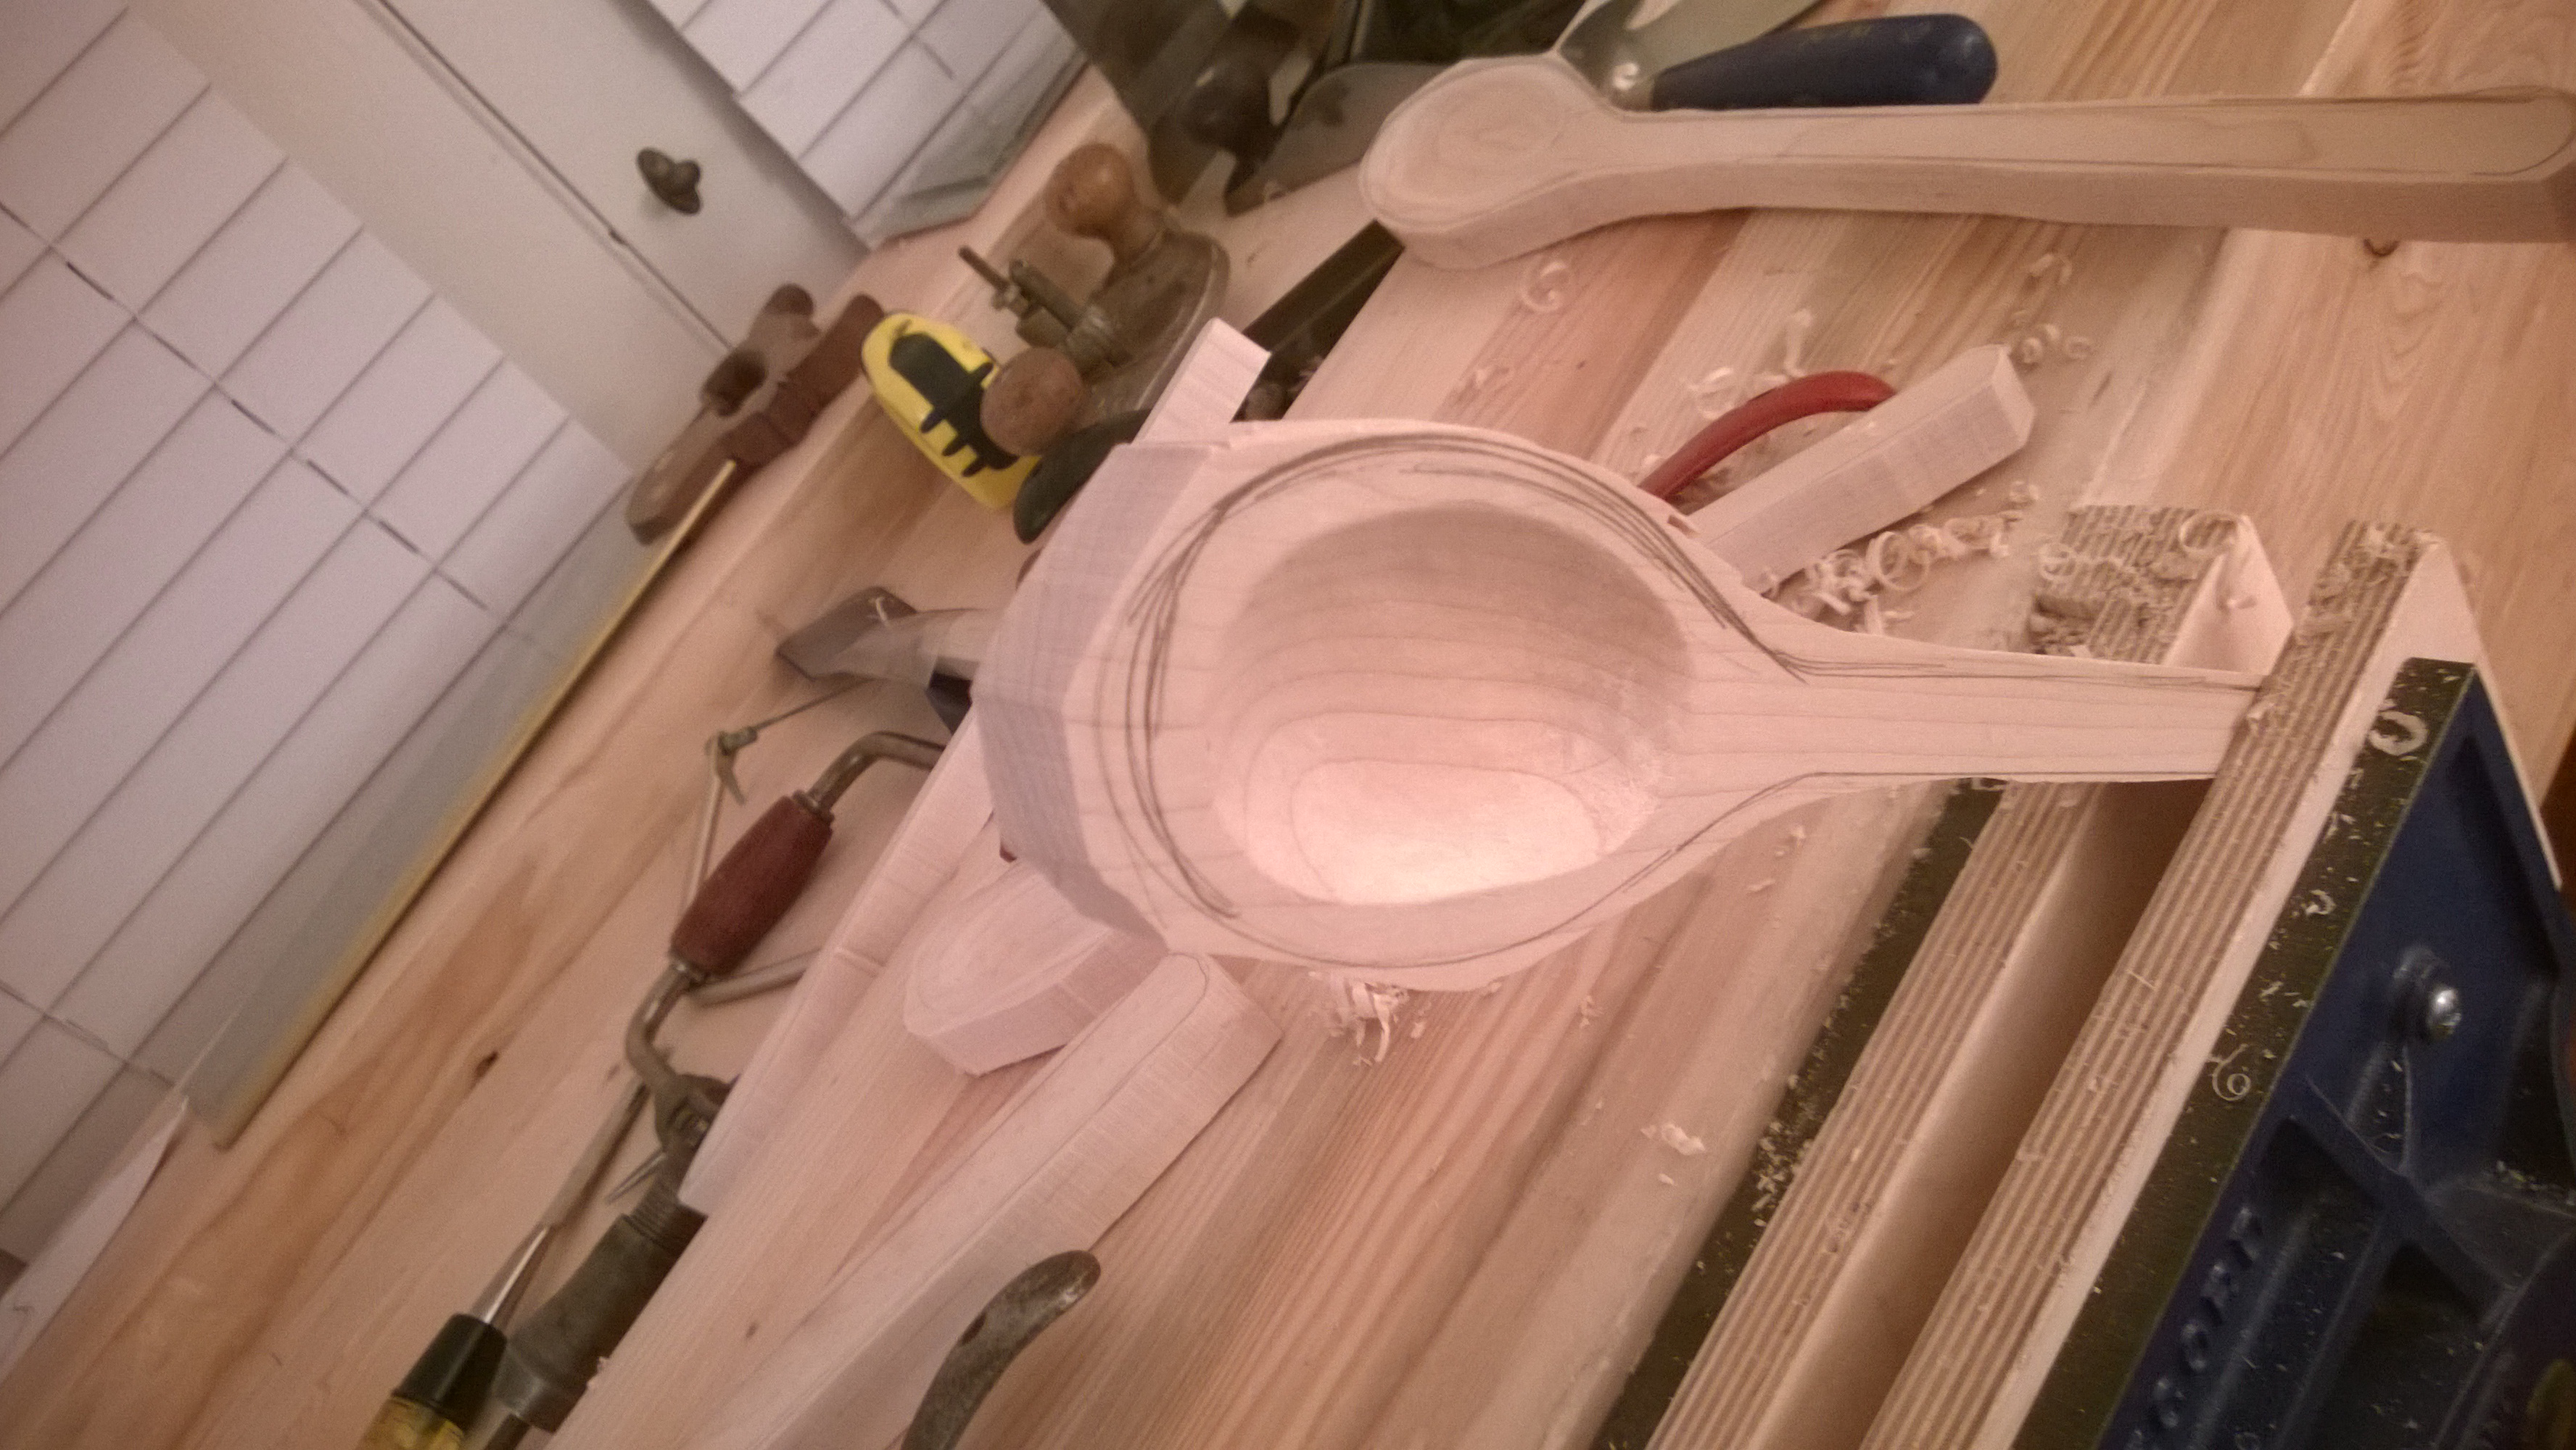
Time to cut it out. Brace and bit, chisel, sure I could do that, but I had a cordless drill. I drilled a few starter holes and grabbed the jigsaw.

Festool again, picked it up off of craigslist and the dust extraction is great. Remember I am finishing this in the living room and dust collection is critical.

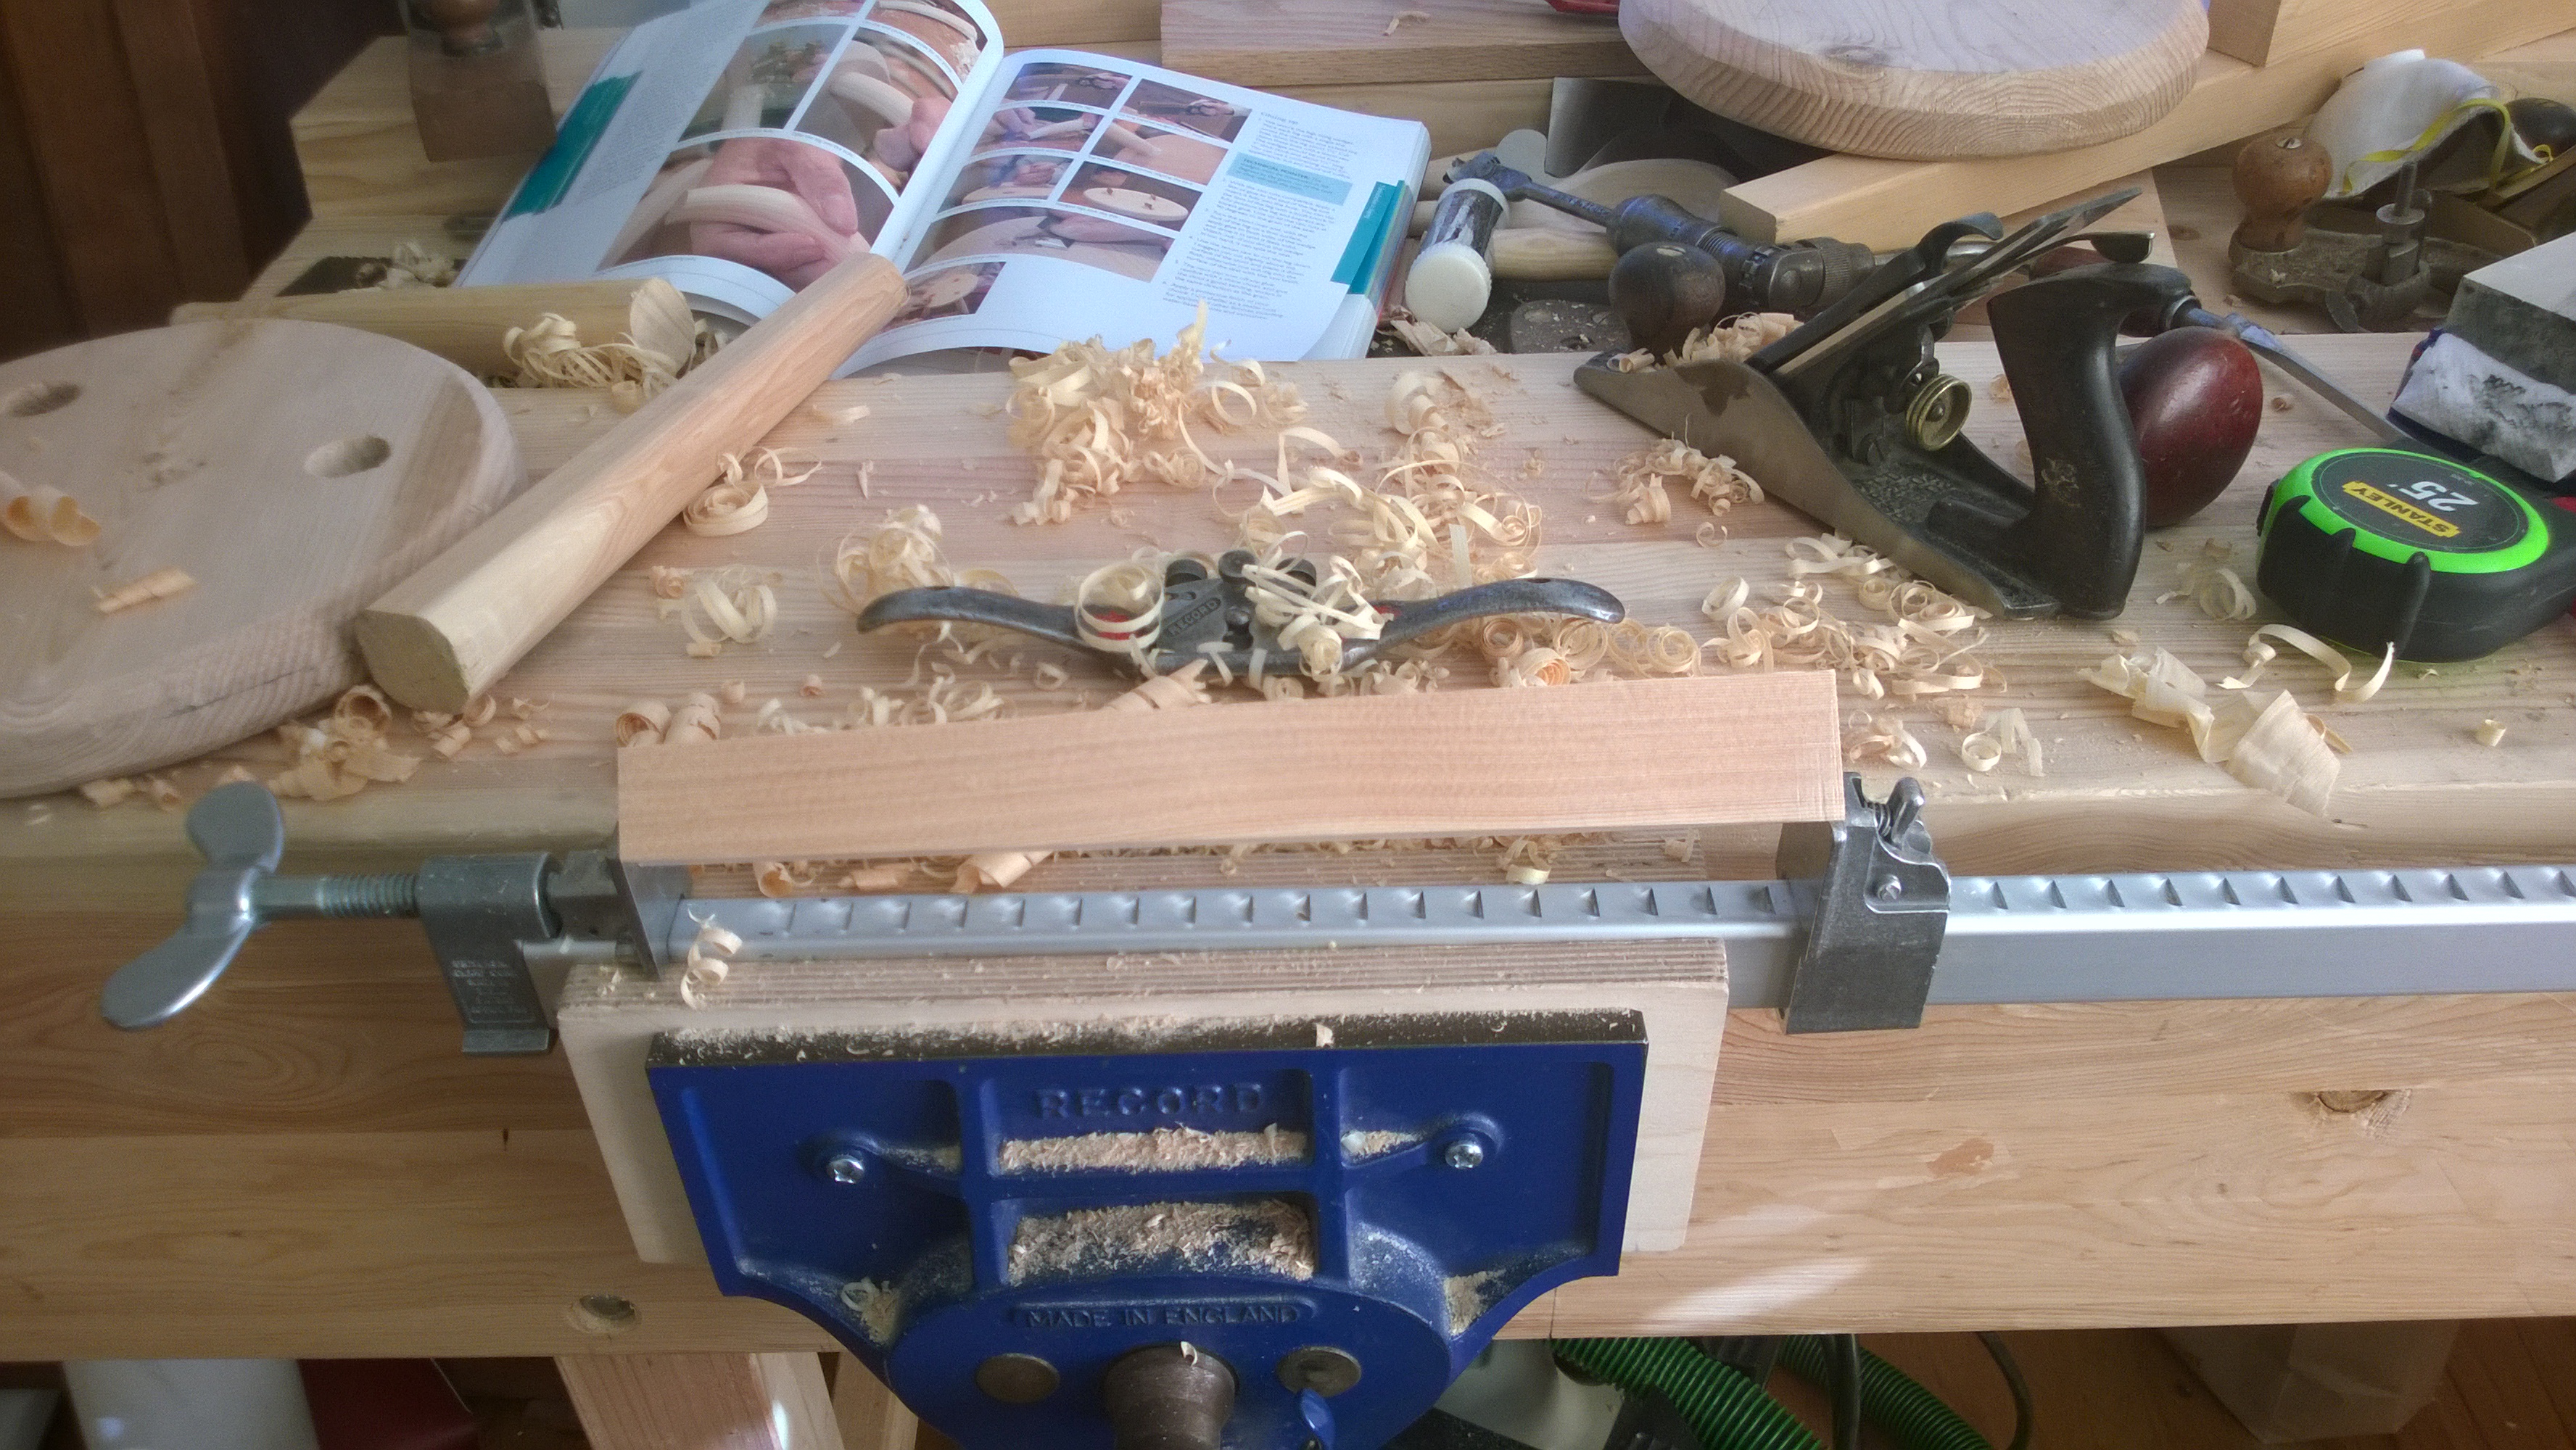
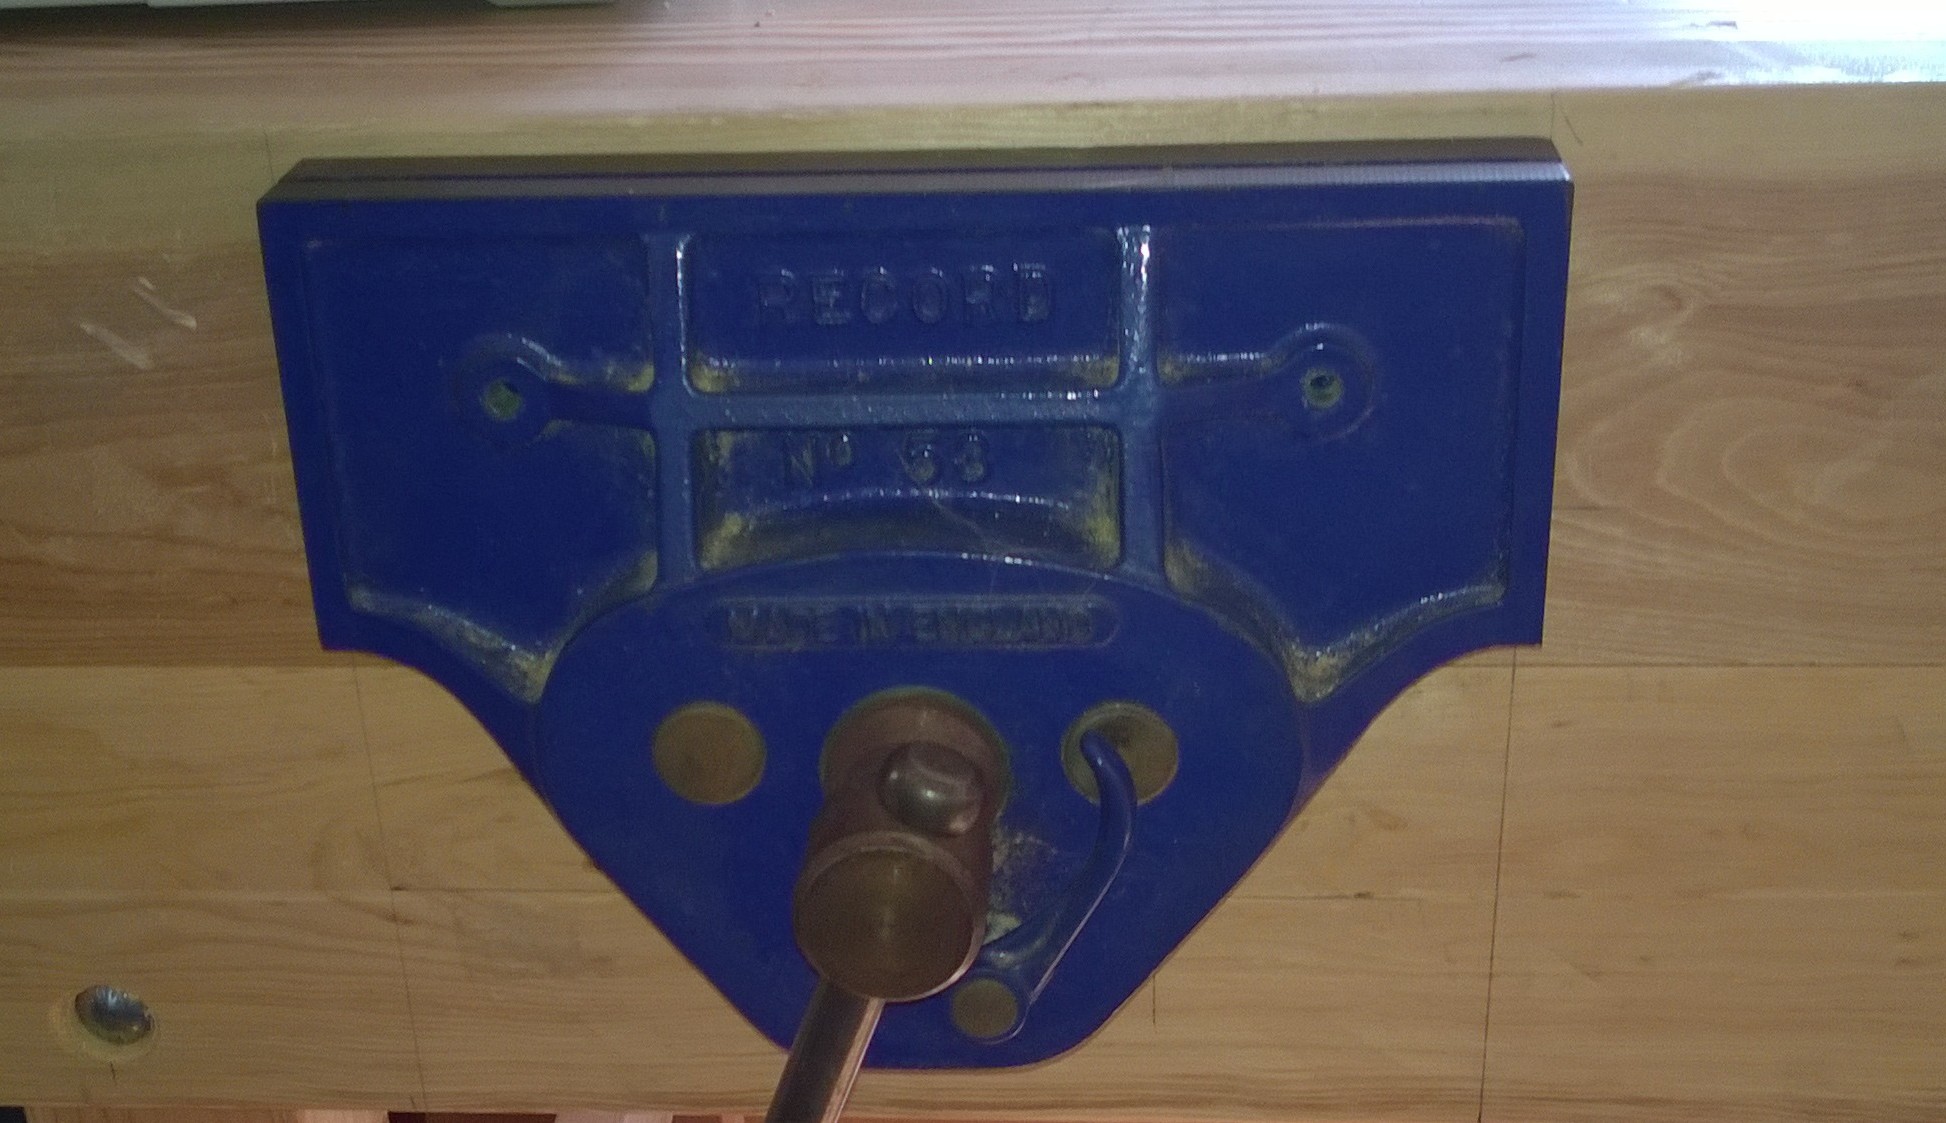
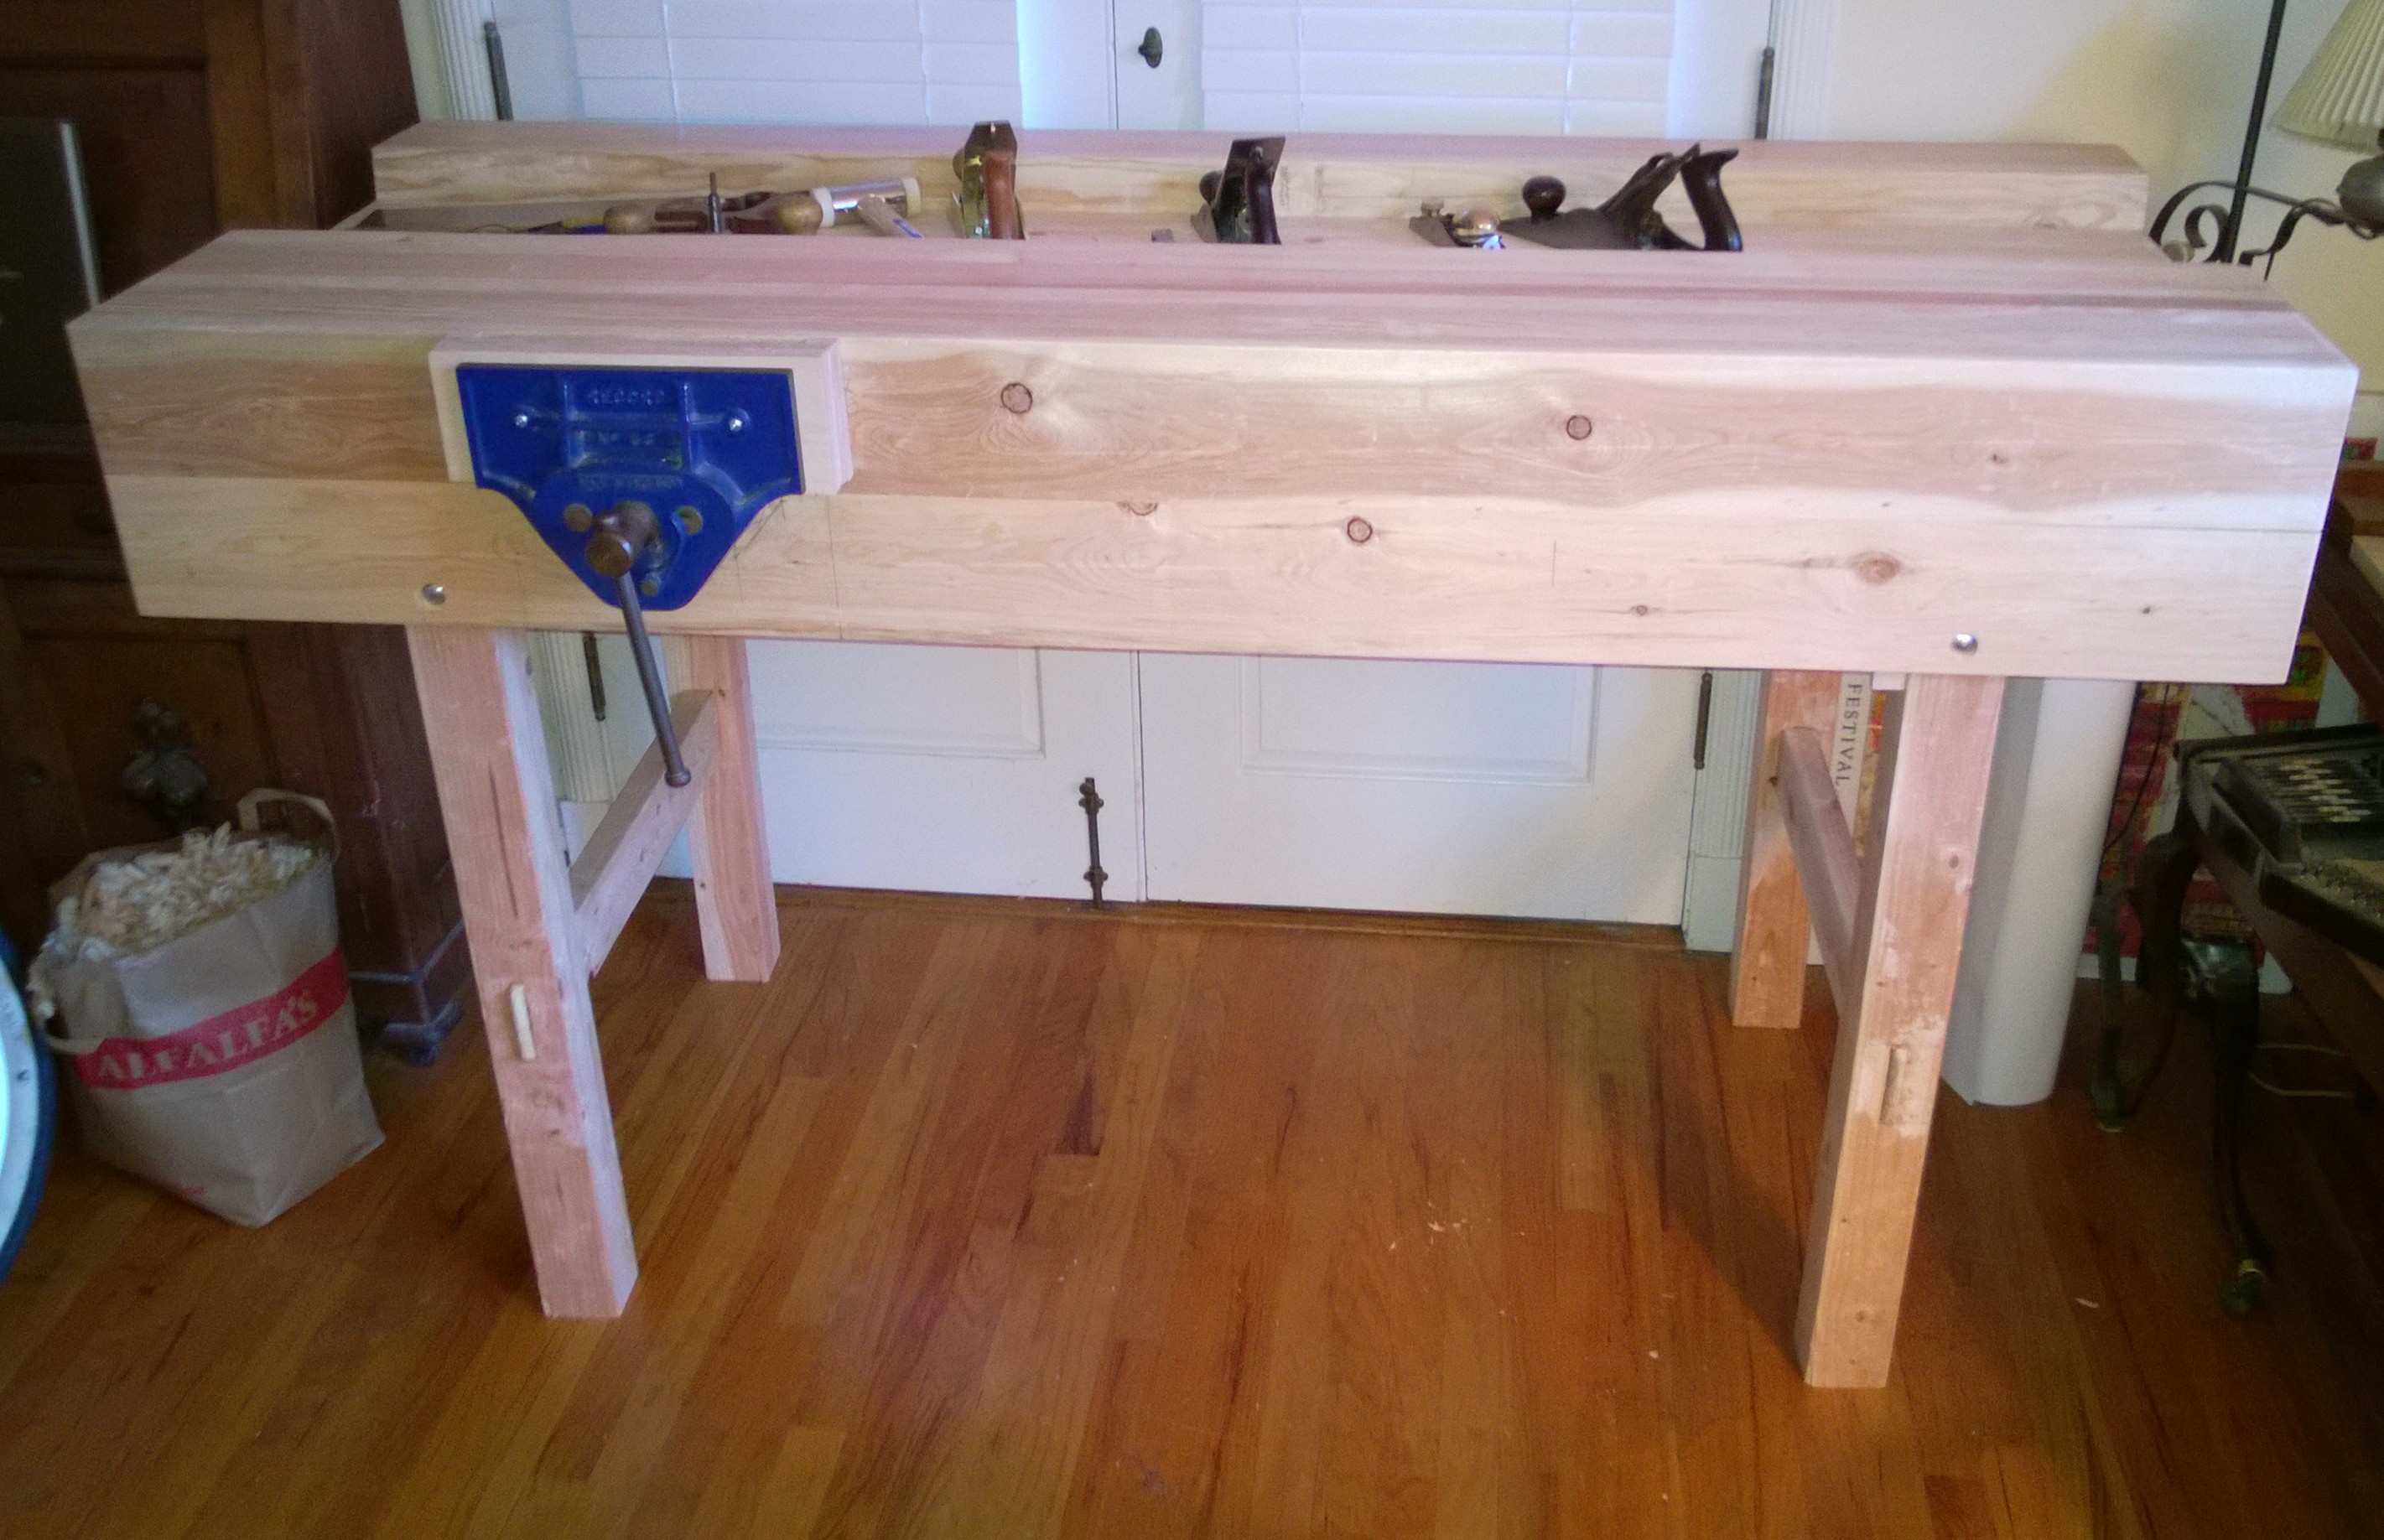
All done, now for the vise. The vise is a Record #53 purchased off of ebay for 200 dollars plus 48 shipping. Even with my 3/4 baltic birch on the the 10 1/2″ jaws it still opens to 14 inches. I will add a dog to the vise shortly, I also need to look at installing some bench dogs.


Heavy, yes, and with the vise even more.
Stable!!! I could not have imagined how stable this bench is with no glue on the legs. It doesn’t shimmy a bit. The wedges lock it down solid. The mortise and tenon’s on the legs allow for zero movement. Not bad for a first mostly hand tool adventure. Now I can work on some real projects now I have a stable bench. And I learned a lot about planing, chiseling, and sawing on a workbench that cost 130 in wood. Much better to learn on the bench then with expensive hardwoods.
That said, could I make the bench better a second round, yes.
- One I have a stable bench to work on which is half the battle.
- Two, sharp tools make life so much easier. Stop and sharpen.
- Understanding grain directions and how it affects both planing and chiseling. I have some tear out on the top but its a bench, it will be hammered on, chiseled into, etc. I will not make the same mistakes on a hardwood project.
- Glue up, leave the clamps on longer if the boards have any bow whatsoever