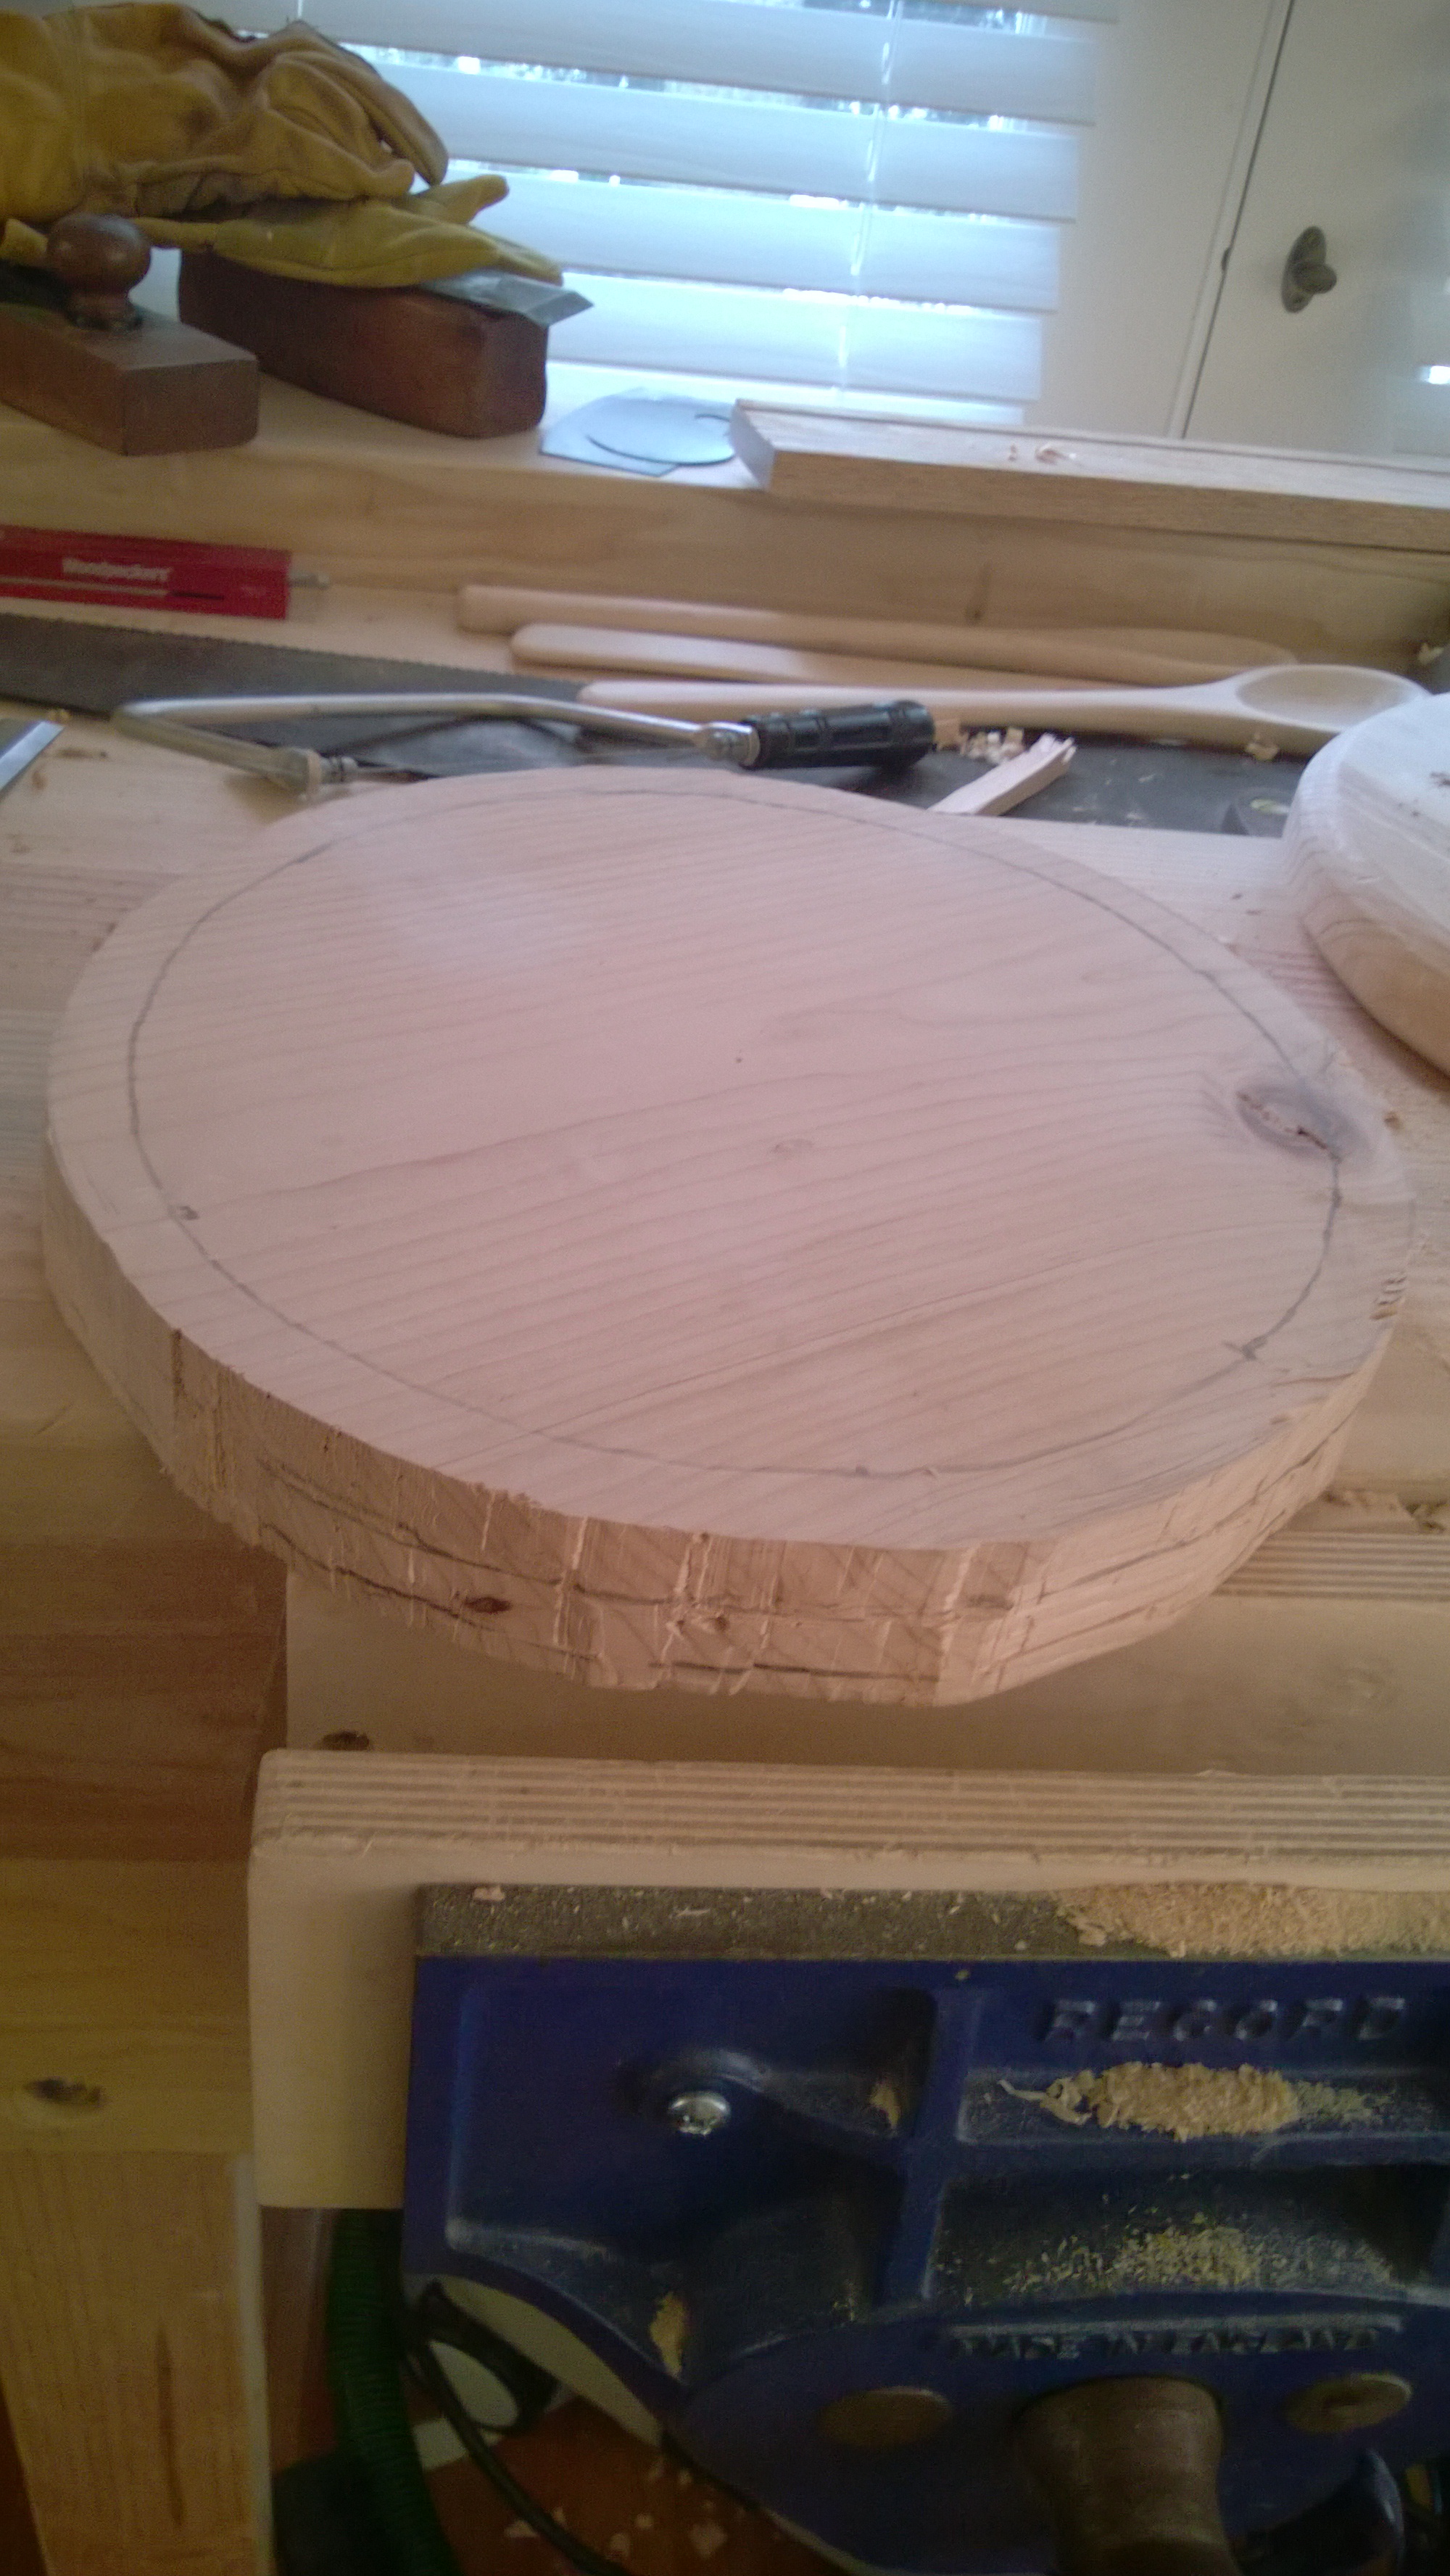
Next up from the Paul Sellers book, the three legged stool. Starting with a 8′ long 2×12 of douglas fir I cut out two squares. One I cut out on the bandsaw, the other with a chisel. The one on the right in the following photo was with the bandsaw. It was quick an easy, I could have also used my router with the circle cutting jig, or used a circle cutting jig on the bandsaw. I see no problems with how its cut out, the end goal is a circular piece of wood.

Figuring the point of the book was also to try new techniques, I made a second seat. Chiseling a circle is actually remarkably easy. The grain was pretty straight so it split of quite nicely. So if you don’t have a bandsaw, don’t fret a chisel works just fine.

I did have to be careful as I got very close to my line.

All done, not so bad, next round I’ll stick closer to the line all the way around You’ll notice the coping saw in that picture, I did use it to take care of some of the cross grain on the ends, easier than the chisel.

Marking the seat with pencil to help guide the spokeshave rounding over of the seat. The first seat I forgot to do the guidelines and my experience with the spokeshave made for ok results. The guidelines on the second seat made things go much faster and more uniform than without. The Record 151 Spokeshave made yet another appearance here.
Both seats ready to go.
Next up was drilling the holes. I used a brace and bit. The first seat I used an adjustable sized bit to drill the holes as I did not have a 1″ bit. The adjustable did not cut cleanly through when I switched sides. As soon as it broke through it was off center and you are done. This left me to have to clean the rest out with a rasp.
So I ordered up some old “vintage” bits from Ebay, maybe I’ll show them in another post as I am missing the photos but it included a 1 inch bit. The 1 inch bit worked better than the adjustable as it stayed self centered when drilling from both sides.

Marking the centers of three legs preparing them to round over. I ripped these on my wood bandsaw.

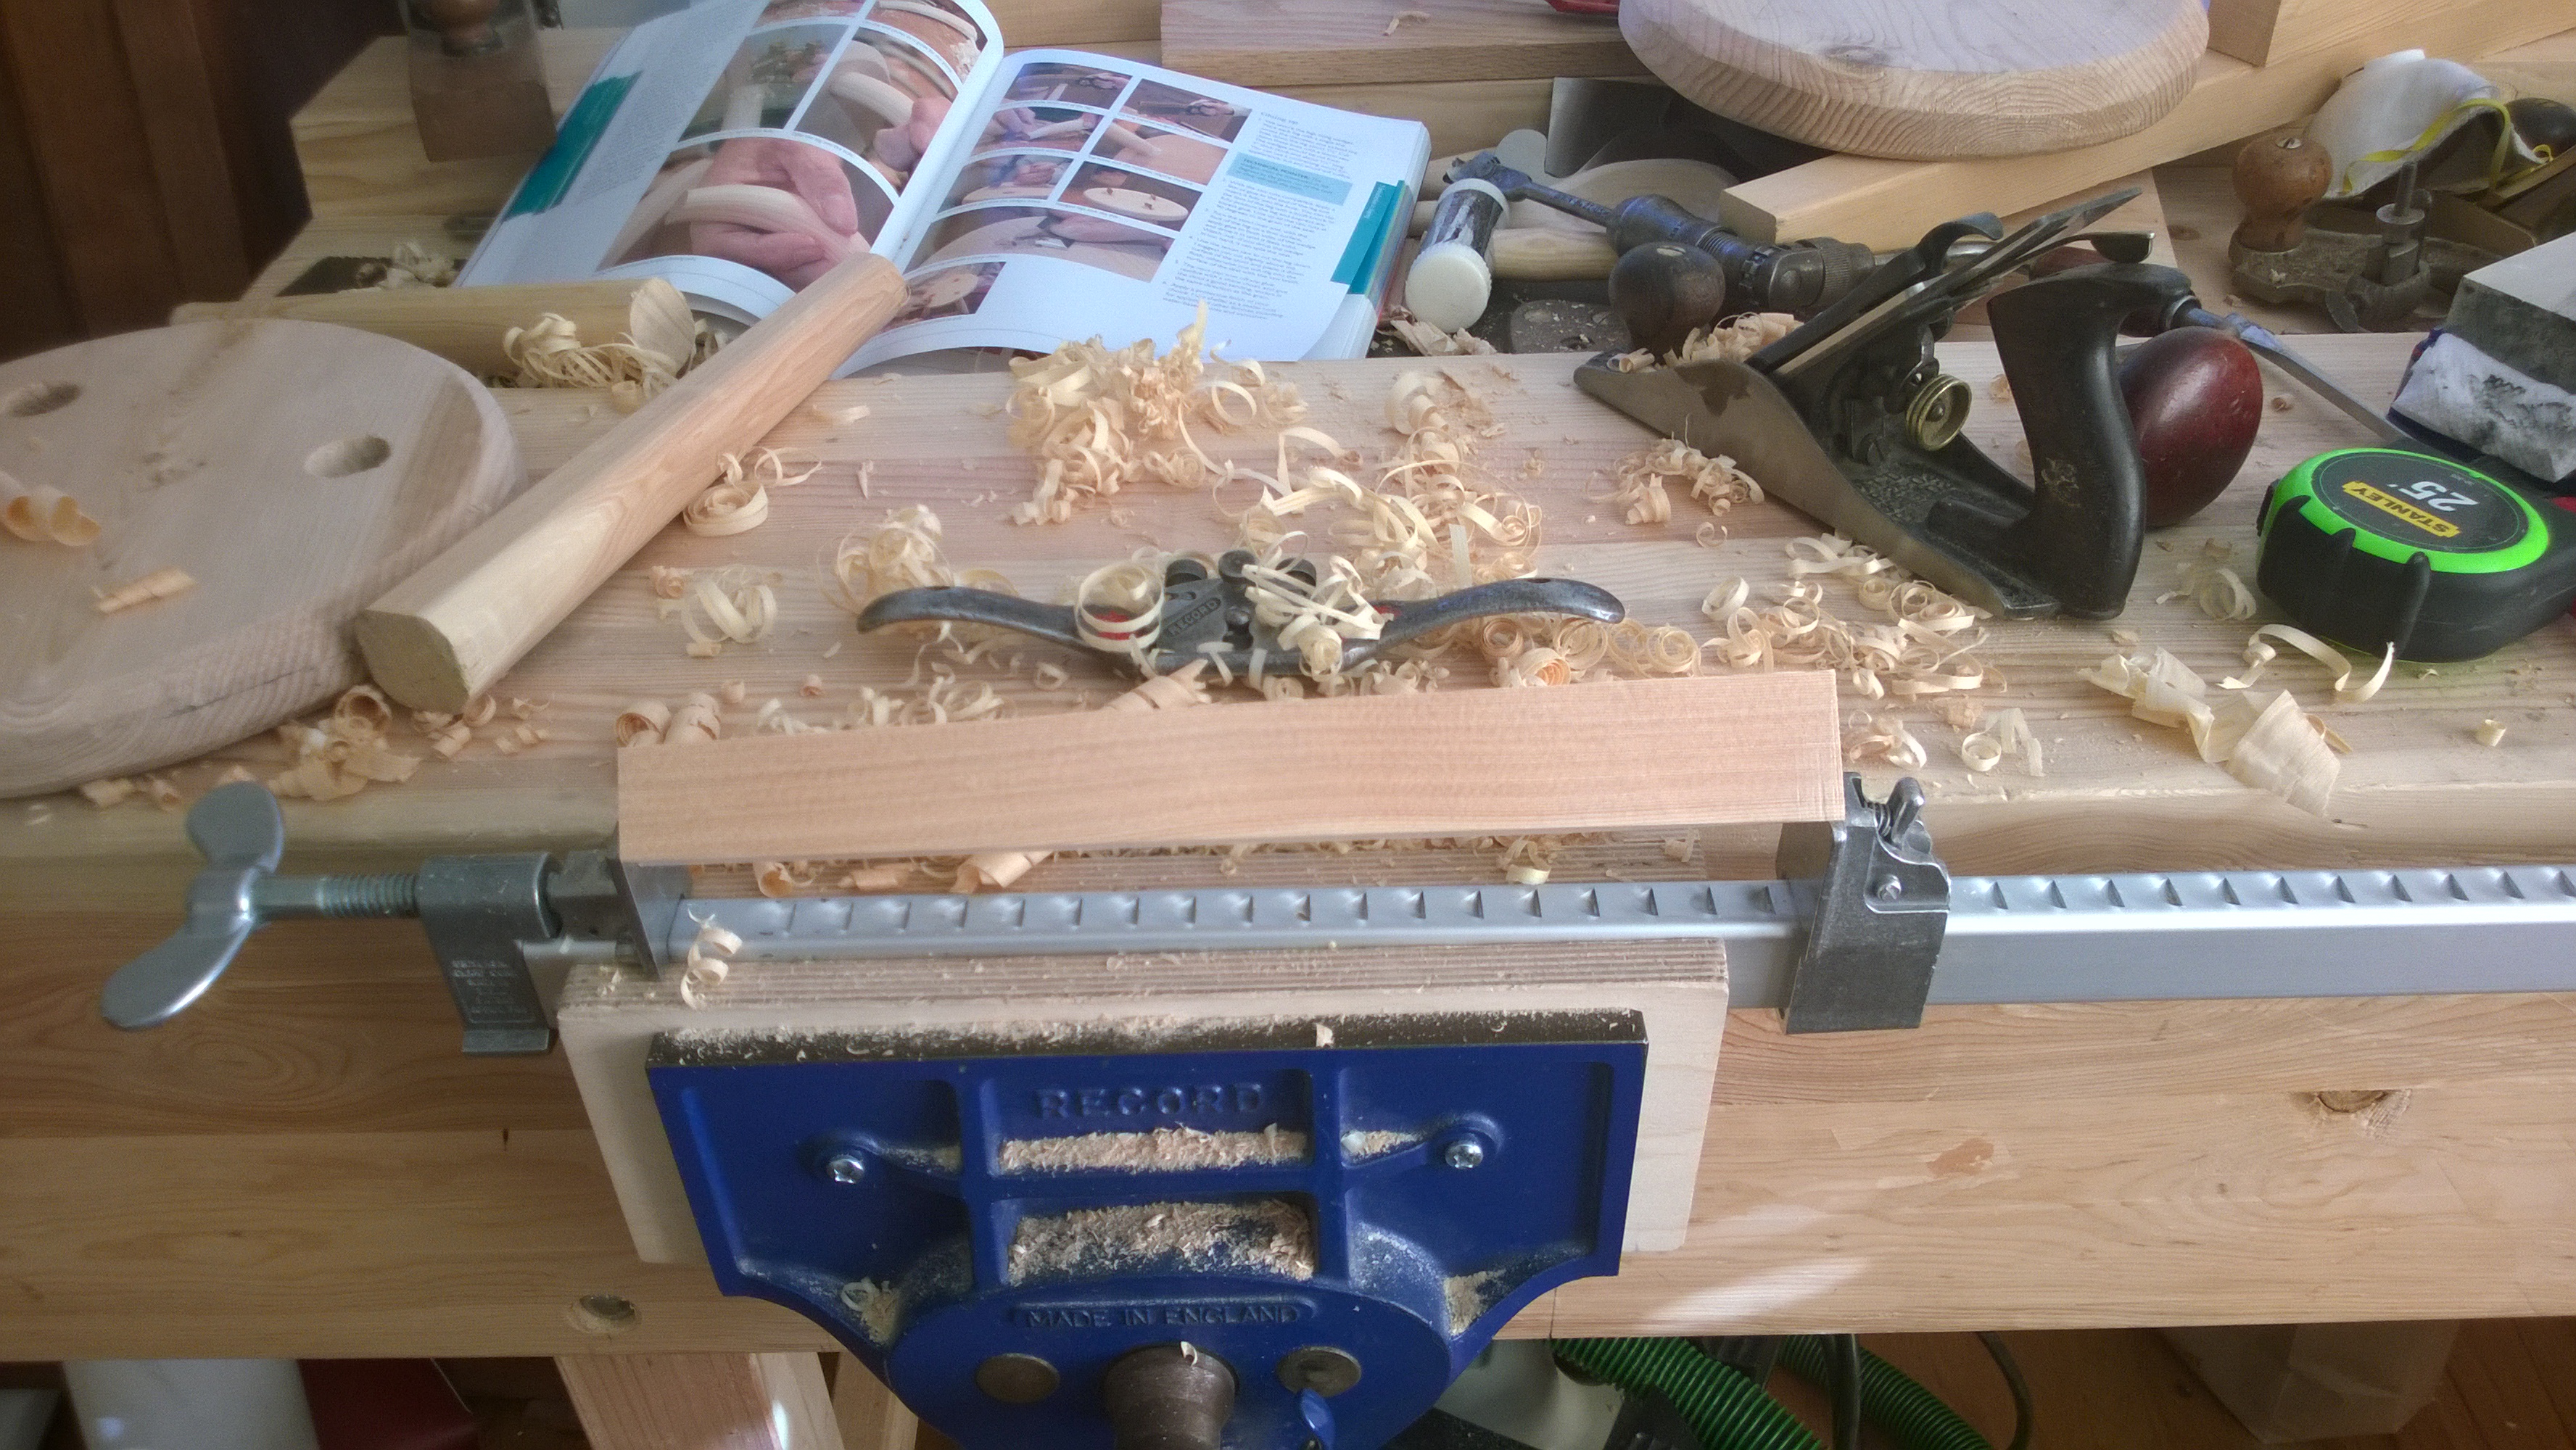
Rounding the legs over with the #4 Bailey plane. Notice the bar clamp, this one from Tools For Working Wood, made by Dubuque Clamp Works. Heavier duty than what you can find at harbor freight and super light (cheaper than my steal clamps and way lighter, happy to get them from an American company). As Paul says the bar clamp in the bench vise makes for a great way to work without a tail vise and placed the work up where it is easy to handle. I worked one at a time and test fitted as I went. Be sure to mark which ones go where once you start fitting.
Three legs fit and ready to assemble. The ones in this photo still need the bottom of the legs rounded over.

Ready for slots to be cut for the wedges. I used Oak on one and Walnut on the other.

Both stools are complete. Bandsaw version and the chiseled version. Spokeshave didn’t care 🙂 It was nice to build them without a lathe as I have not room for one at this time.

Lightly sanded with my festool sander/vac combo and given two coats of shellac with a light hand sanding between coats. These will be shipped of as a gift for friends who just had twins. Since they are 12 inches tall they should be a perfect fit in a year :).
