Tool Chest by Paul Sellers Part 1

Having collected some hand tools, mainly planes and spokeshaves, I needed a place to put them other than the tool well. Where was I to go, I tried to find one, but the plastic cases at the big box stores had no appeal and just were not practical.  Even my favorite Festool had nothing that appealed unless I could combine a max systainer with a sortainer and it still would not have any style. So left with out a purchasable choice I had what I considered two options:  The Anarchist Tool Chest by Chris Schwarz (a very good book btw and you should pick up a copy here)  and the  Paul Sellers Tool Chest.

I had to rule out the Anarchist Tool Chest due to my shop being on my front porch, I needed something portable.  Not that my neighborhood is full of thieves but I am not leaving a tool chest out there. I’ll save that for a later build when I get some molding planes.

I searched through Paul Sellers WoodWorking Master Class Site and found the tool chest gallery.  A shameless plug for Paul’s site, if you have any interest in hand tool woodworking or woodworking, his site is 15 bucks a month if I remember right and that gives you access to ALL videos and the ability to download the ones since you joined.

So off to Paxton Lumber in Denver to find an appropriate wood.  I checked out Mahogany, $$$ per board foot, not a good first big project wood for me.  Pine, almost went this route since that was used in the Anarchist Chest but I thought it would be too soft and I had worked with a lot of pine already.  So I went with Ash, it was cheaper than Mahogany and more expensive than Pine.

WP_20150325_002

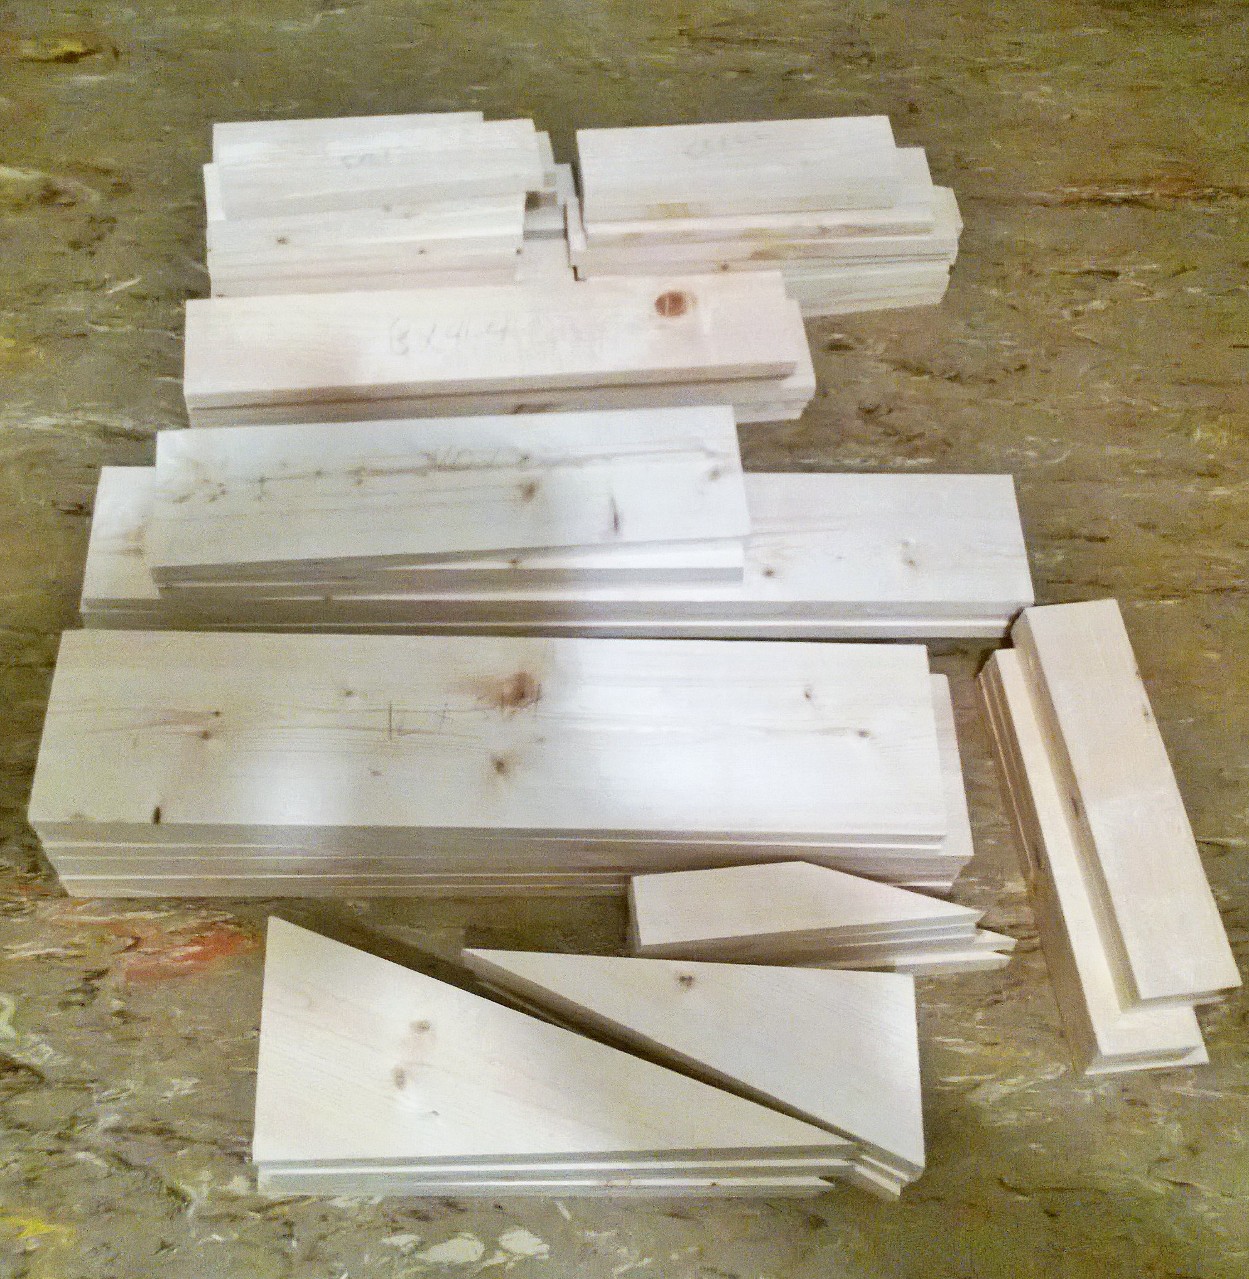
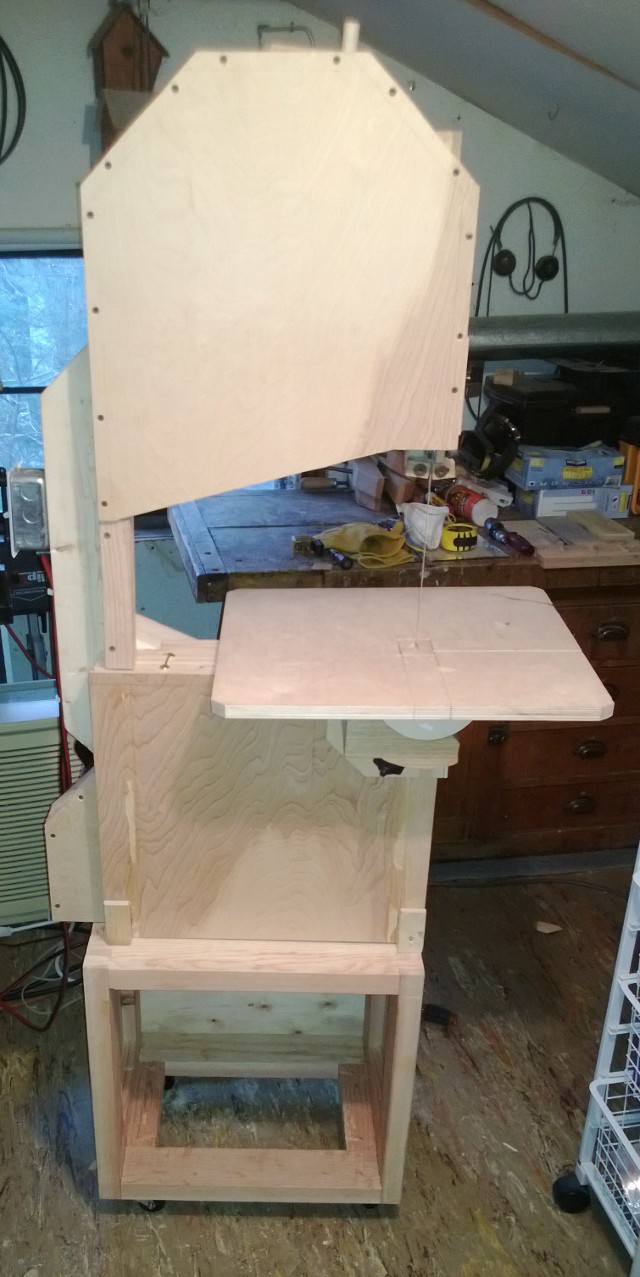
I sized most of these up with the hand saw.  Actually a Gramercy 14″ sash saw from Tools for Working Wood (my favorite store after Lost Art Press).  I am short a good crosscut saw but the sash saw did fantastic.  The stacks below are ready for ripping.  My hand saw for ripping needs the teeth set so I opted for my bandsaw.  Who am I kidding, even if the teeth were set I would have used my bandsaw.

WP_20150208_001 1

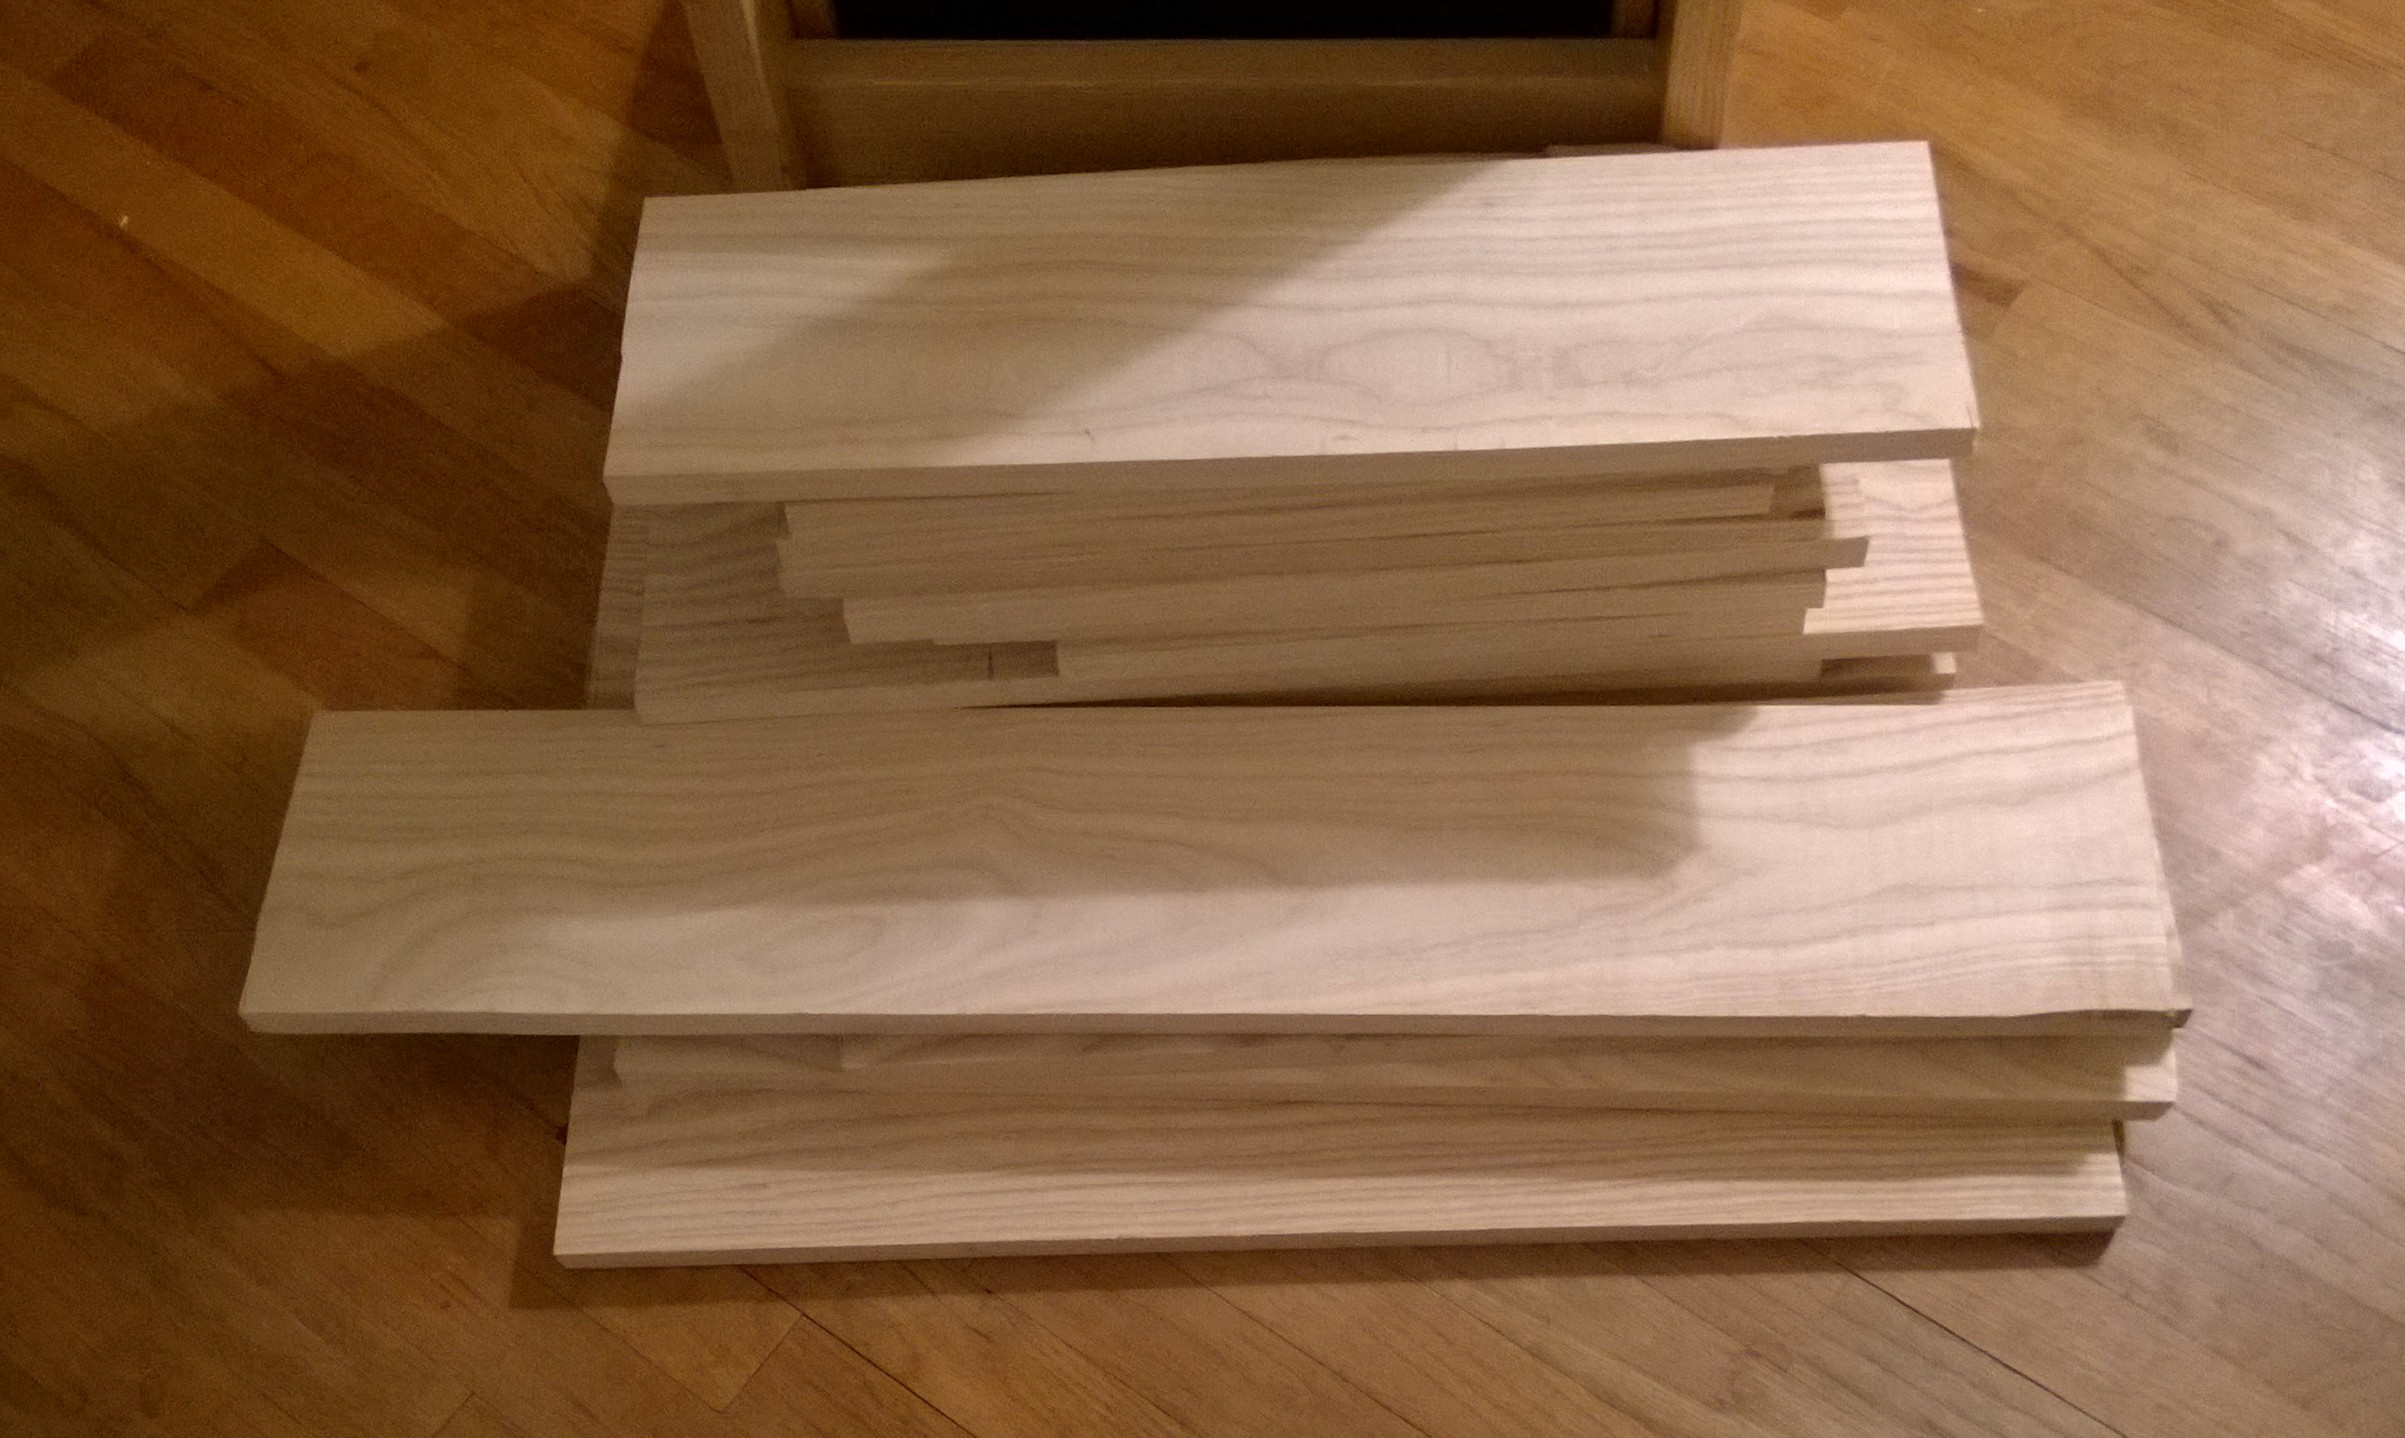
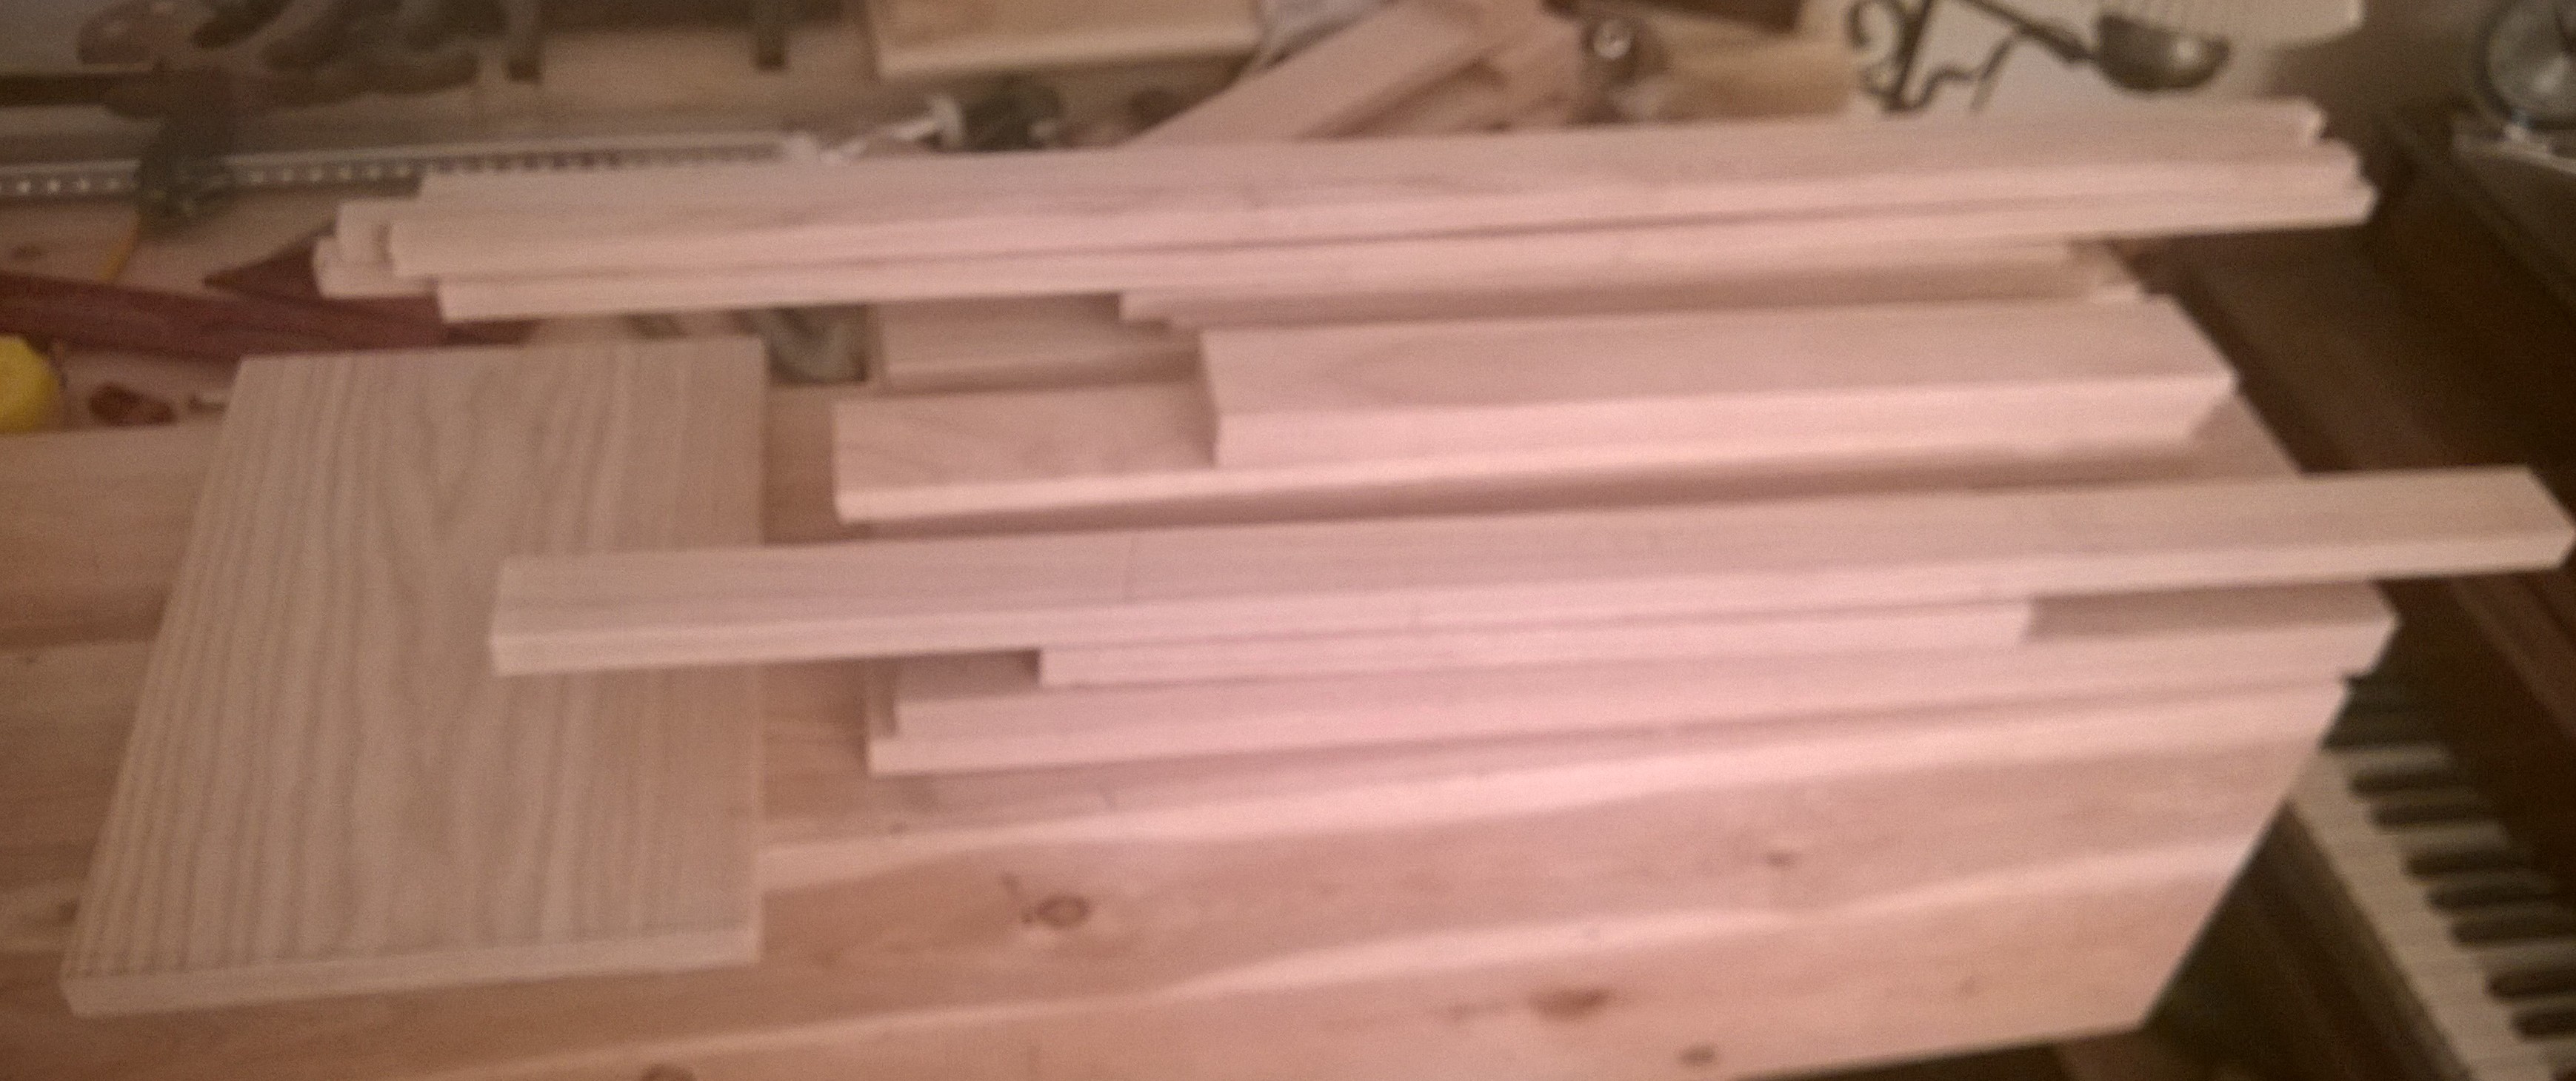
All ripped down and ready to go.  I re-sawed a few pieces on my bandsaw for the drawer sides and backs then cleaned them up with my #4 Bailey.  I did thickness plane down the raised panels with my #5 set up as a scrub and cleaned up with the #4. I only used my surface planer for some 1/2″ x 1/2″ strips to hold the drawers and panels.

WP_20150210_003

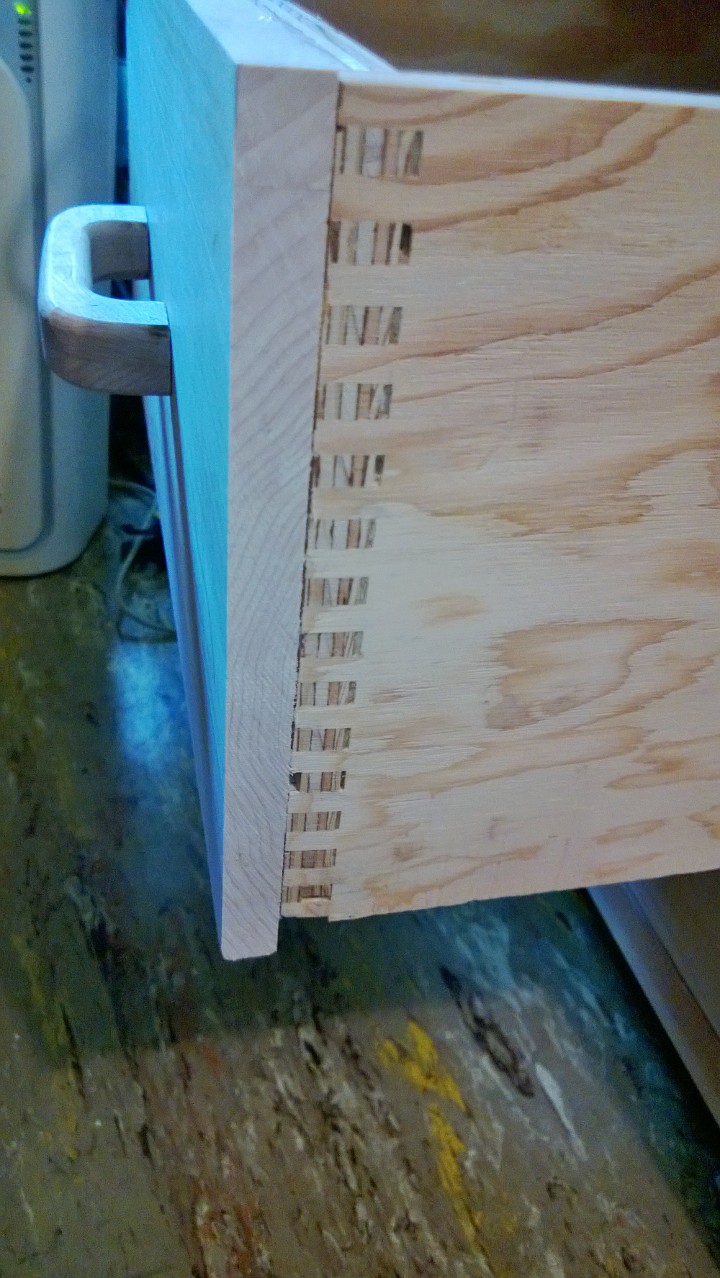
Next post, I try dovetails in hardwood.

Wood Bandsaw from Woodgears.ca

A wood bandsaw you say?  What in the world are you thinking?  Well this is not something that hasn’t been done before!  Check out woodgears.ca for complete plans and sketchup drawings.   I needed a bandsaw to resaw some maple for some night stands I wanted to build.  I have a tight attic space to work in and a standard metal one seemed to heavy and unwieldy to use or fit into my tiny shop.  So what better than a custom wood bandsaw that is light enough to take apart by one person.  The only metal parts are the shafts, bearings and motor.  I have replaced the light switch with a proper safety switch with a start stop.

I used the Festool TS55 track saw for most of the work along with a Bosch contractor saw, benchtop drill press, ryobi bench top bandsaw, a Delta surface planer and various hand tools.  This project is something a reasonably handy person with some time and ok tools can build.  Accuracy is good but most things can be shimmed for alignment in the end so don’t fret if things are off by a few millimeters here and there during glue up, etc.


WP_20130420_002

All the wood here is 3/4″ pine purchased from the big box store and milled down with my old delta surface planer to the recommended thickness.  If you don’t mill it you will just have a wider saw frame which is no big deal.

WP_20130420_003

The glue up begins!  You can never have too many clamps.  I used a Festool table so I could clamp it flat.

WP_20130421_002 WP_20130423_029

Frame is all glued up and quite light!  Matthias did a test between his metal band saw and his wood bandsaw and had less flex on the wood.  All the laminations make it extremely strong.

Next up is the top bracket to hold the wheel and tensioner.  This was done on the table saw where I rigged up what is essentially a tenon jig to cut the slots for reinforcements.  Glued in the oak and that frame is rock solid.  A few other cuts for rabbets, etc and you end up with the picture on the right.  The shafts are stationery and do not rotate.

WP_20130419_002 WP_20130425_023

The wheels I used spare baltic birch that I laminated together.  I have seen many made out of regular ply and if I didn’t have the baltic birch I probably would have used it.  You can see the bearing glued to the wheel and my non OSHA approved lathe to add the crown to the wheels.

WP_20130428_001  WP_20130427_001 WP_20130429_004

Wheels mounted with a blade.  Followed by the table attachments and we have a bandsaw! Though the support leg is clamped to it as there is no base and well no guards :).

WP_20130427_003 WP_20130429_006 WP_20130427_002 WP_20130501_001

Base and guards.  You’ll notice the construction grade plywood drawers built with the box-joint jig from woodgears.ca which made for a super tight fit.  Note, I made the drawers after the bandsaw was built so I could use the bandsaw for making the box-joint gears.  I also used the bandsaw without the base to construct the bandsaw cut dovetail base out of 2x stock.


WP_20130508_001 WP_20130524_002 WP_20130524_001

Painted Matthias green :).  Complete.  Note: this switch is gone as you’ll see.  I realized it could be bumped on accidentally.


WP_20130531_001 WP_20130531_003 WP_20130531_004 WP_20130531_005 WP_20140623_017


Resawing some maple with my blades from timberwolfblades.com.  These have been great blades for me (even for my old ryobi benchtop).

WP_20130521_003  WP_20130521_001


Works great and can even make tiny reindeer, plans available on woodgears.ca

WP_20130504_003


A year out from the build and the saw still works great.  I had to replace a tire but that is it.  Great experience building it from scratch.  Its always nice to make mistakes on something that is more forgiving than a piece of fine furniture.  This was not terribly hard to do and I built it in just a few weeks.  Just over a month from start to final paint but I took some time off in between sections. It worked great resawing my maple I need for the nightstands that you will see  in a future post.