Tool Chest By Paul Sellers Part 4, hardware and tools, complete.

With the top and carcass complete, drawers are done.  Its time for hardware, shellac and tools!

Lets start with Brusso hinges. A separate blog post covers these but they are so well made they deem mention again.  The machining is fantastic and all the specs are on their website.  I picked up this set form toolsforworkingwood.com.  The install was a learning experience.  Brass wood screws do not like hardwood.  They like soft pine.  Solution, use a steel screw first then replace it with a brass screw.  Sounds intuitive, its not :).  It took be 4 broken screws before I got this down solid.

WP_20150427_002 WP_20150427_005 \

After the hinges were installed I added brass chains on both sides for added support.  The lid is quite heavy so every extra bit helps.

Hinges are hand forged iron hings from Black Bear Forge.  These are some solid handles that can support the weight of this tool chest.  This chest is meant to be moved.  The other choices on the internet were disappointing as most could not hold any weight.  The remaining available ones at the hardware store and amazon had no style or character.  After all the work on the chest I wanted something that stood out.

WP_20150430_001 1

Lid is installed with the Brusso Hinges and the handles are attached and a few coats of garnet shellac from Tools for Working Wood and a coat or two of bowling alley wax.

WP_20150503_007

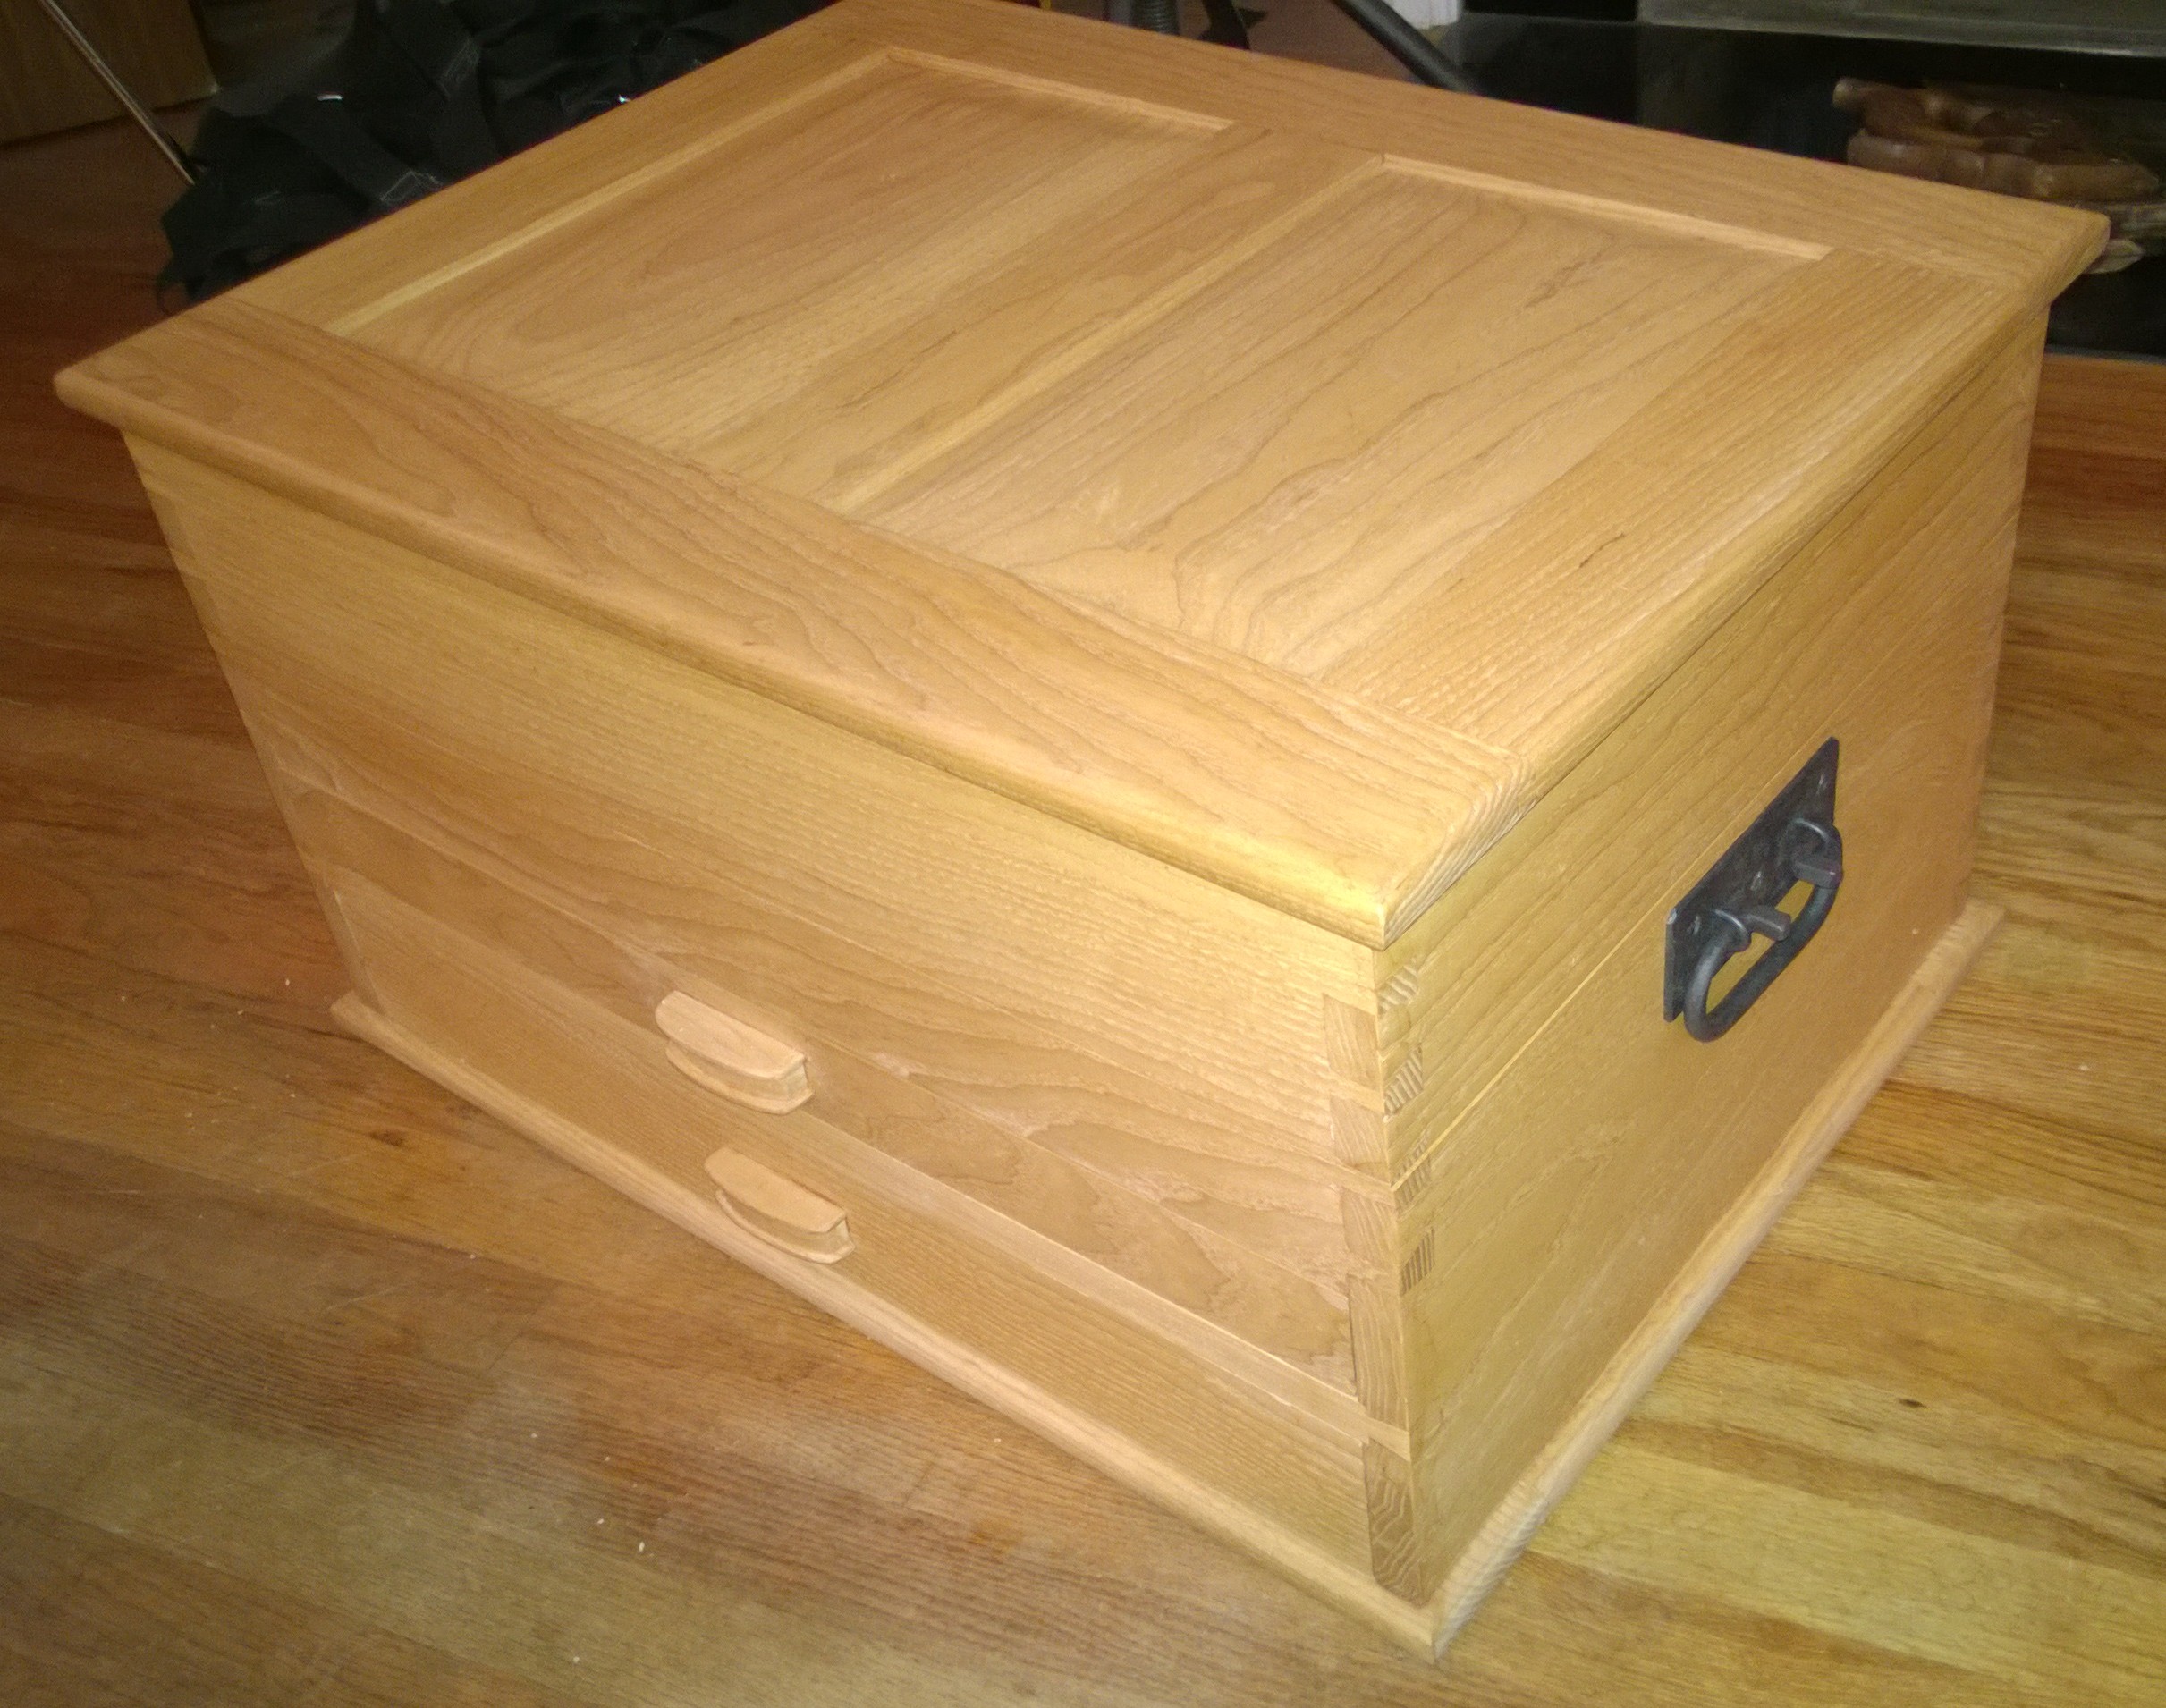
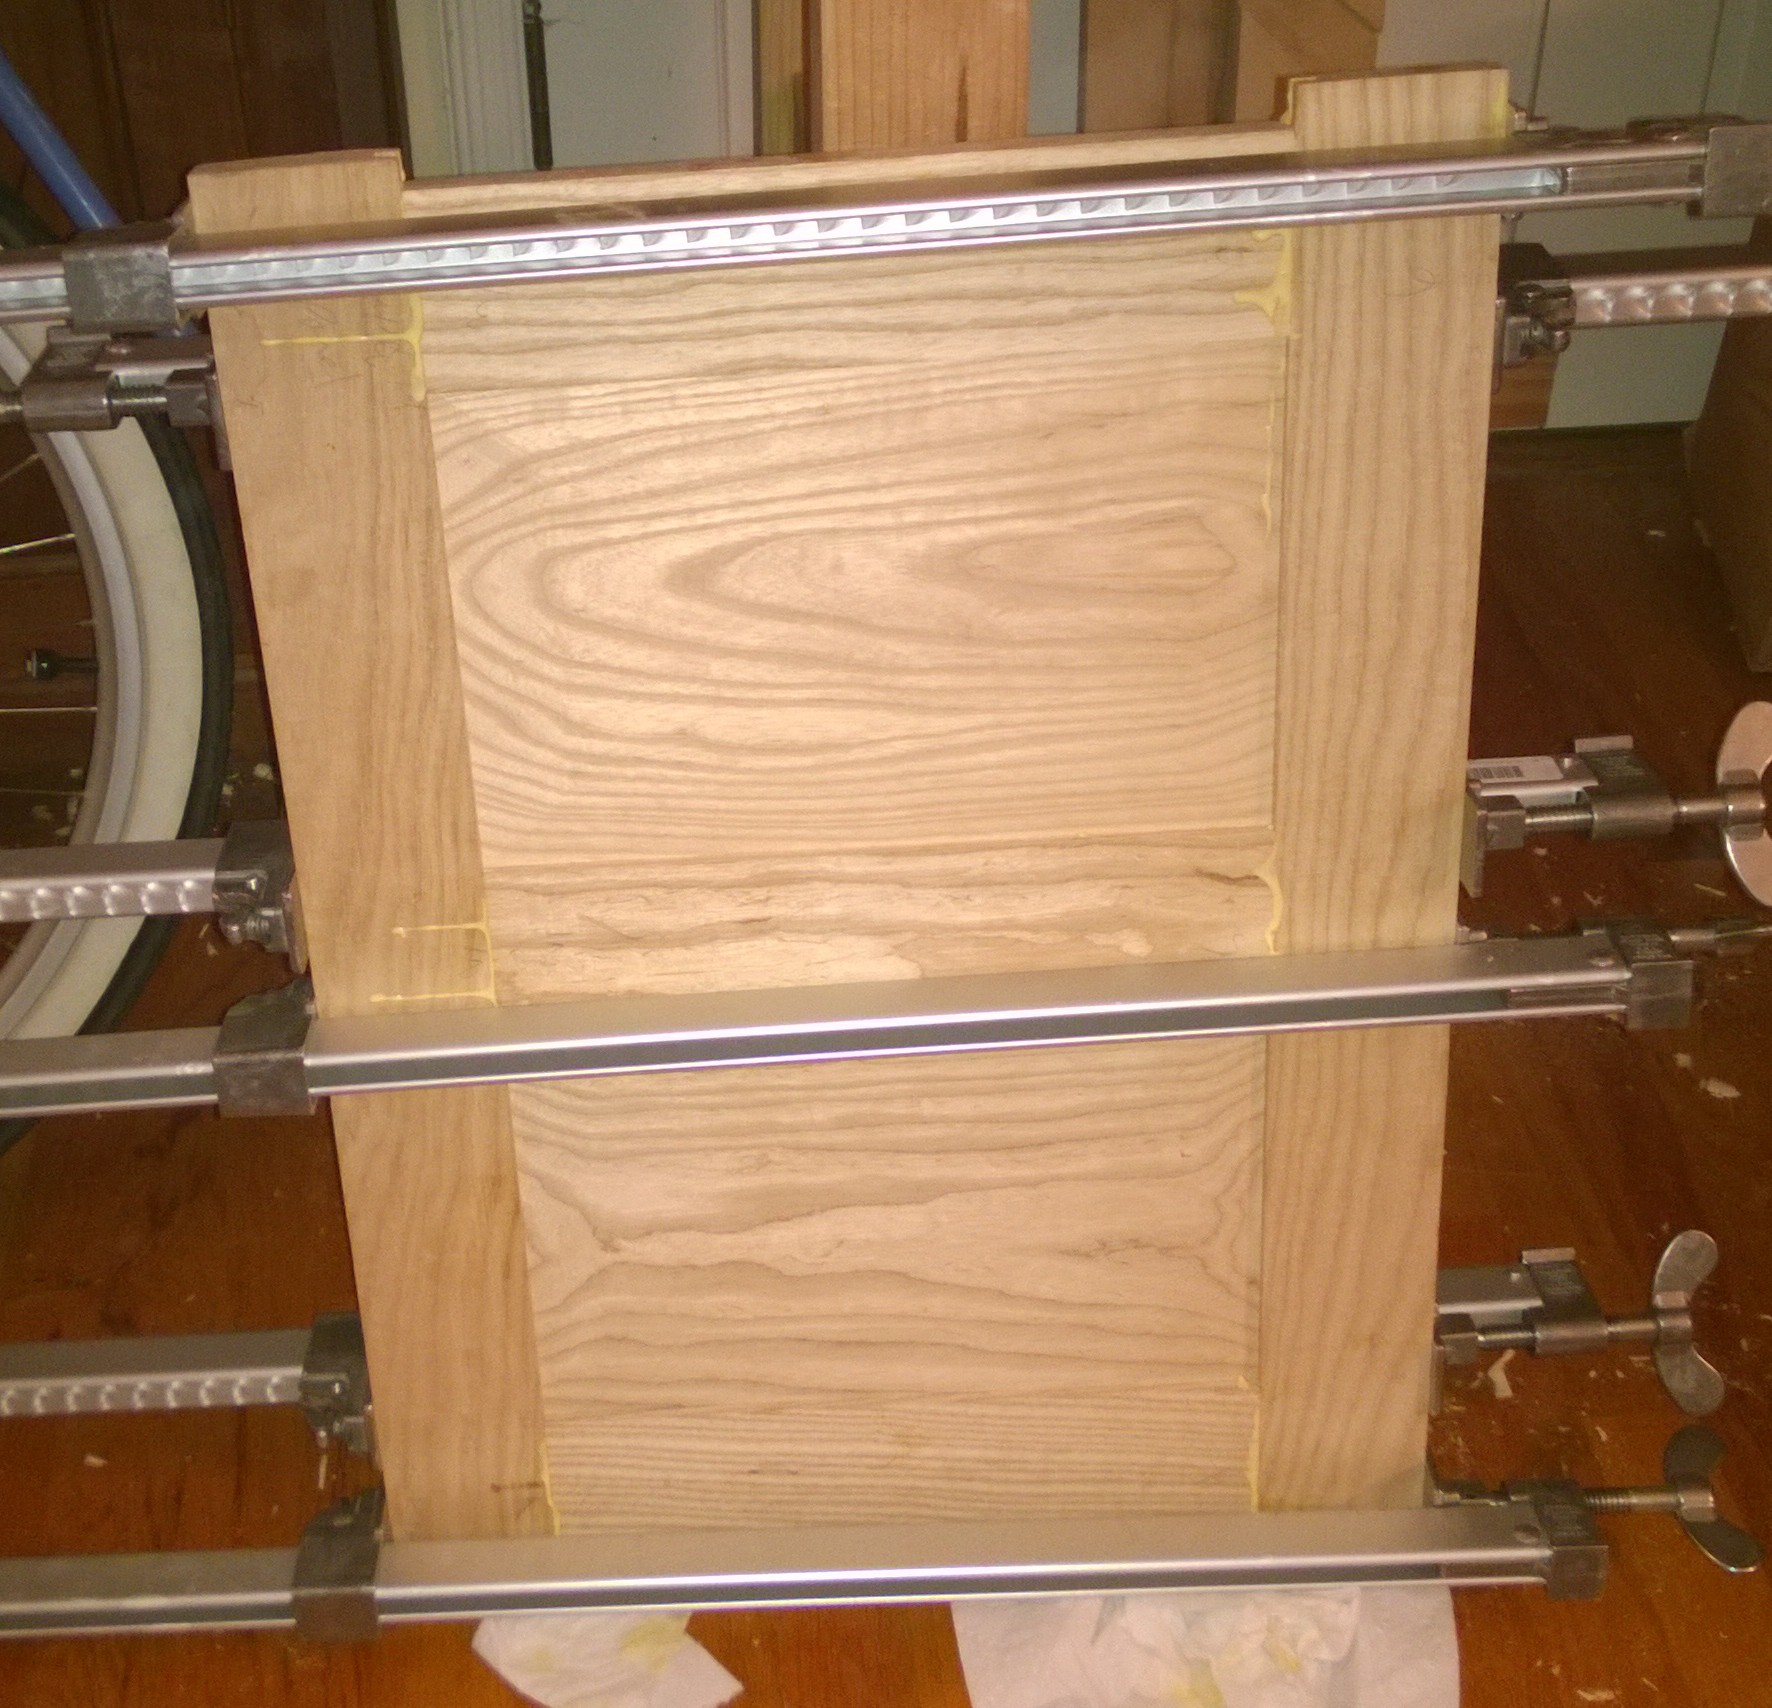
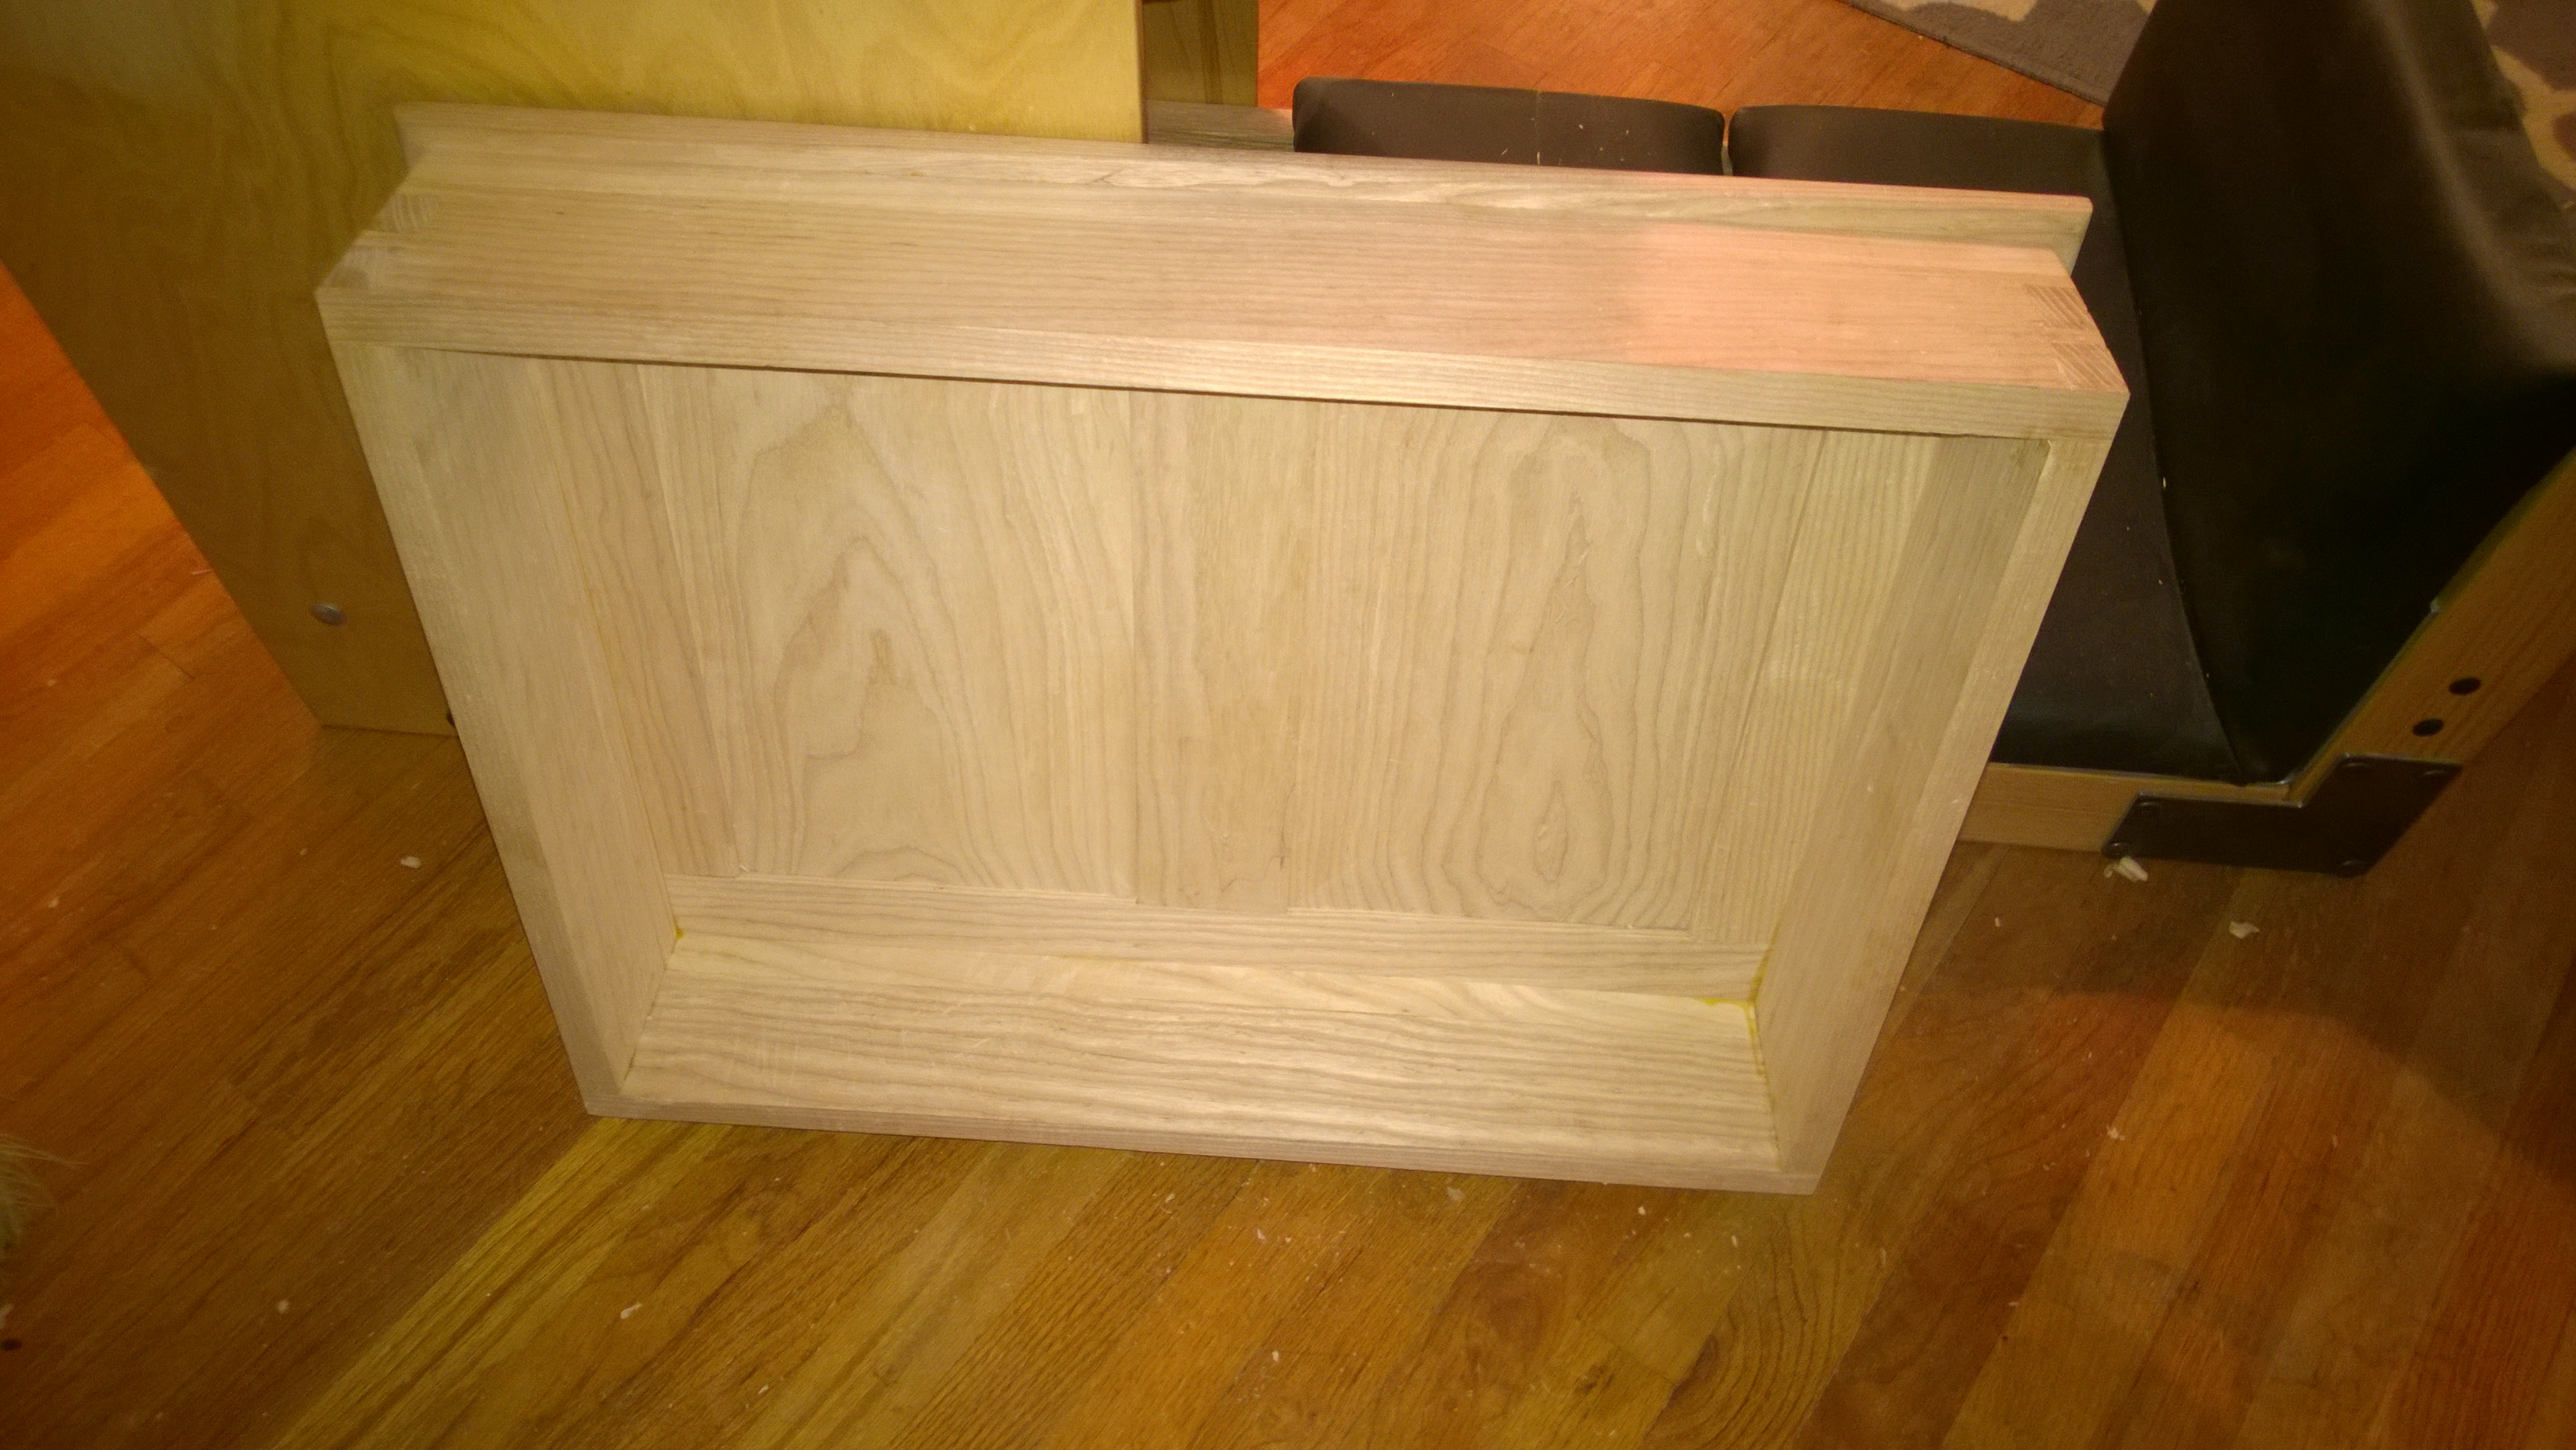
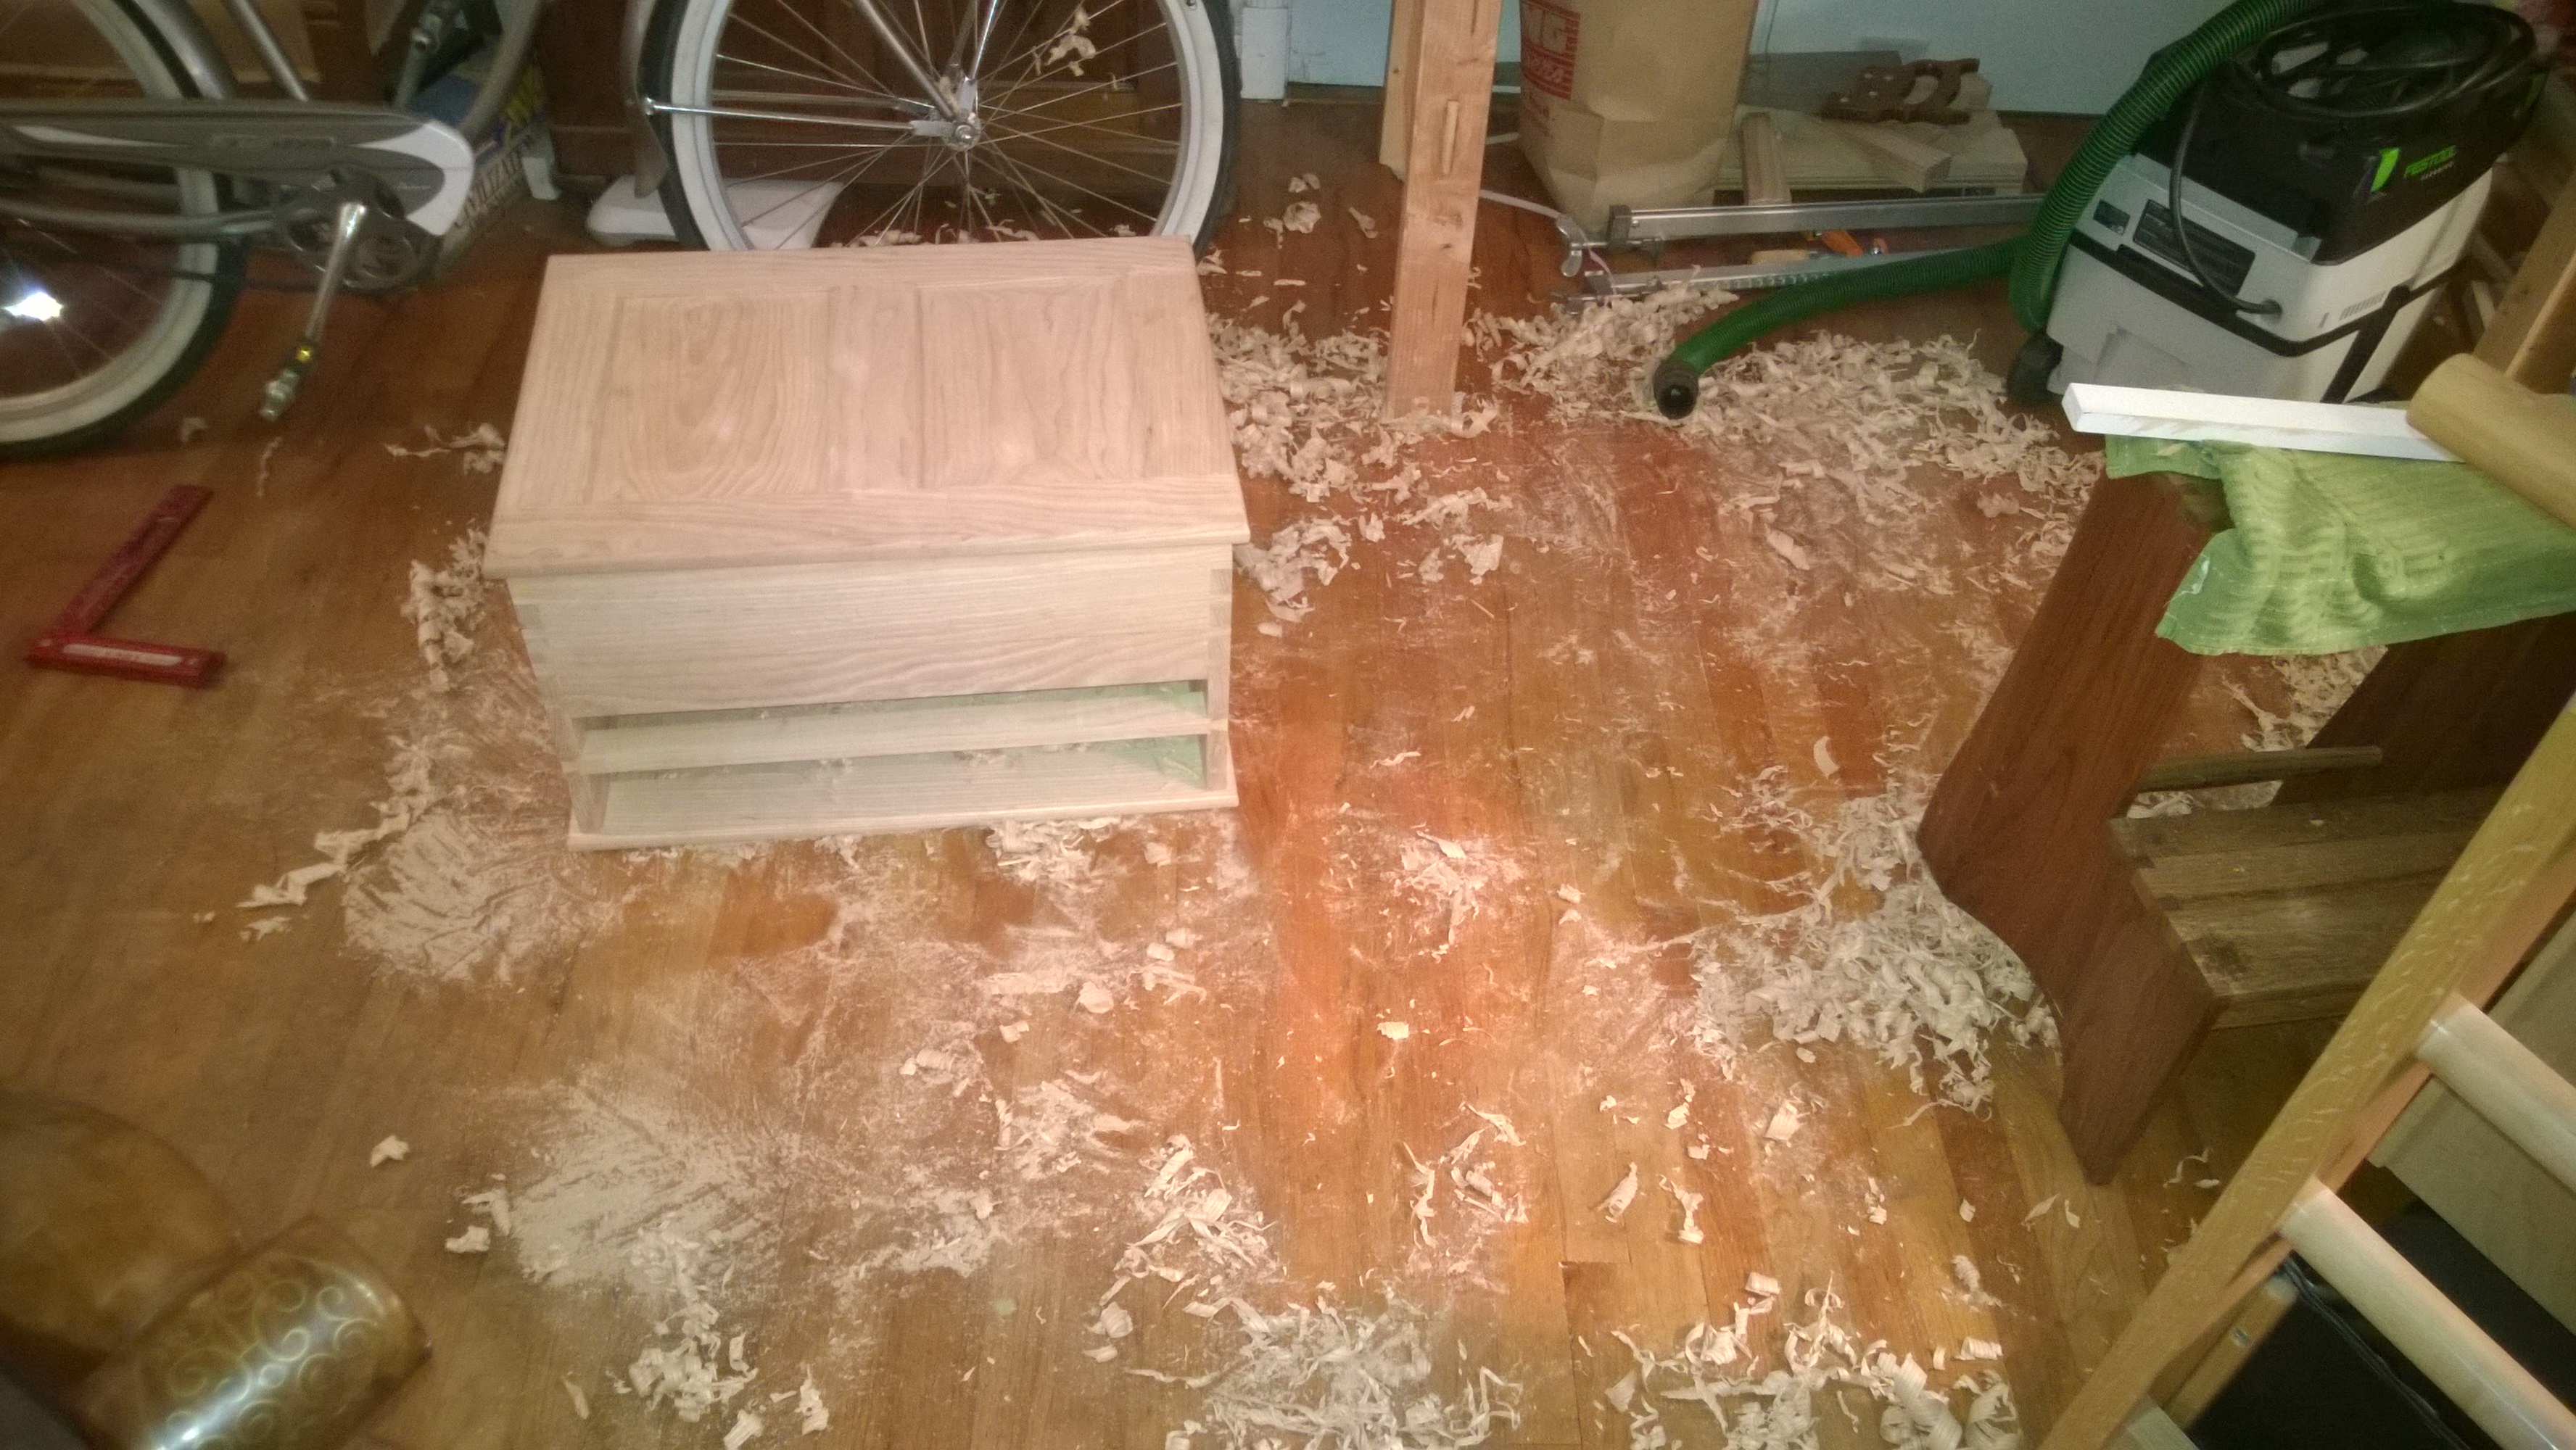
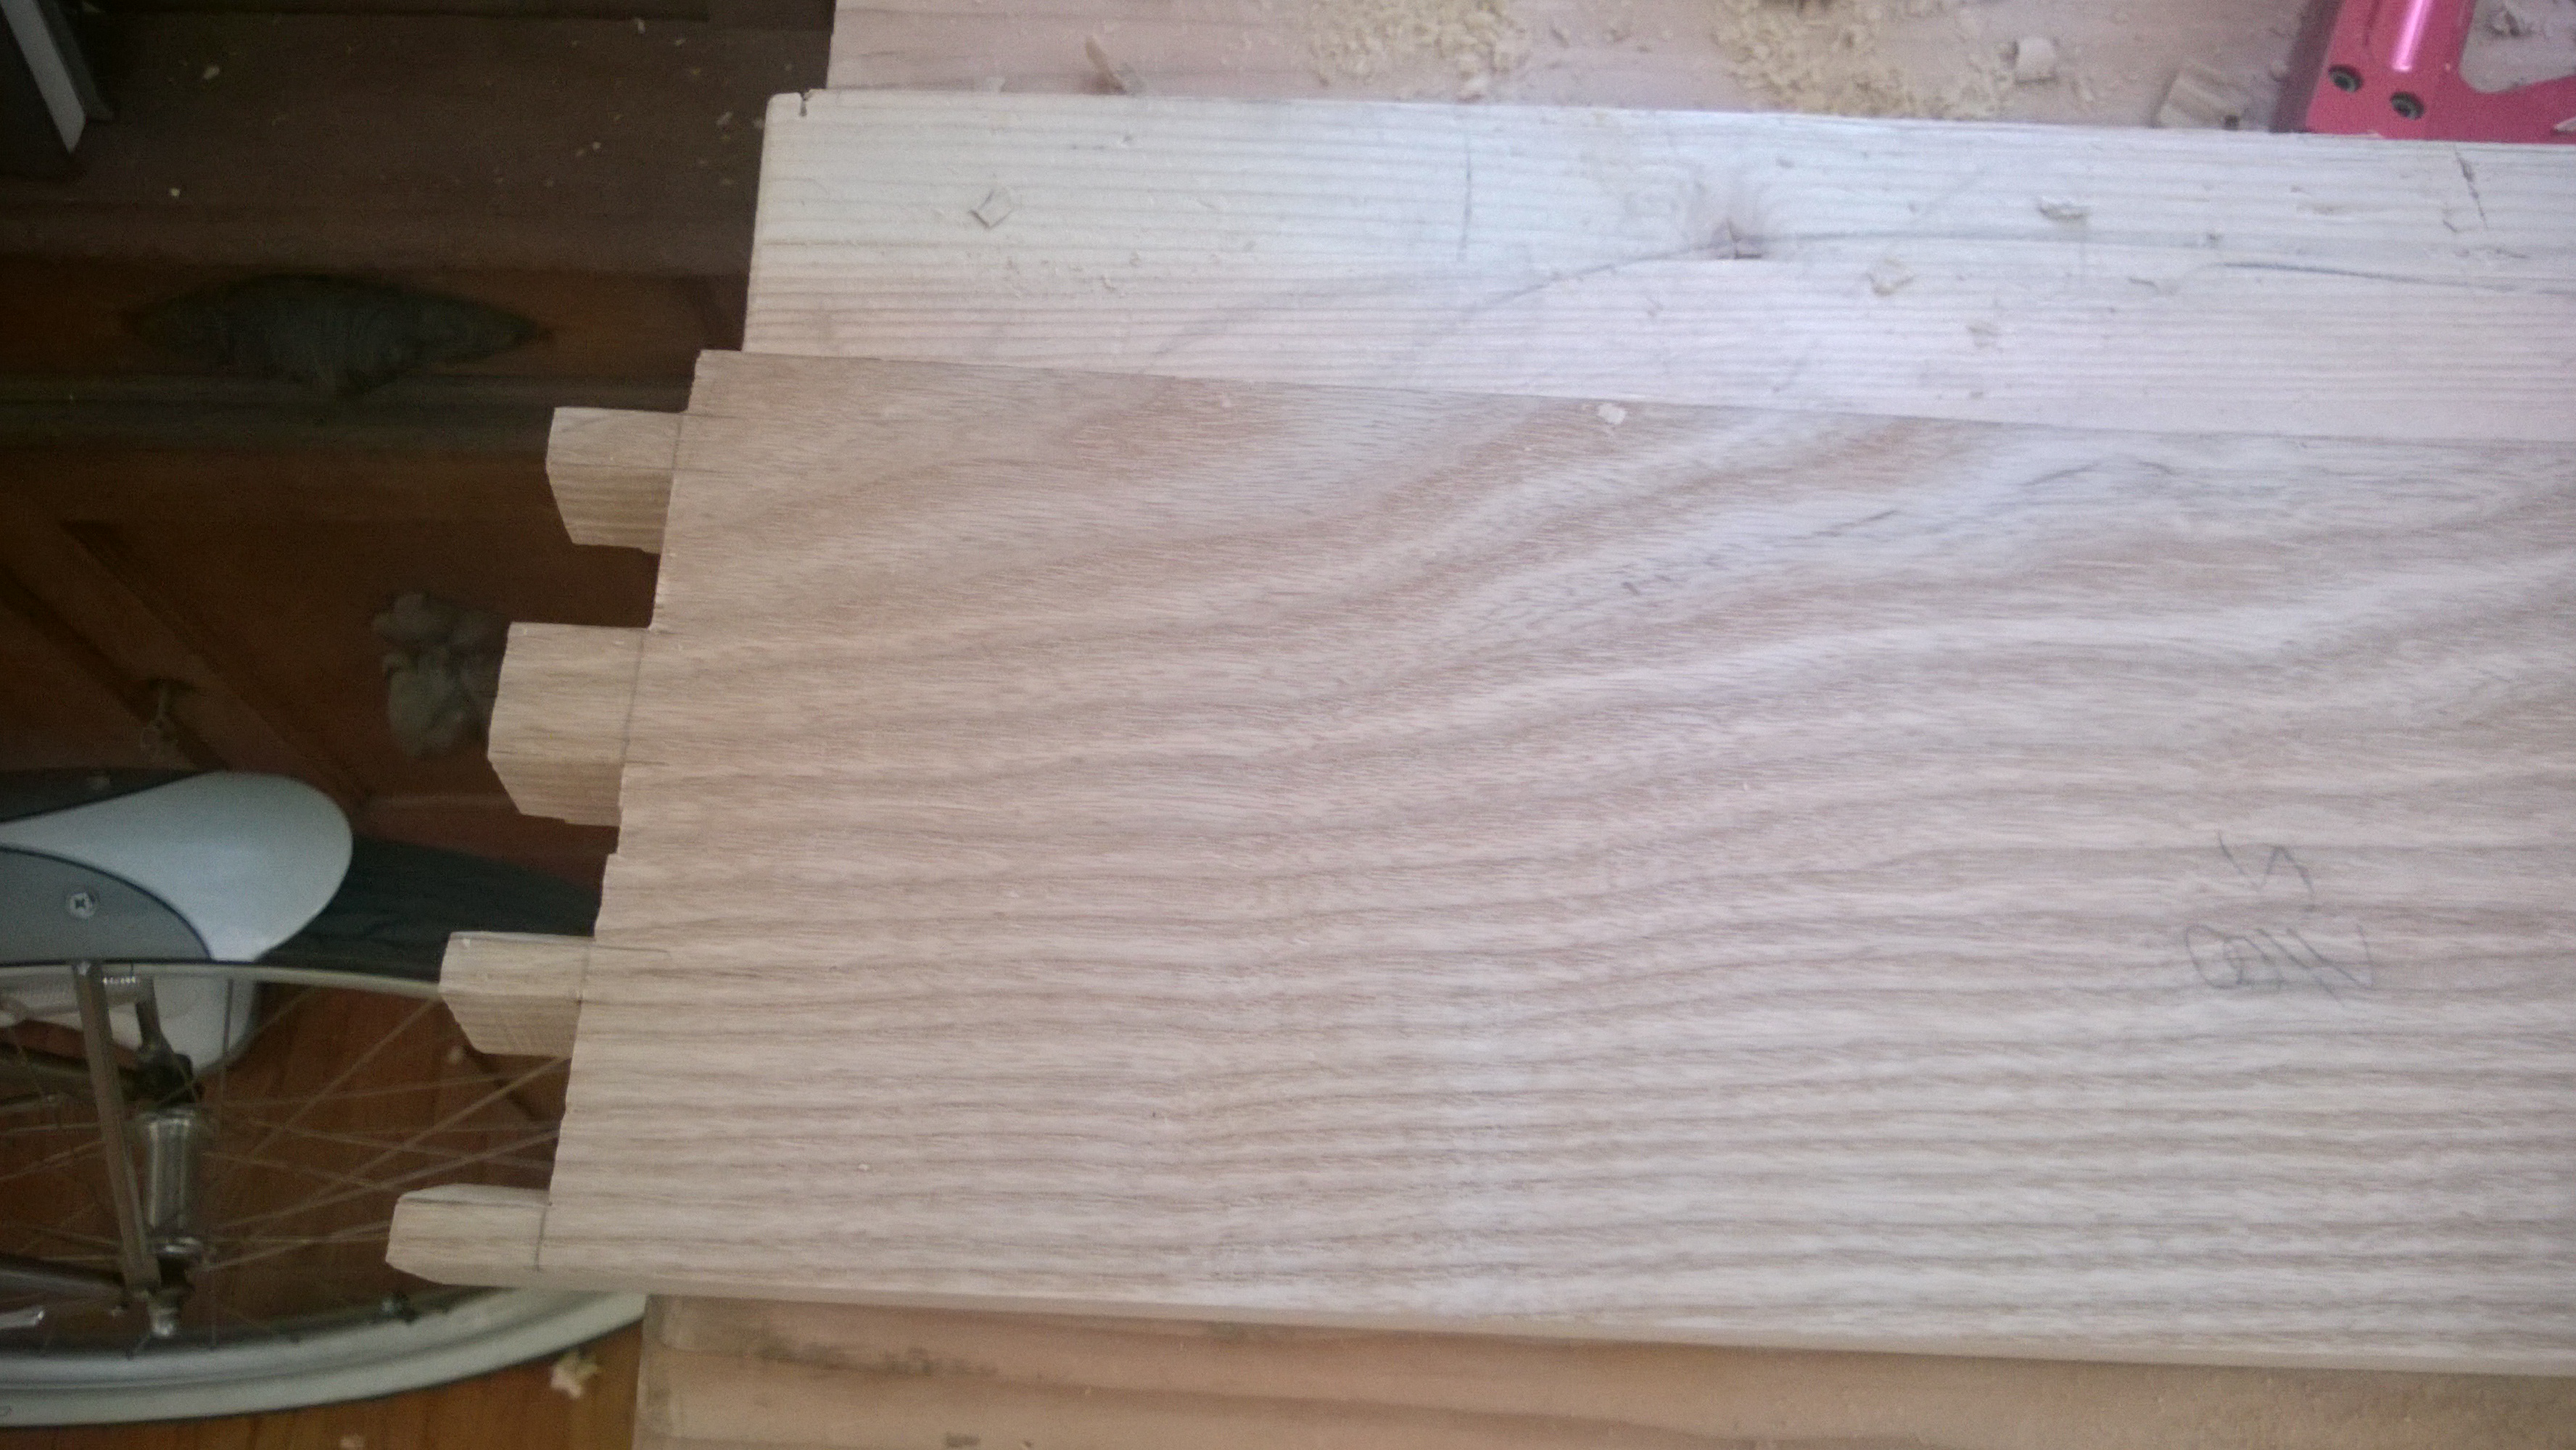
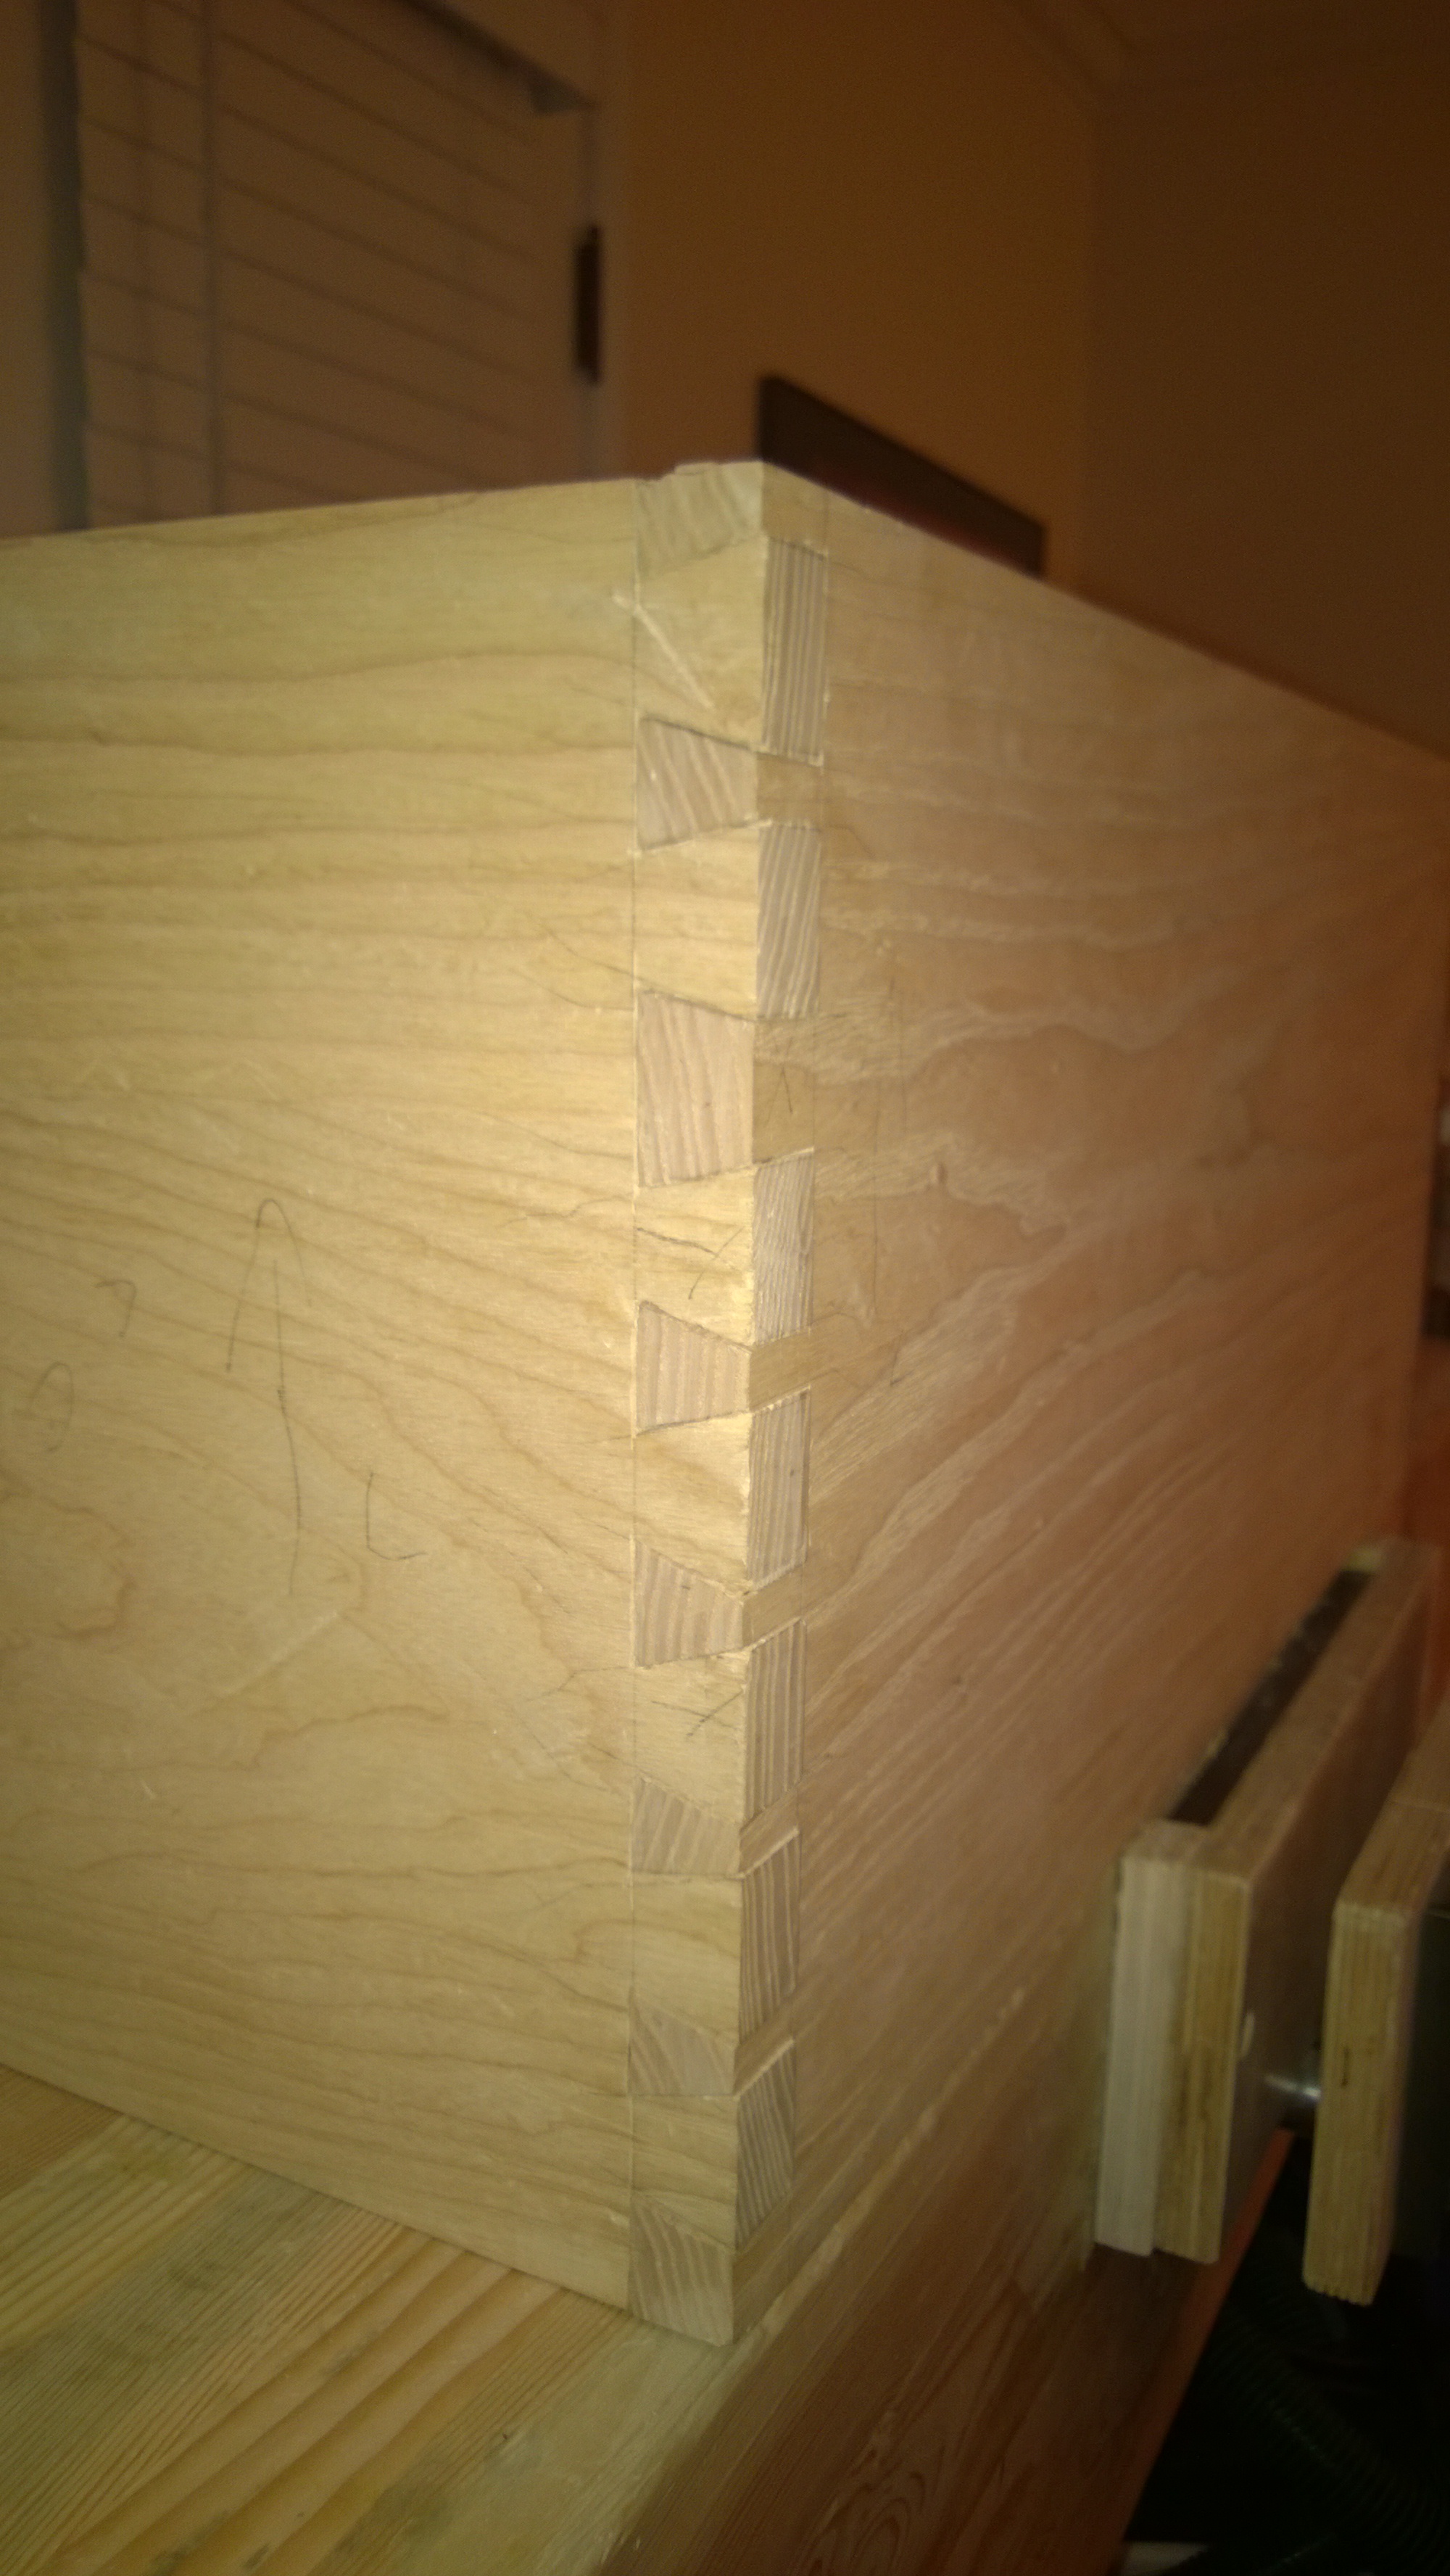
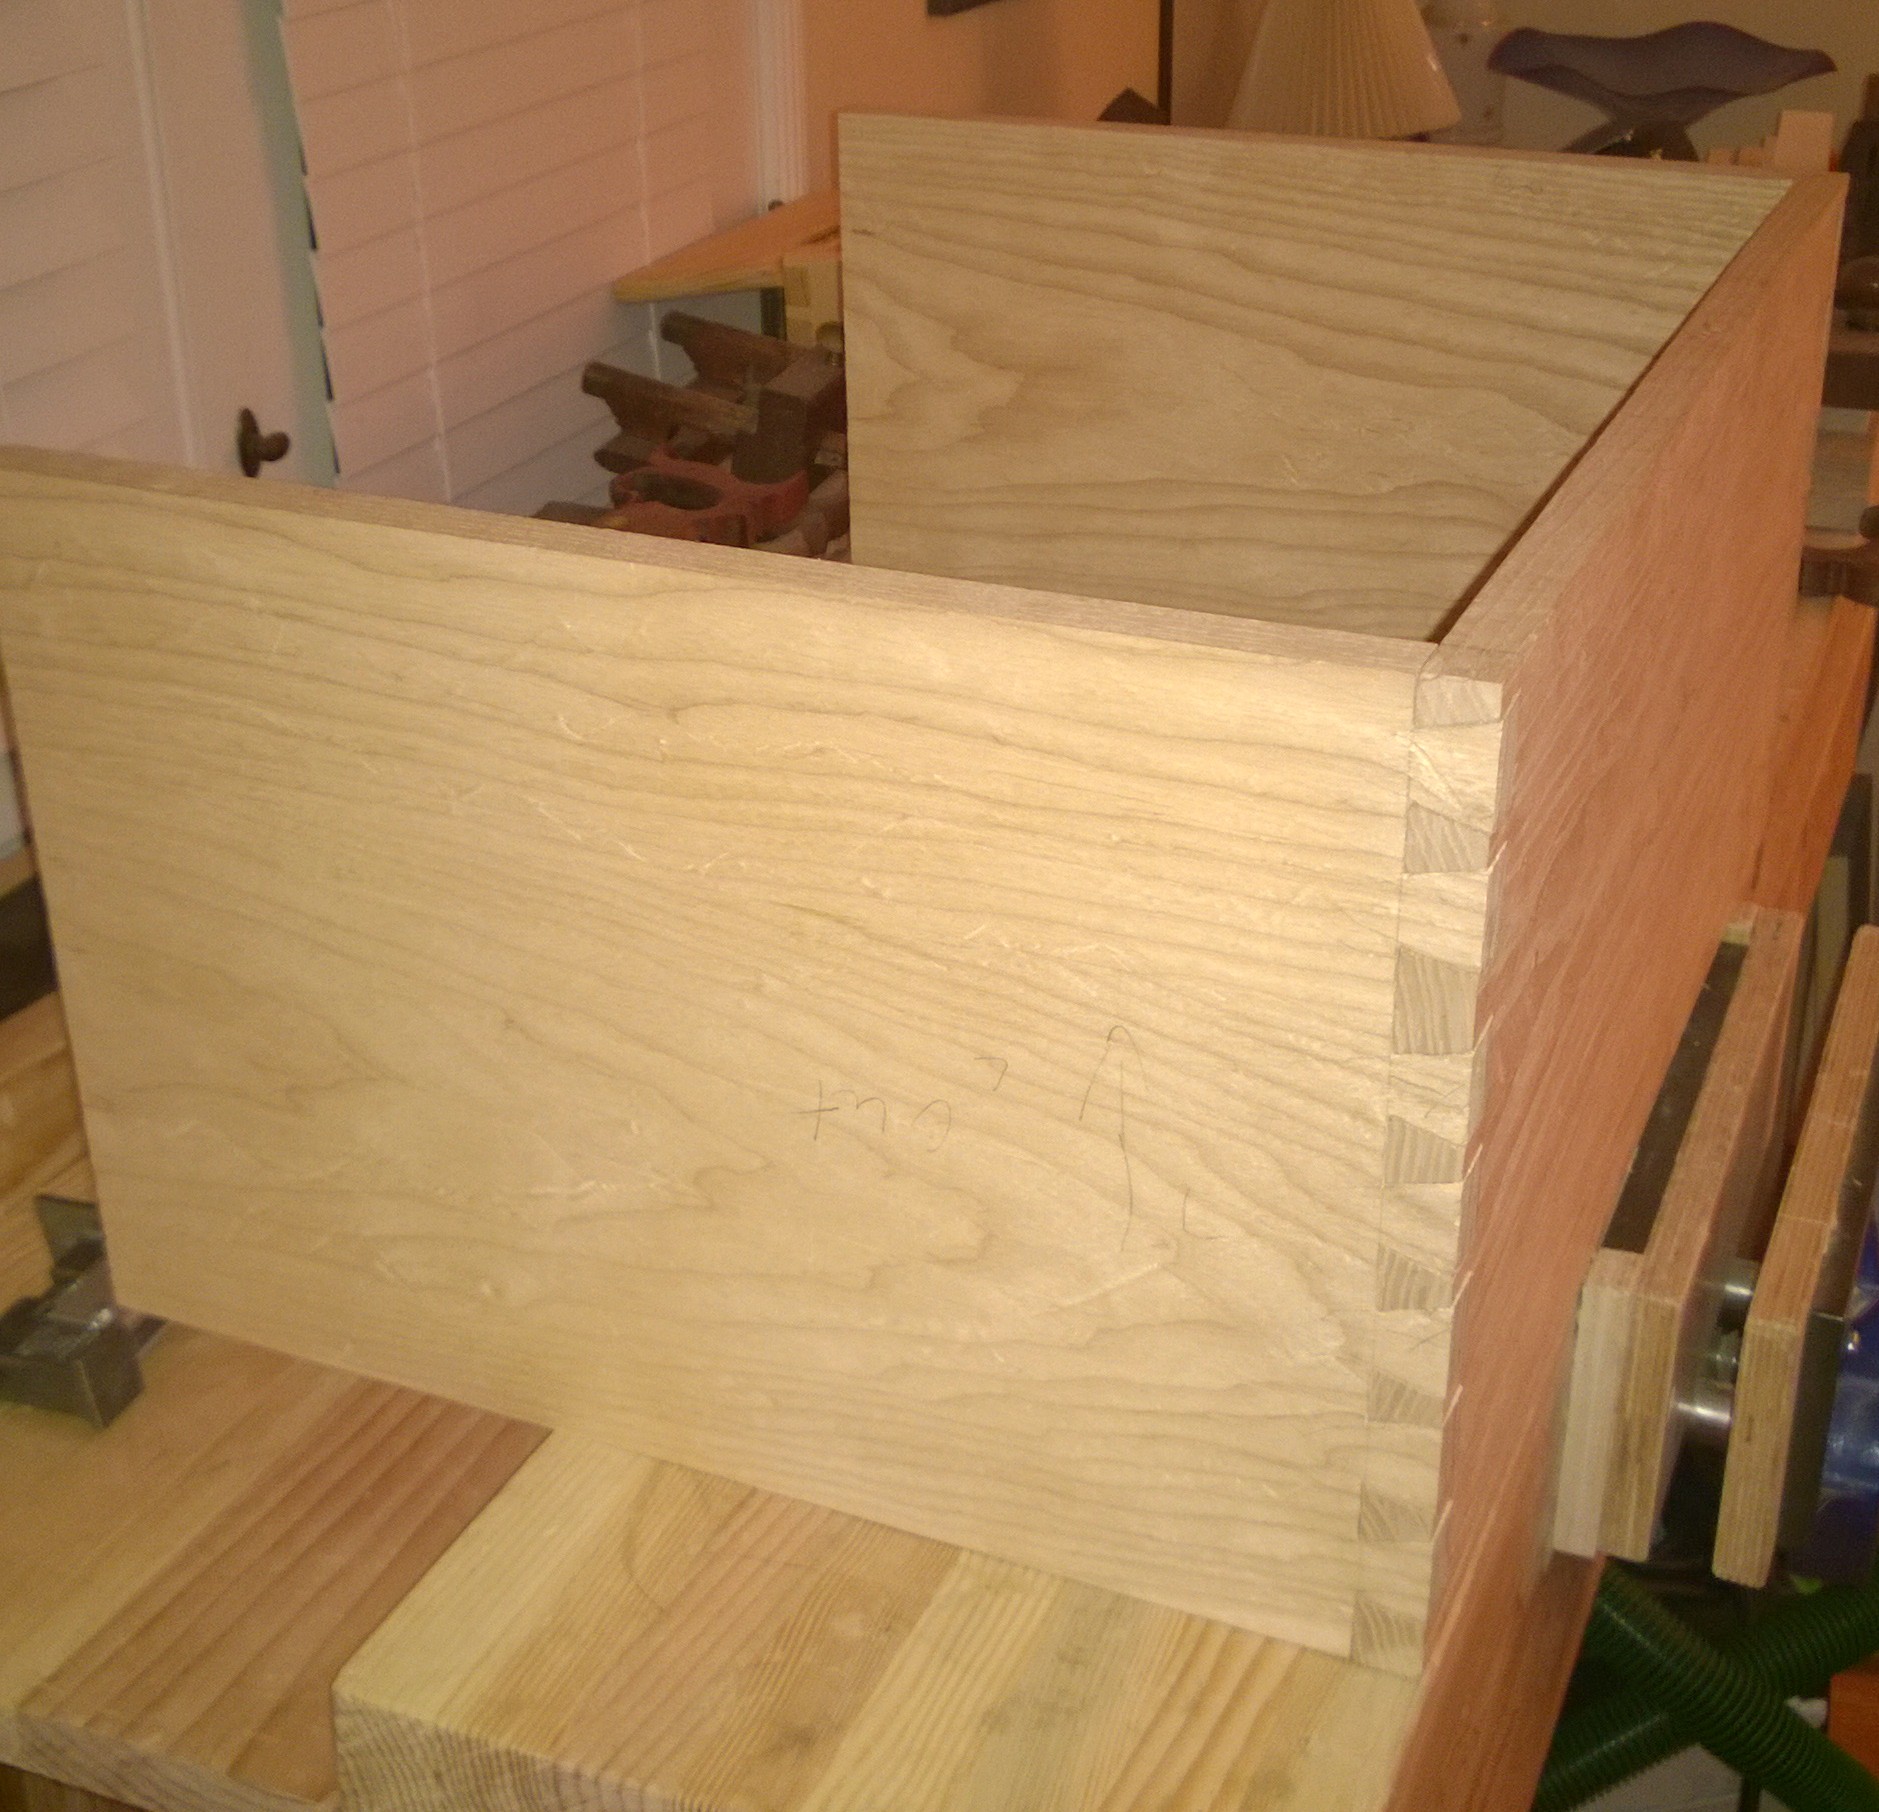
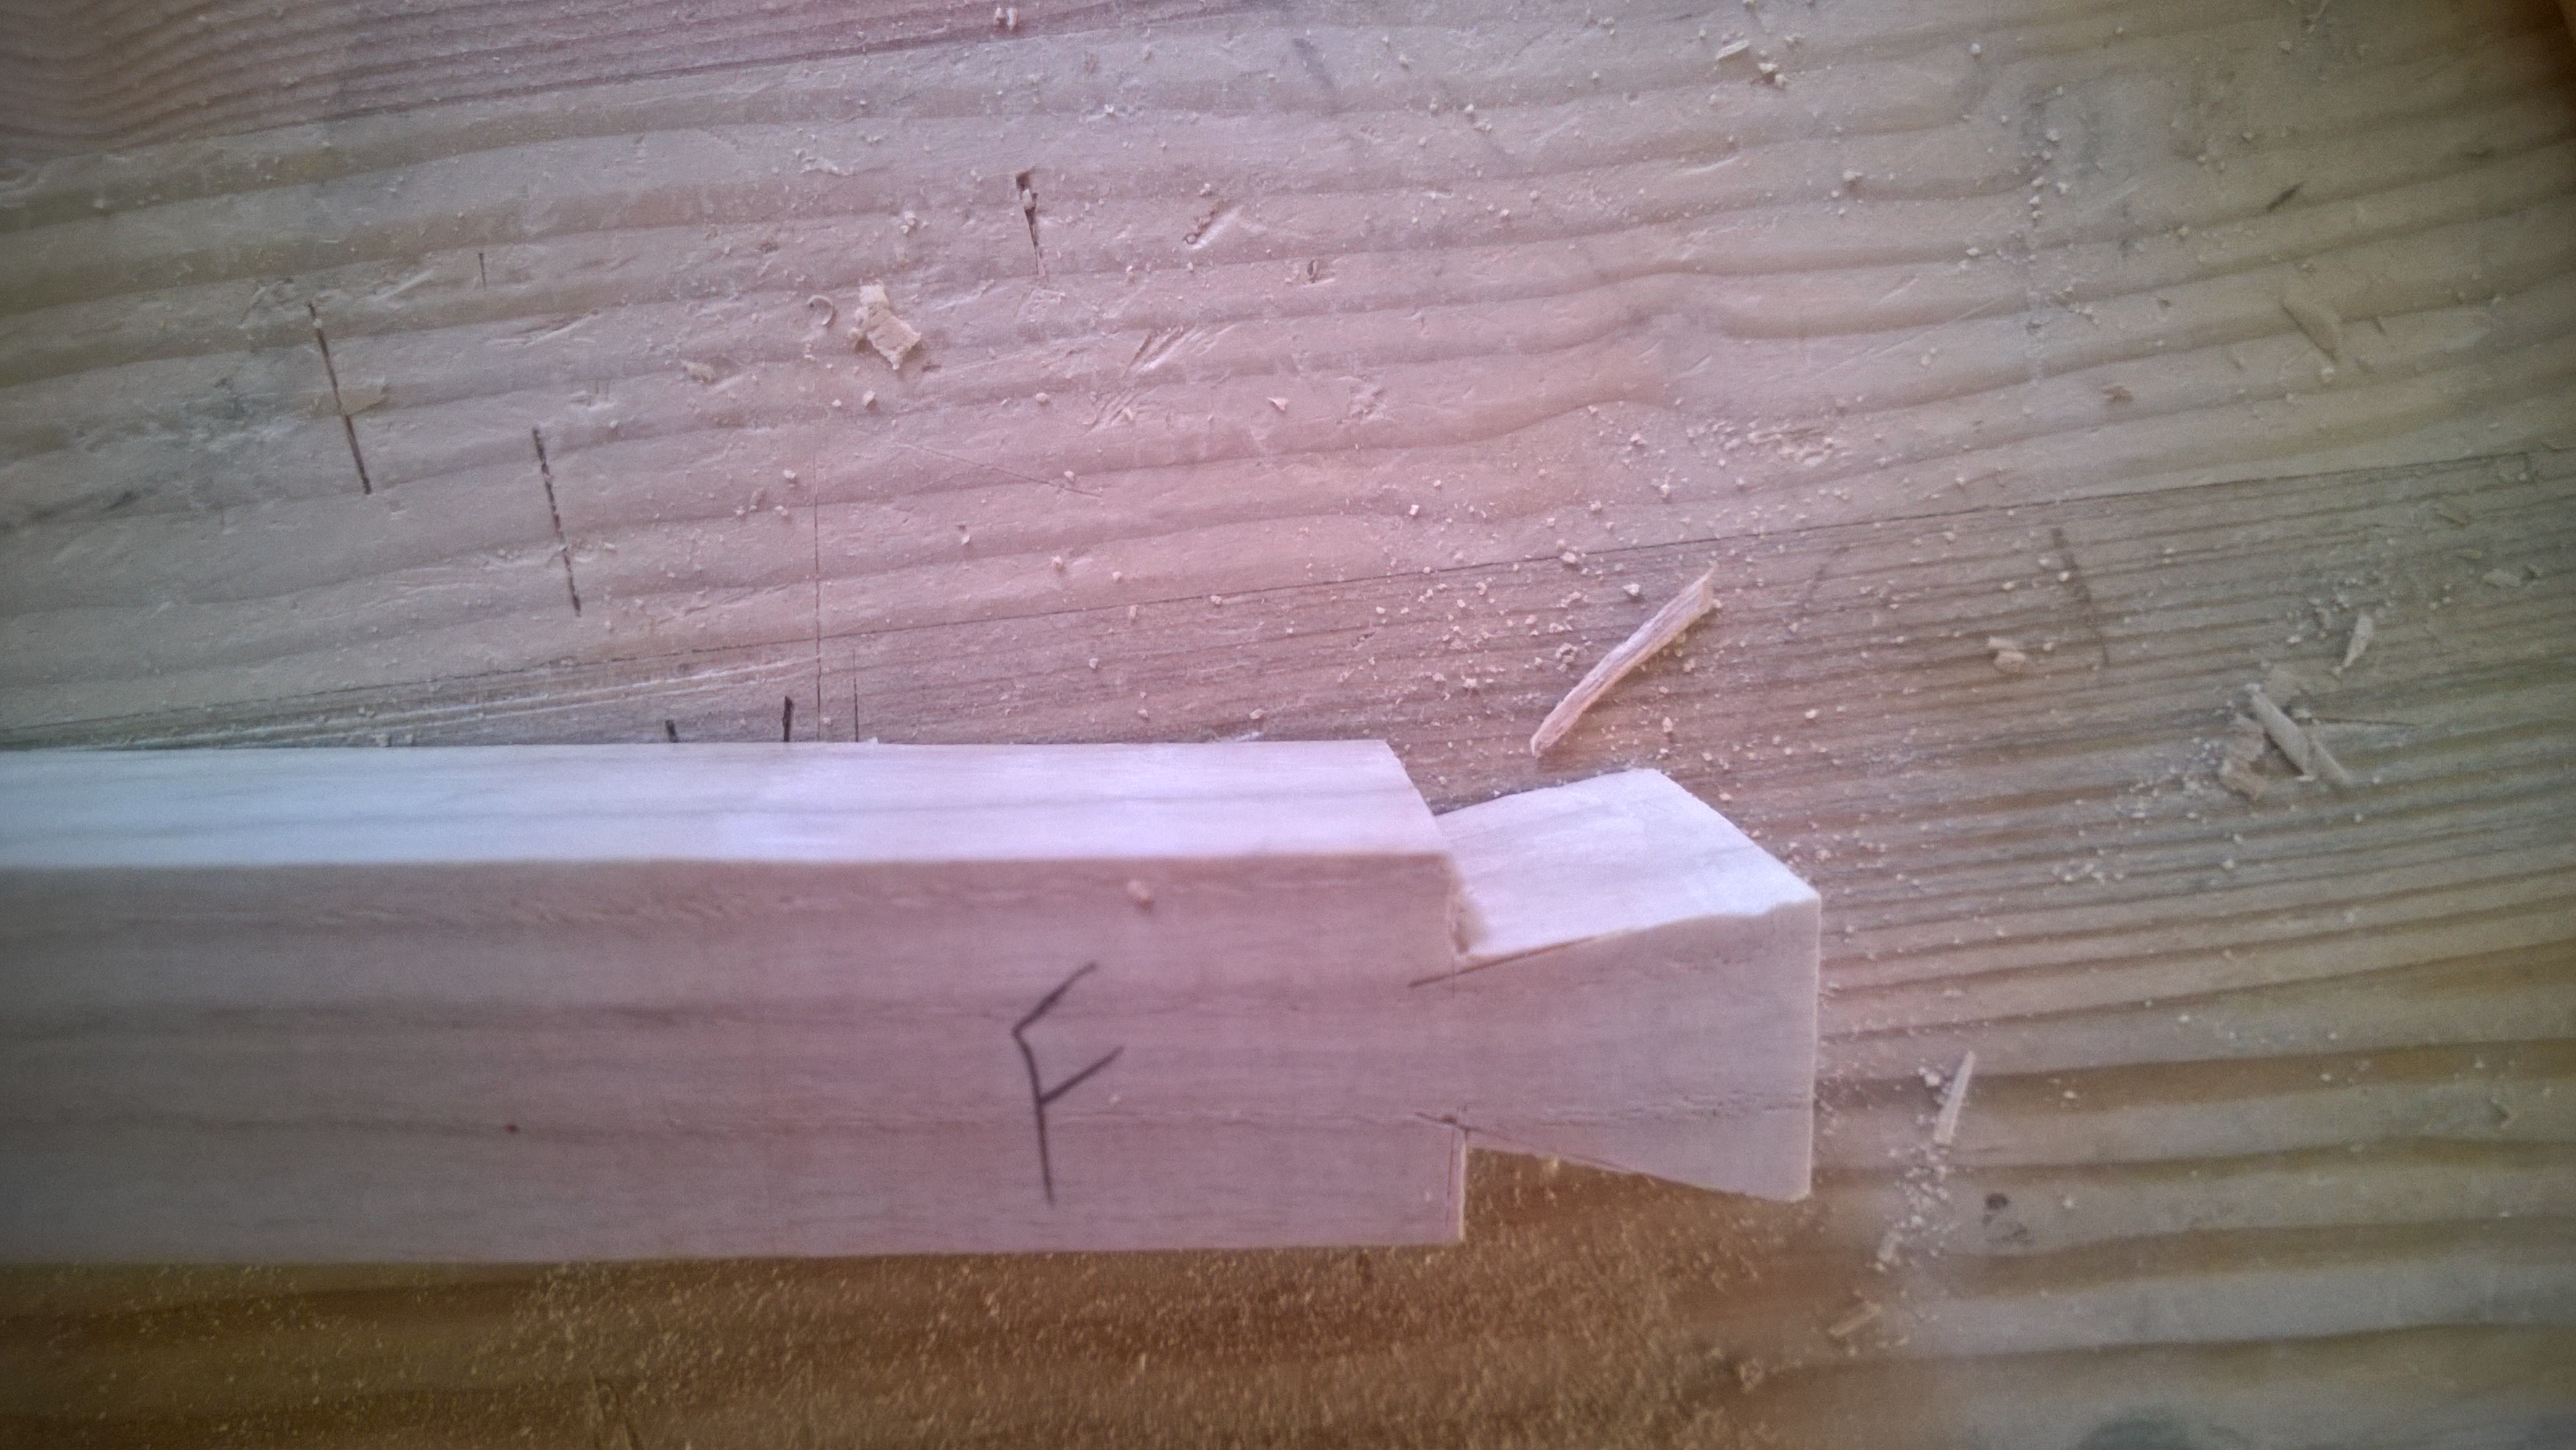
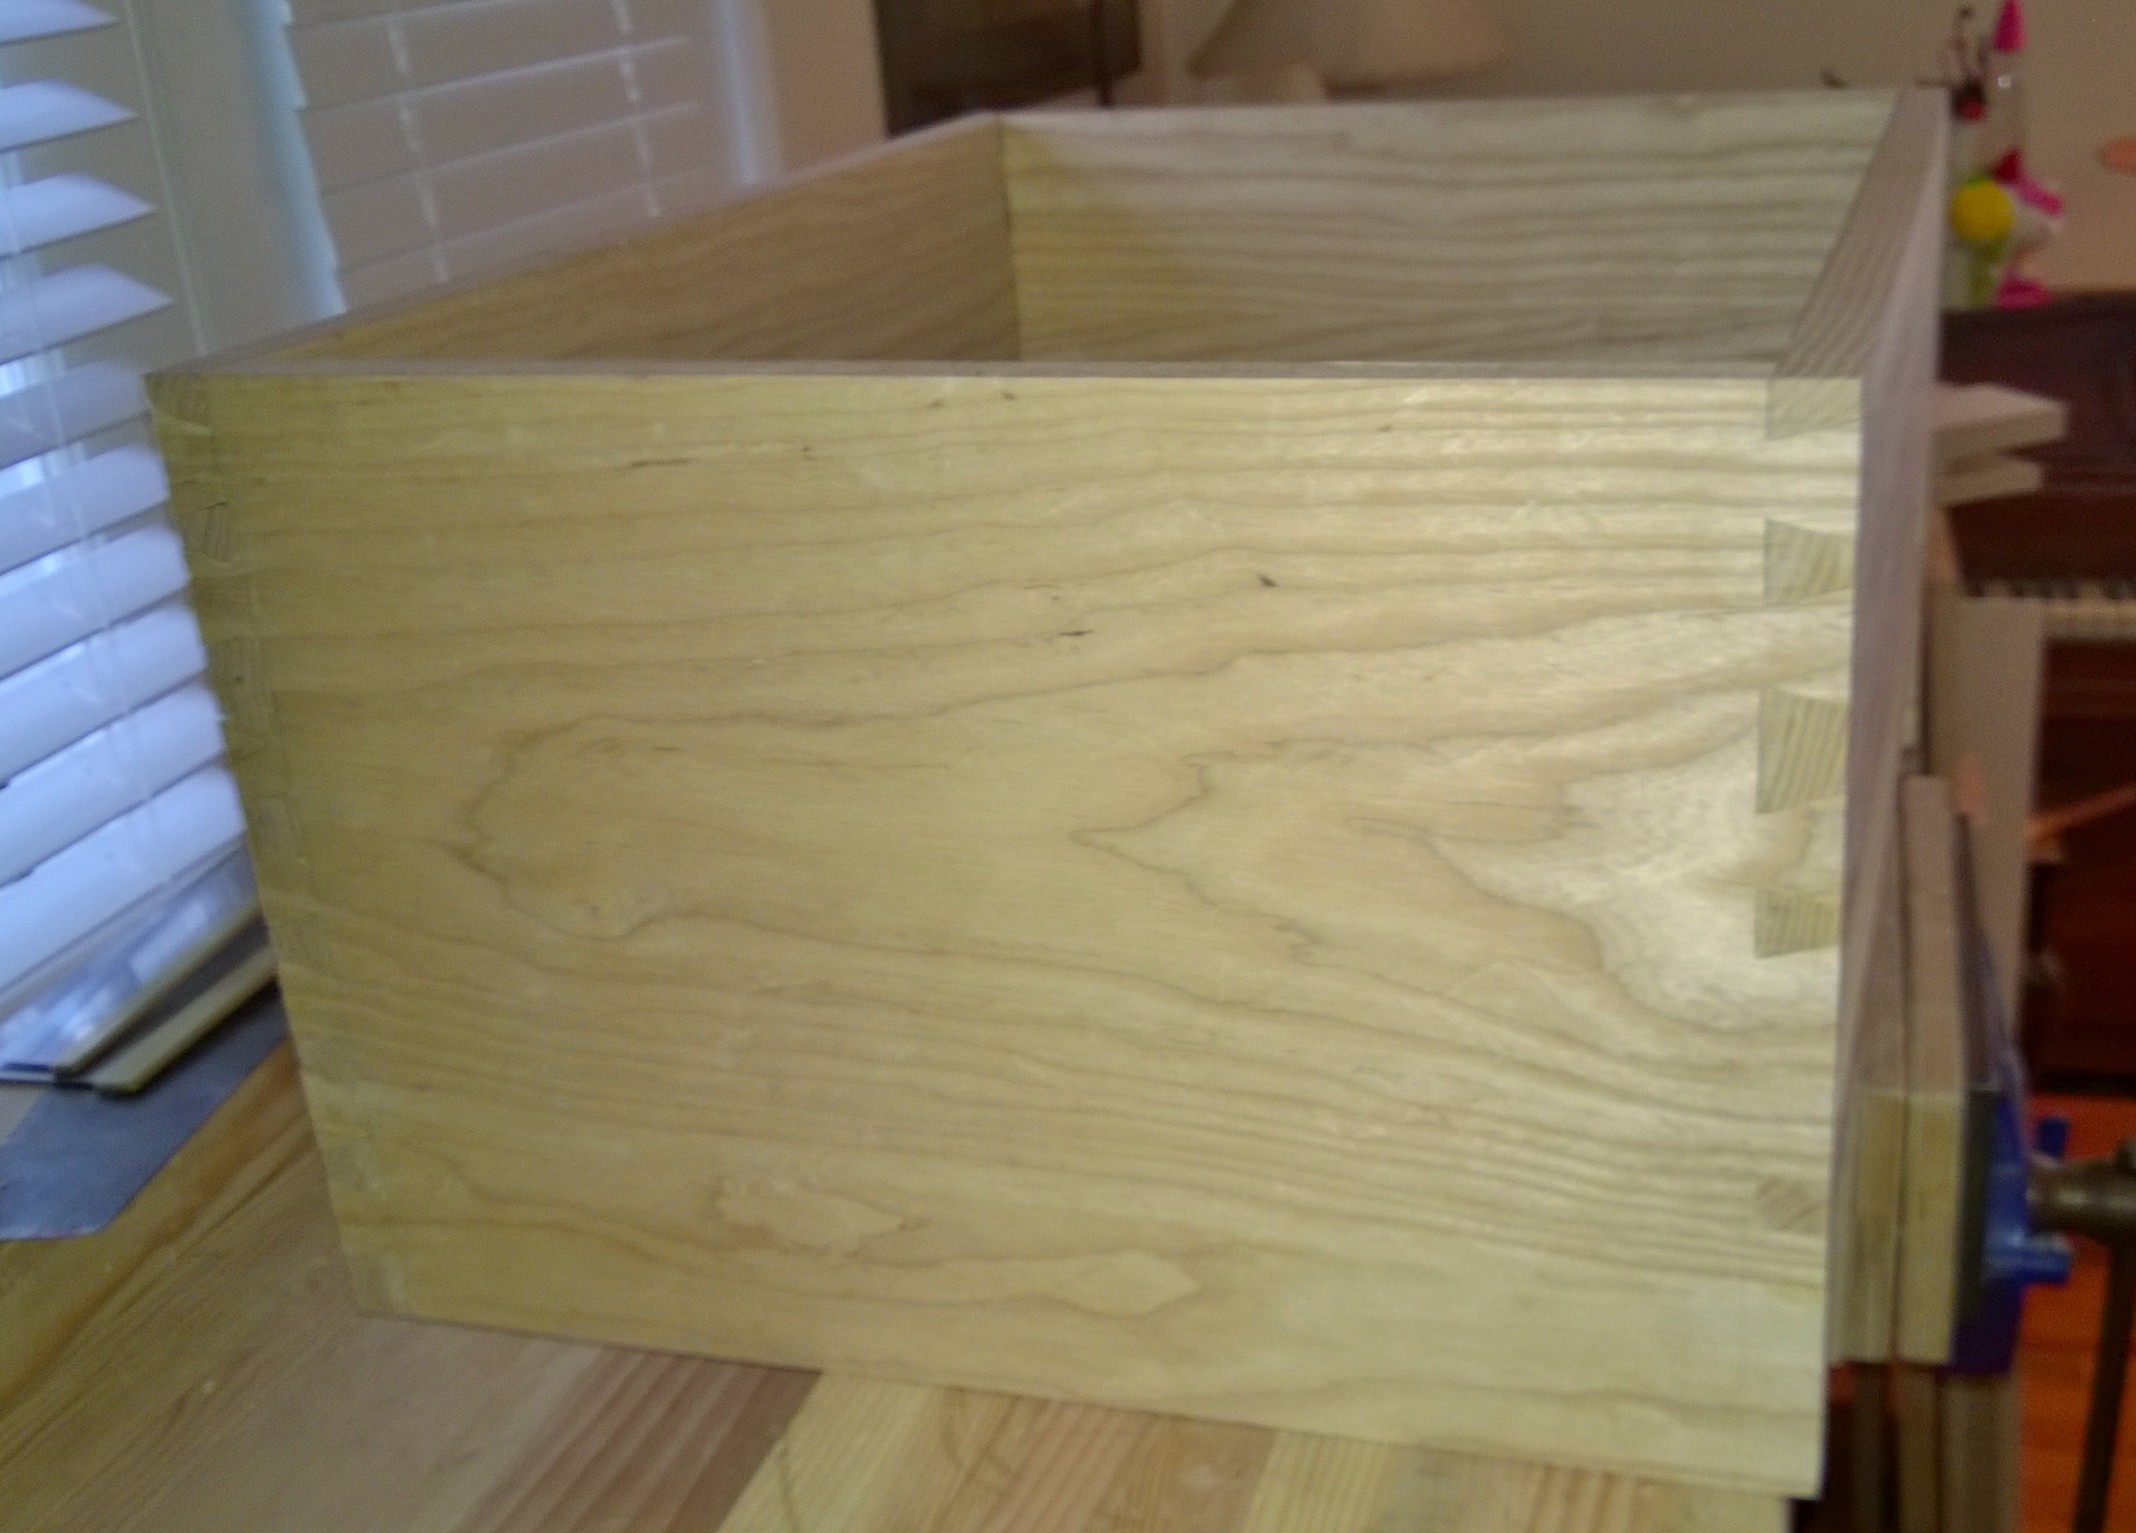
I did not have many shots of the drawers, the wood handles are mortised into the drawer front.

WP_20150502_003 1

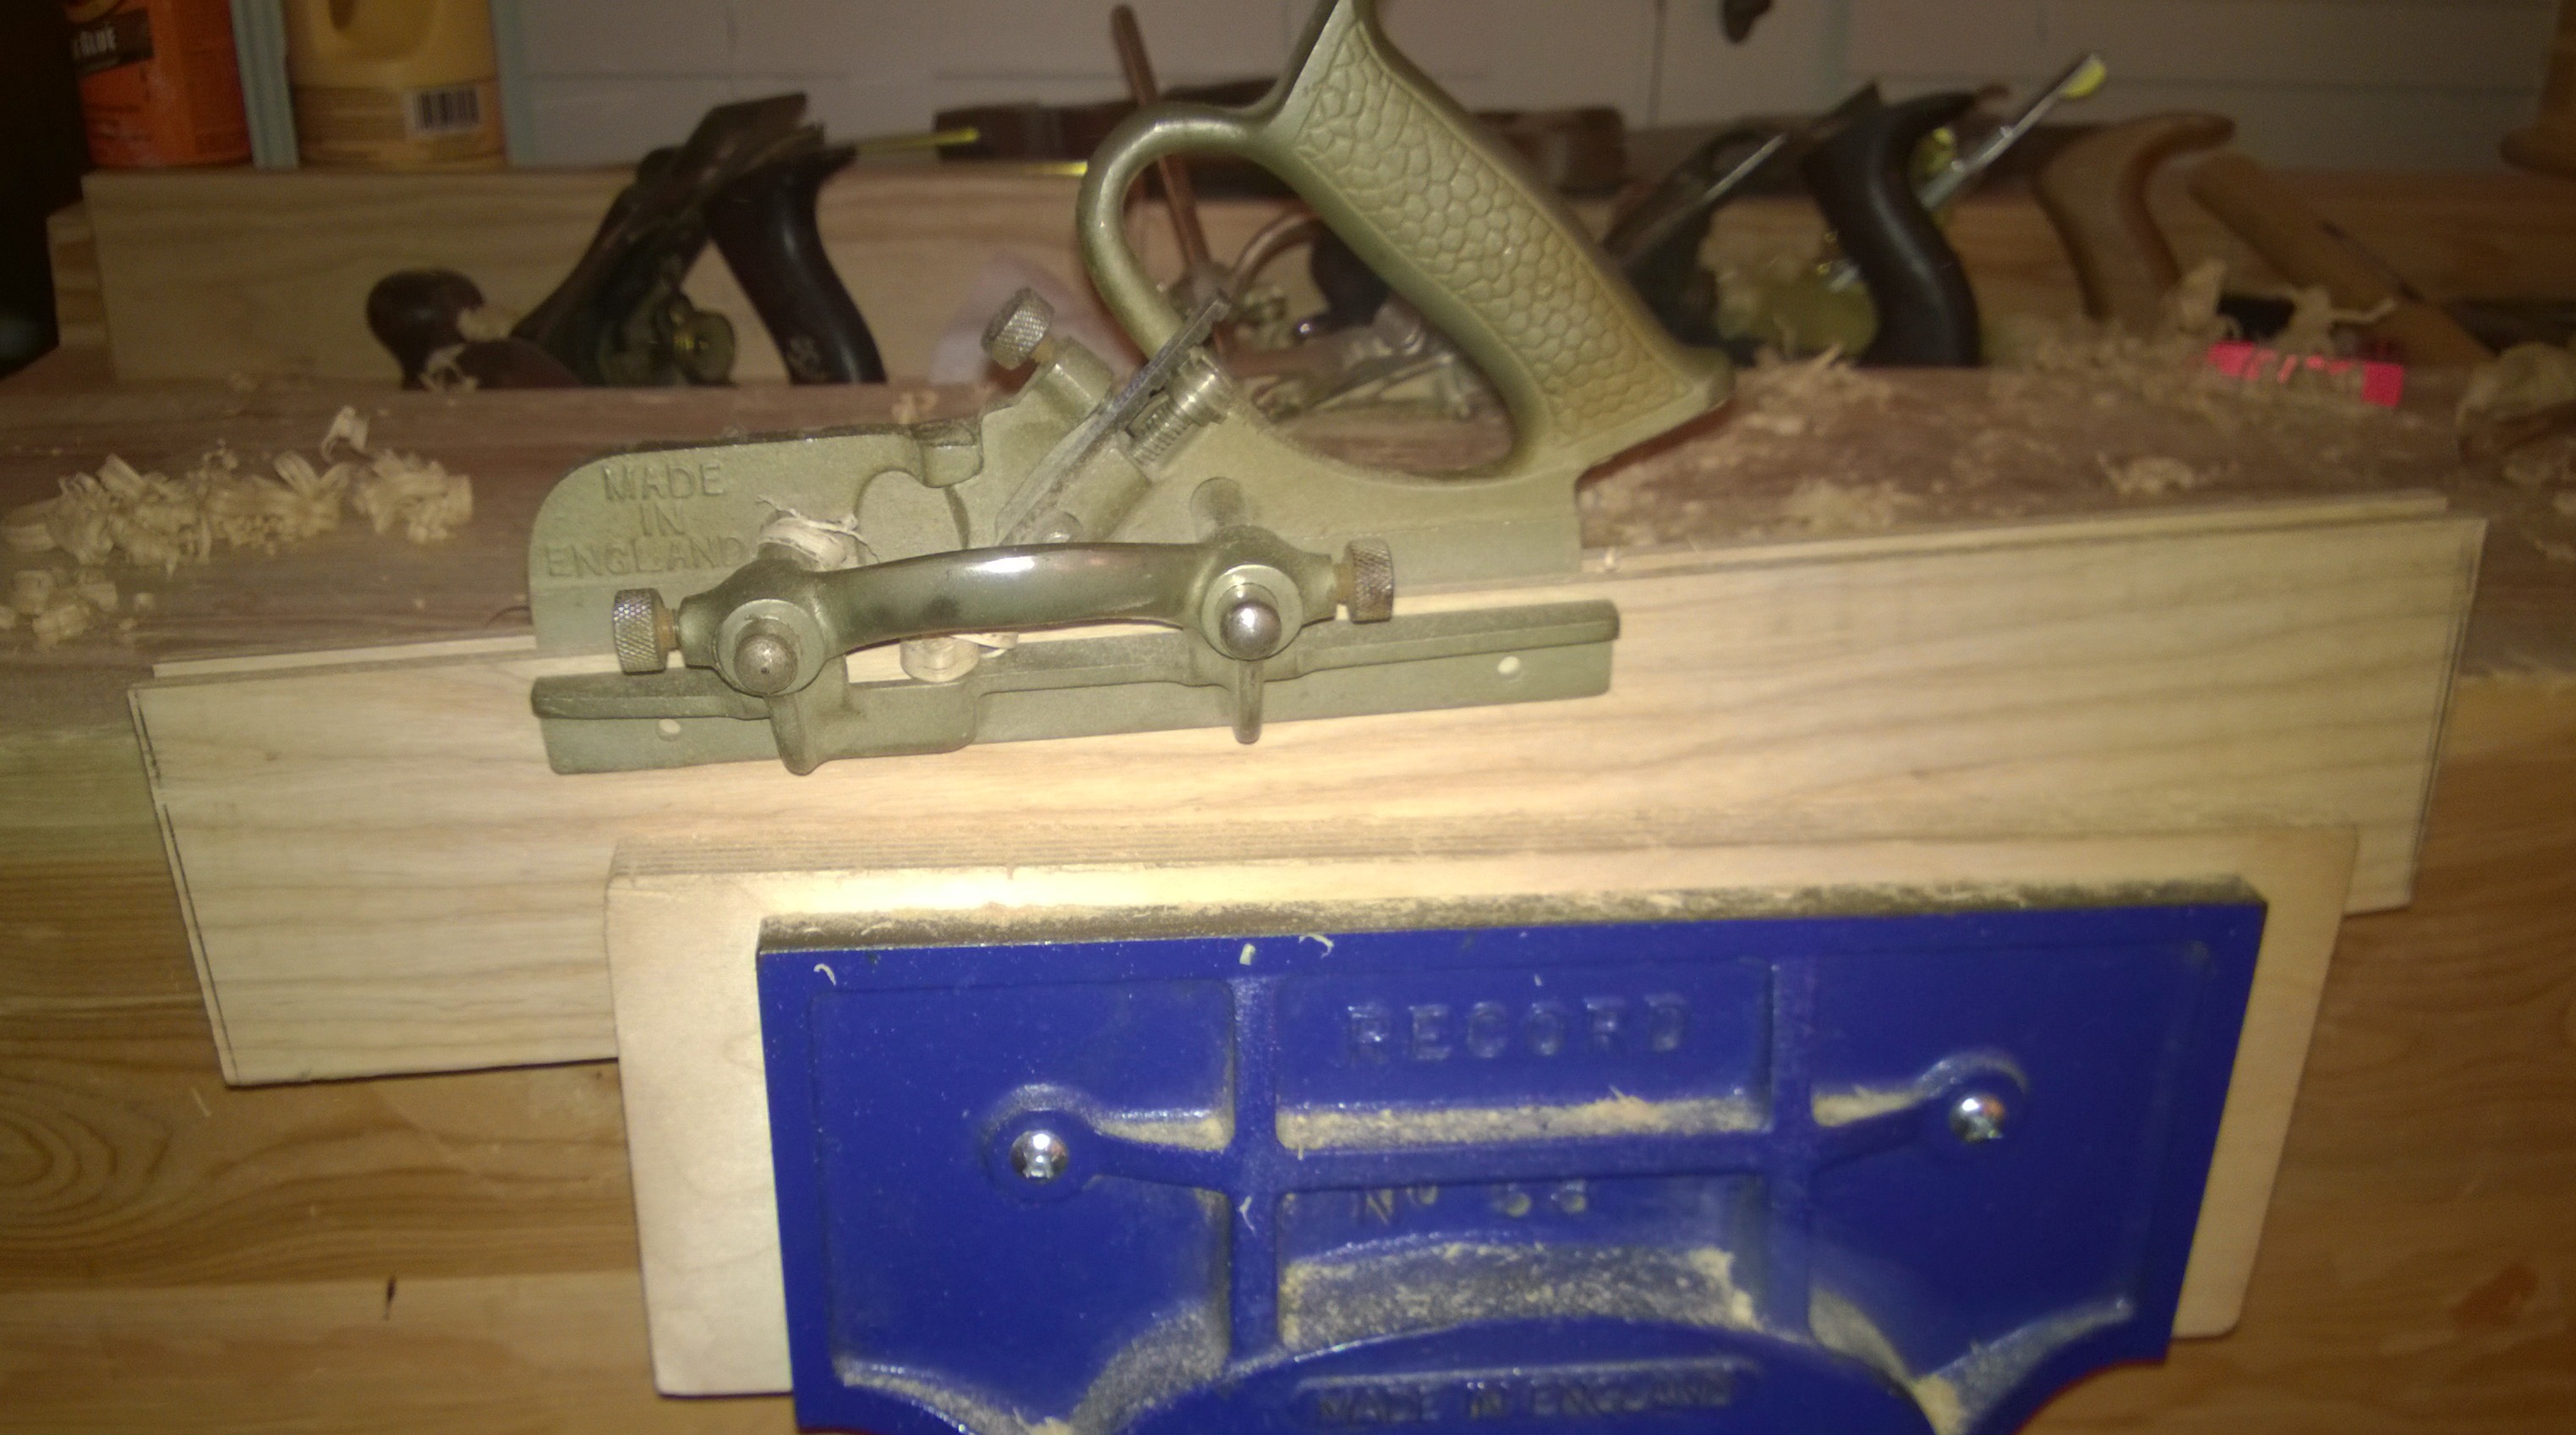
Lots of room for the most popular planes I use. No its not the Anarchist Tool Chest, but it can hold most all the tools I used to make the chest and then some.

WP_20150503_009 1

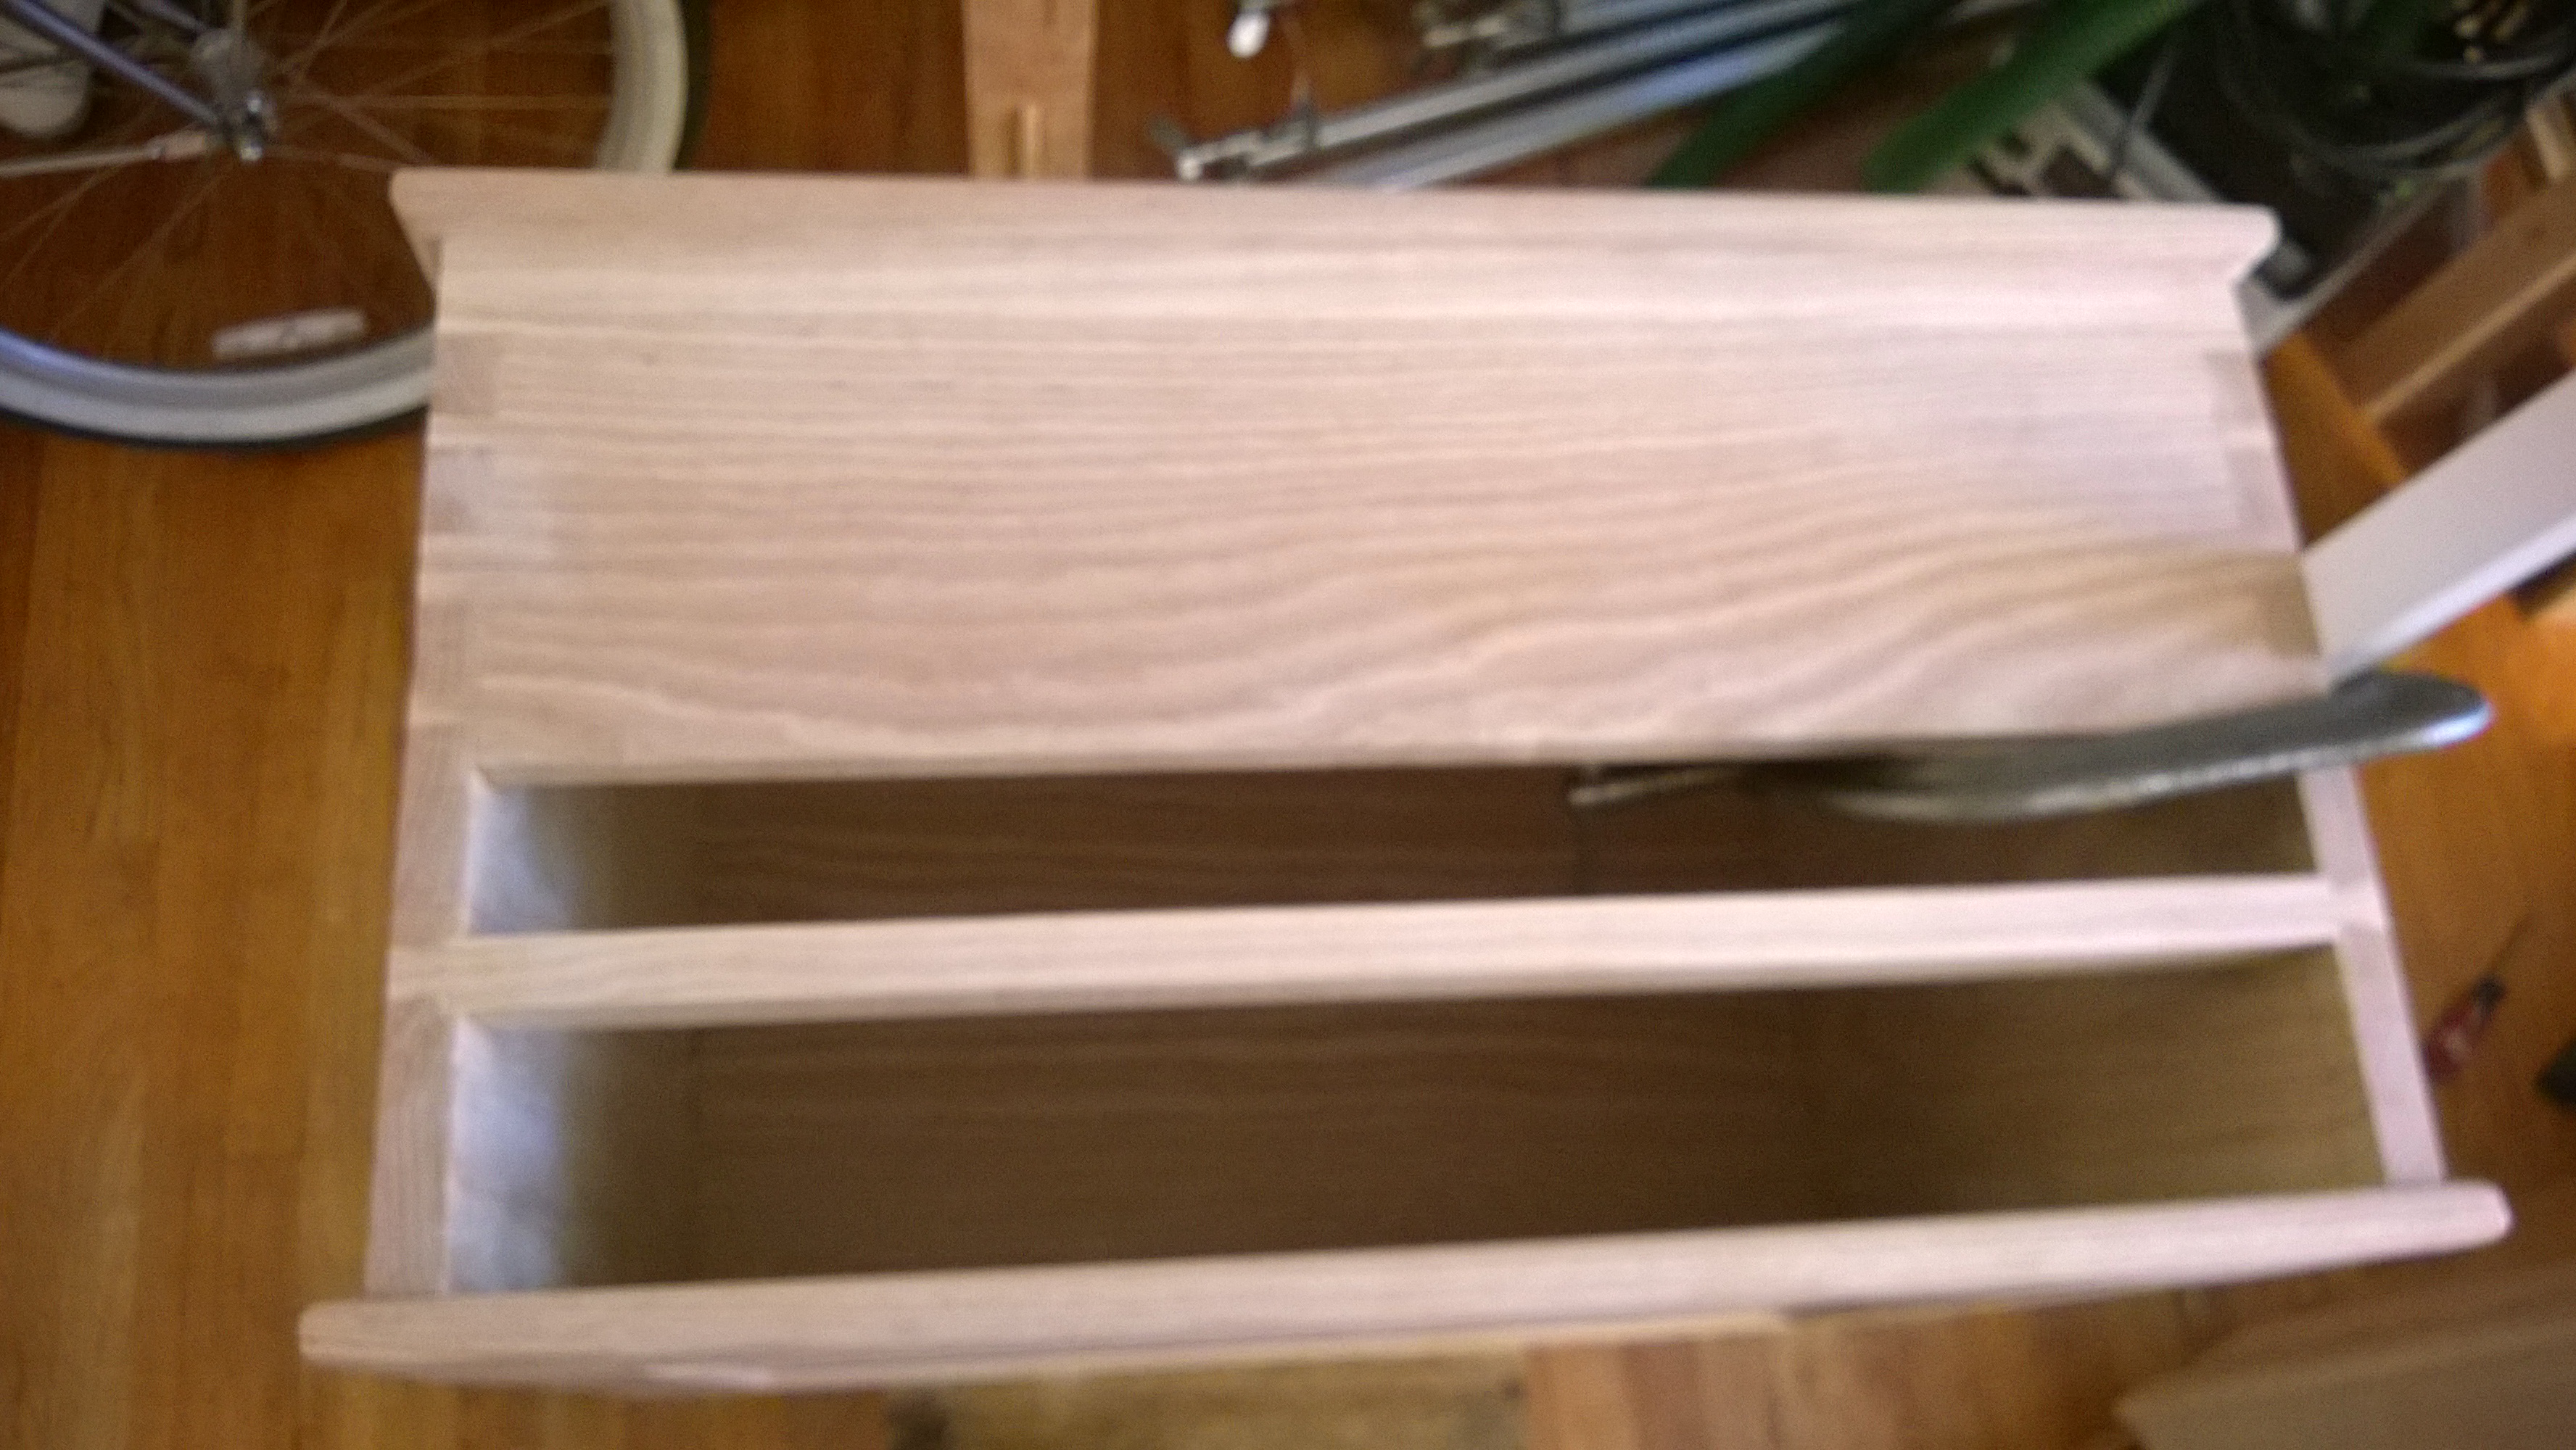
For some space saving I glued up some scrap pieces and attached them to the inside of the lid to hold my sash saw and dovetail saw along with my go to Woodpecker squares.

WP_20150503_008

Tool Chest By Paul Sellers Part 3, Raised Panels and Drawers

The top is a raised panel door and the bottom is a just a plywood panel set into a mortise and tenon frame.

First a Record 44 plow plane to cut the grooves.

WP_20150325_001

A complete stack of rails and stiles for the top and bottom.

WP_20150325_002 1

Skipping a bunch of steps as I do not take as many pictures.  All the videos are available on Paul Sellers site. The mortises are cut with my Sash saw and cleaned up with a router plane.  The mortises were chiseled with a bevel edge chisel the Sellers way.

WP_20150402_004 1

Getting read to final fit and assembly.  The panels are 5/8″ thick, I had to take 7/8″ stock and plane it down.  I did this with my #5 set as a scrub plane and then cleaned it up with a #4.

WP_20150402_003

Dry fit and glue up.

WP_20150402_001WP_20150402_005 1

Gluing the top and bottom to the carcass. Everything went smoothly. The only error was a shoulder line that can’t be seen in the final build.  I am better at mortises than dovetails.

WP_20150413_003WP_20150413_001

All ready to be cut in half now!

WP_20150413_004

It all started off so well 🙂  I had a guide, a pencil line and then it went so so wrong.

WP_20150425_003WP_20150425_006

The front, I wasn’t paying attention for a few strokes of the saw and it went off the line by 1/4″.  This means I lose a 1/4″ of height.  Luckily I added a good inch or so of height before I added the lids due to my incorrectly measuring somewhere along the line.  I topped the carcass with a 1 inch wider or so piece mitered at the corners (held together at the miters with a domino, yes its wrong, I know but I didn’t care).   I had to plane off that 1/4″ from the top and bottom and level things all out.

WP_20150425_001 WP_20150425_014

The aftermath of the planing can be seen below:

WP_20150425_008

The drawers were next and I did not get a lot of pictures.  The are half blind dovetails with a grove for the plywood.  There is also a mortise with some wedges to add stability.  These drawers are rock solid.

WP_20150421_001

Test fitting the planes.

WP_20150425_010

Next up, Hardware, Shellac and Tools

Tool Chest By Paul Sellers Part 2, Dovetails

Time to start putting the chest together.  I had followed Chris Schwarz’s recommendation and cut dovetails in pine every night for a month.  Well it worked out to often but not every night.  I think this can be a good practice but not if your technique isn’t changing or you haven’t mastered sharpening.  I found Paul Sellers videos with his knife line and chiseling and was sold. WP_20150322_001 The biggest problem for me was the shoulder lines being consistent and not pushing into them.  Ash is a reasonably hard wood but I still managed to have not so great dovetails.  I attribute my first crappy dovetails to my lack of precision on the shoulder lines. Some overhang allowed for cleanup of the not so perfect fitting dovetails. More practice is definitely needed in layout more than chiseling.  The dovetails did get better as I moved along. WP_20150314_030 Two sides and the back ready to go. WP_20150314_027\ Once again no so perfect on the front. WP_20150322_004 The  dovetail for the drawer divider was actually quite easy to do on the first try. WP_20150322_008 Ready for glueup. WP_20150322_009 All glued up and planed.  I did get some wood swelling that filled in the minor gaps I had on glue up.  I also used the sawdust from my bandsaw when I did the ripping and resawing and mixed that with some wood glue and used as wood filler.  This filled in the remaining gaps that in the end are no longer visible.  So I can imagine if my dovetails improve the fit and finish will as well. WP_20150322_011 A different view. The chest is coming together nicely.  Next is the top/bottom and sawing the carcass in half. WP_20150322_010 1