The mighty civic has been through a lot. Its been backed into three times just on the drivers side. It was hit twice on the passenger side. Still the might civic plods on! 36-42 mpg with its mighty v-tec and 5 speed manual. Yes it is a clown car for me as I am almost 6′ 3″ but it is a blast to drive.
So onto the upholstery. The front driver seat was torn between the side panel and the main seat panel. Well since I have that handy dandy Kingmax industrial sewing machine I might as well put it to use.
First, I gathered materials. Colorado Auto Trim and Supply in Denver has bought the end runs from all the manufacturers. Though this is a 1998 there was none left but being they had hundreds of samples we found a great match.
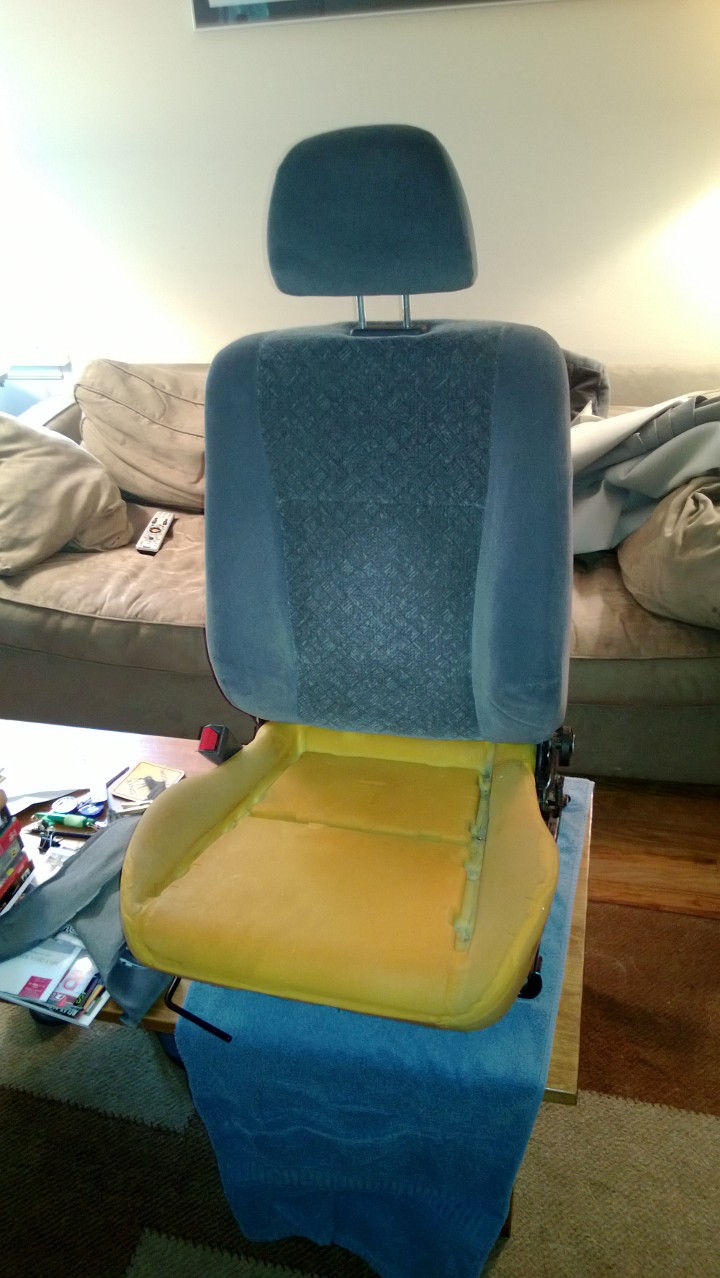
Now I remove the front seat, very easy to do in the civic. I remove the hog rings with a pair of pliers. Now make sure you have a pair of hog ring pliers if you ever work on older car seats , to put them back together or you will be making it a lot harder than it is. I was able to get the seat cover off without taking the seat apart. Note, this would be a great time to put in heated seats had I been thinking ahead. You see that little ring of metal in the middle of the picture. That is a hog ring. The pliers wrap that sucker in a circle around the embedded wire in the seat cushion/base. Without these your seat will not be snug and will look like crap. Don’t even try channel locks, order a pair of hog ring pliers from amazon if need be. McGuckin Hardware had them in stock in Boulder.

When it is apart the seat looks like this:
I take the panel apart with a knife which I found to be easier than the seam ripper I tried and broke on the seam.
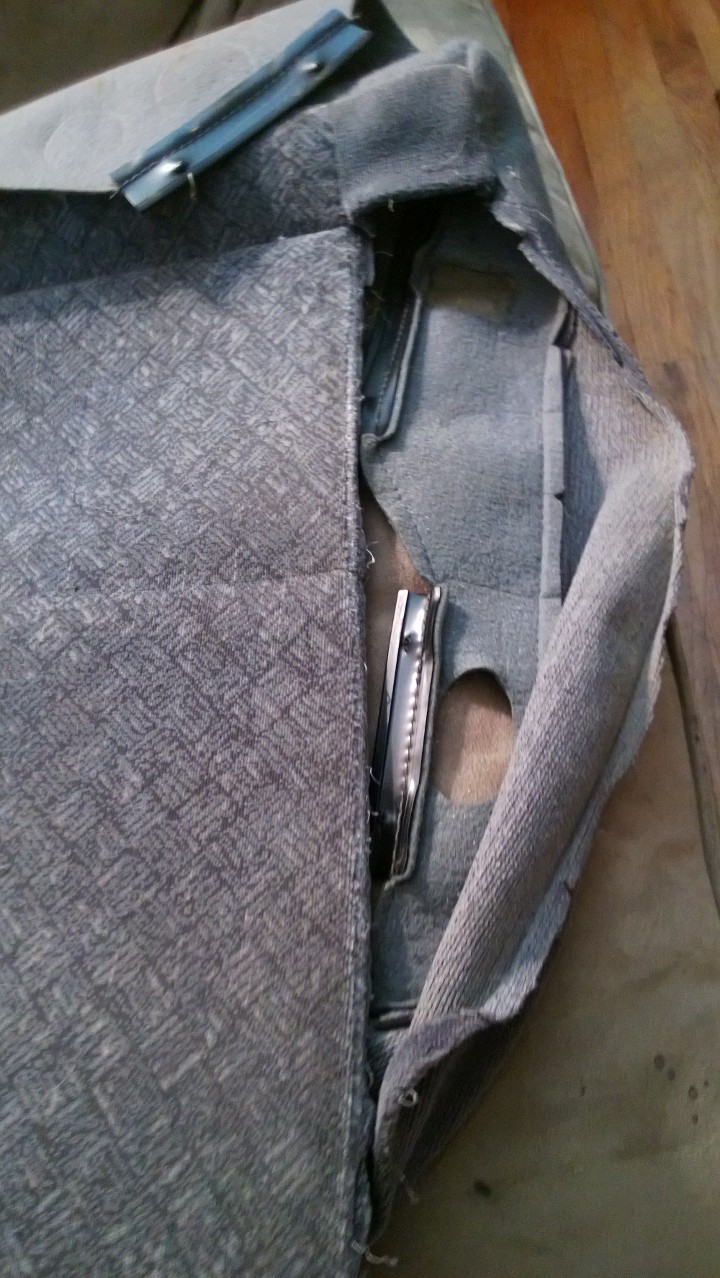

The seat was pretty worn out as it was the driver seat on 167K mile civic so I also decided to change the side panel as you can see its almost disintegrated on the back side of the panel. You’ll notice some plastic supports to be sewn back in, this is not problem for the Kingmax but it is for a home machine.
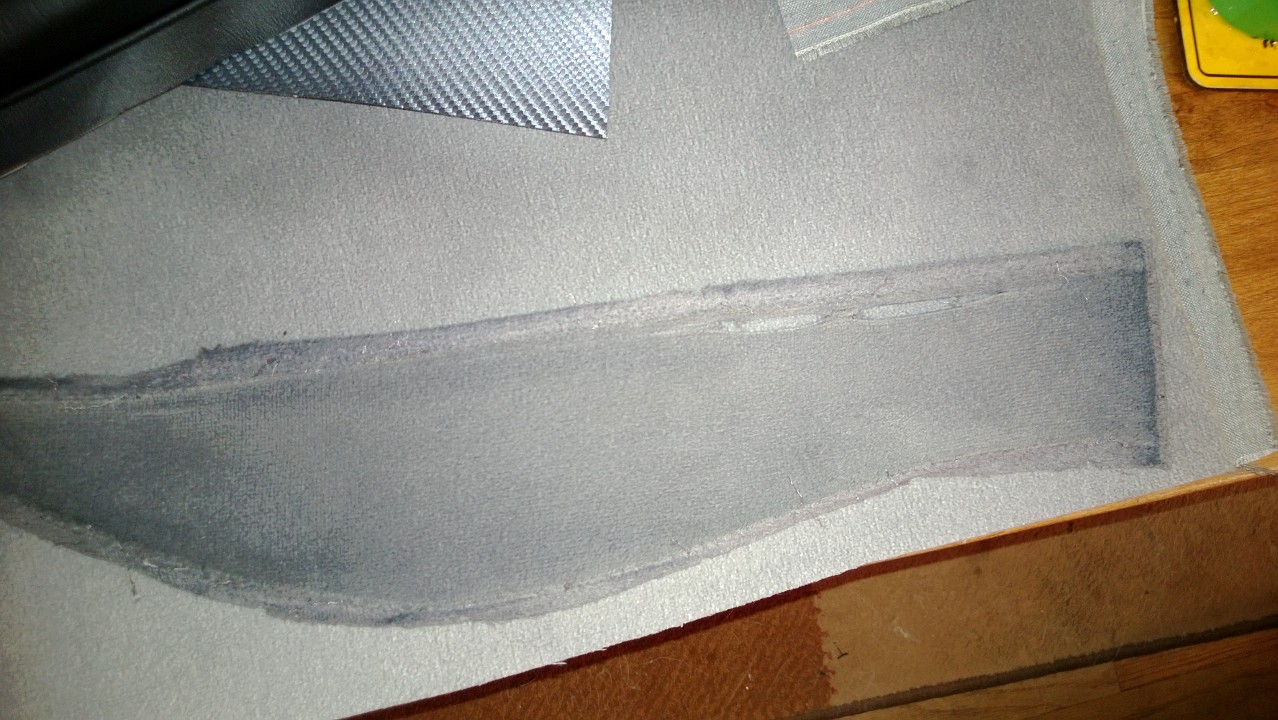
I used the old panels as a template and sewed it up on the Kingmax with 69 bonded nylon. It didn’t take that long. A few seams, making sure to sew over the junctions and get it all back looking like a cover.

Time to stretch the cover back over the seat and re- hog ring it. Then I installed the seat back in the car. Still working great to this day. Notice that fine toolset in the photo, on loan from Kristen.
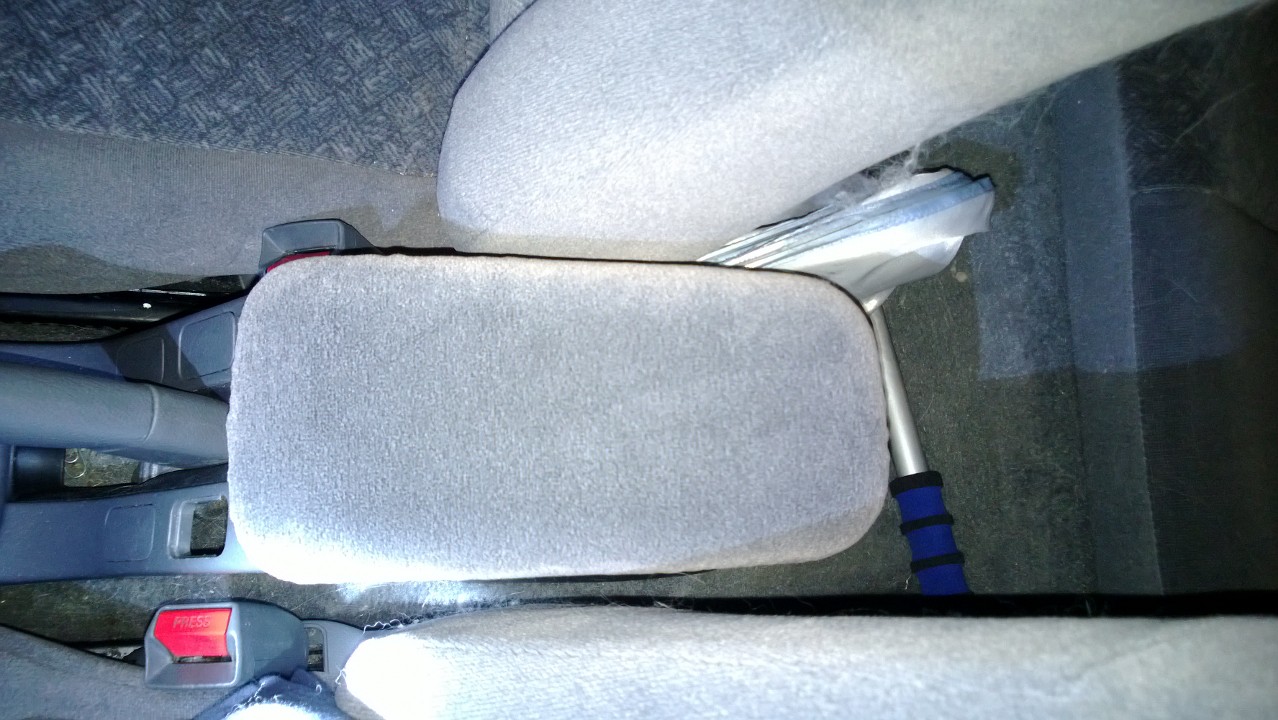
Next up as we are doing well so why stop with the seat! Onto the armrest. It is toast, worn to the threads.

This is easy, no sewing machine involved. Just 3M spray adhesive 77 and some fabric. First we remove the covering.

That was quick, pulled right off.
Spray the fabric and spray the armrest, let dry. I use a mask and do this outside, I also use safety goggles no need to have a errant spray in the eyes. Gloves are good as well as this stuff doesn’t like to come off.
Wrap that fabric slowly as this is contact cement and it holds well. So work it from the middle out and we get the final product.

Screw back the various hinges and hardware and we are done.
This was early July 2013.

Lots of work it looks like. I think I will leave the reupholstering to you!
I did think about doing the entire seat but realized it would be a lot more work.