Everyone who has driven a Jeep Wrangler TJ or LJ knows the headlights are terrible. Having grown tired of not being able to see in the mountains or in town for that matter I decided to look into upgrading the stock headlights. Turns out there is very little good information out there on how to properly upgrade your jeep headlights. By properly I mean how to best light the road with minimal emptying of the wallet and doing it safely.
Truck lites were an option, though I was told they don’t melt the snow and ice very well (a problem they are working on I have read) also I could not find much DOT info on them. Well snow and ice melting is a top requirement as it snows in the mountains, truck lites were out.
There was a replacement sealed bulb out there that looked to be ok and around 150 I think a pair. Not a bad solution but it seemed an incremental upgrade.
Most of the other crap by the online 4 wheel drive stores had me questioning the performance and safety.
Surfing wranglerforum.com one evening I came across a headlight thread that said to check out Daniel Stern. Who is Daniel Stern? He is apparently a automotive lighting consultant. This sounds promising, someone who might actually know something about headlights other than “they look bright” or “I ordered from so and so .com and bolted them on”. After a few email exchanges we came up with a solution for my lights.
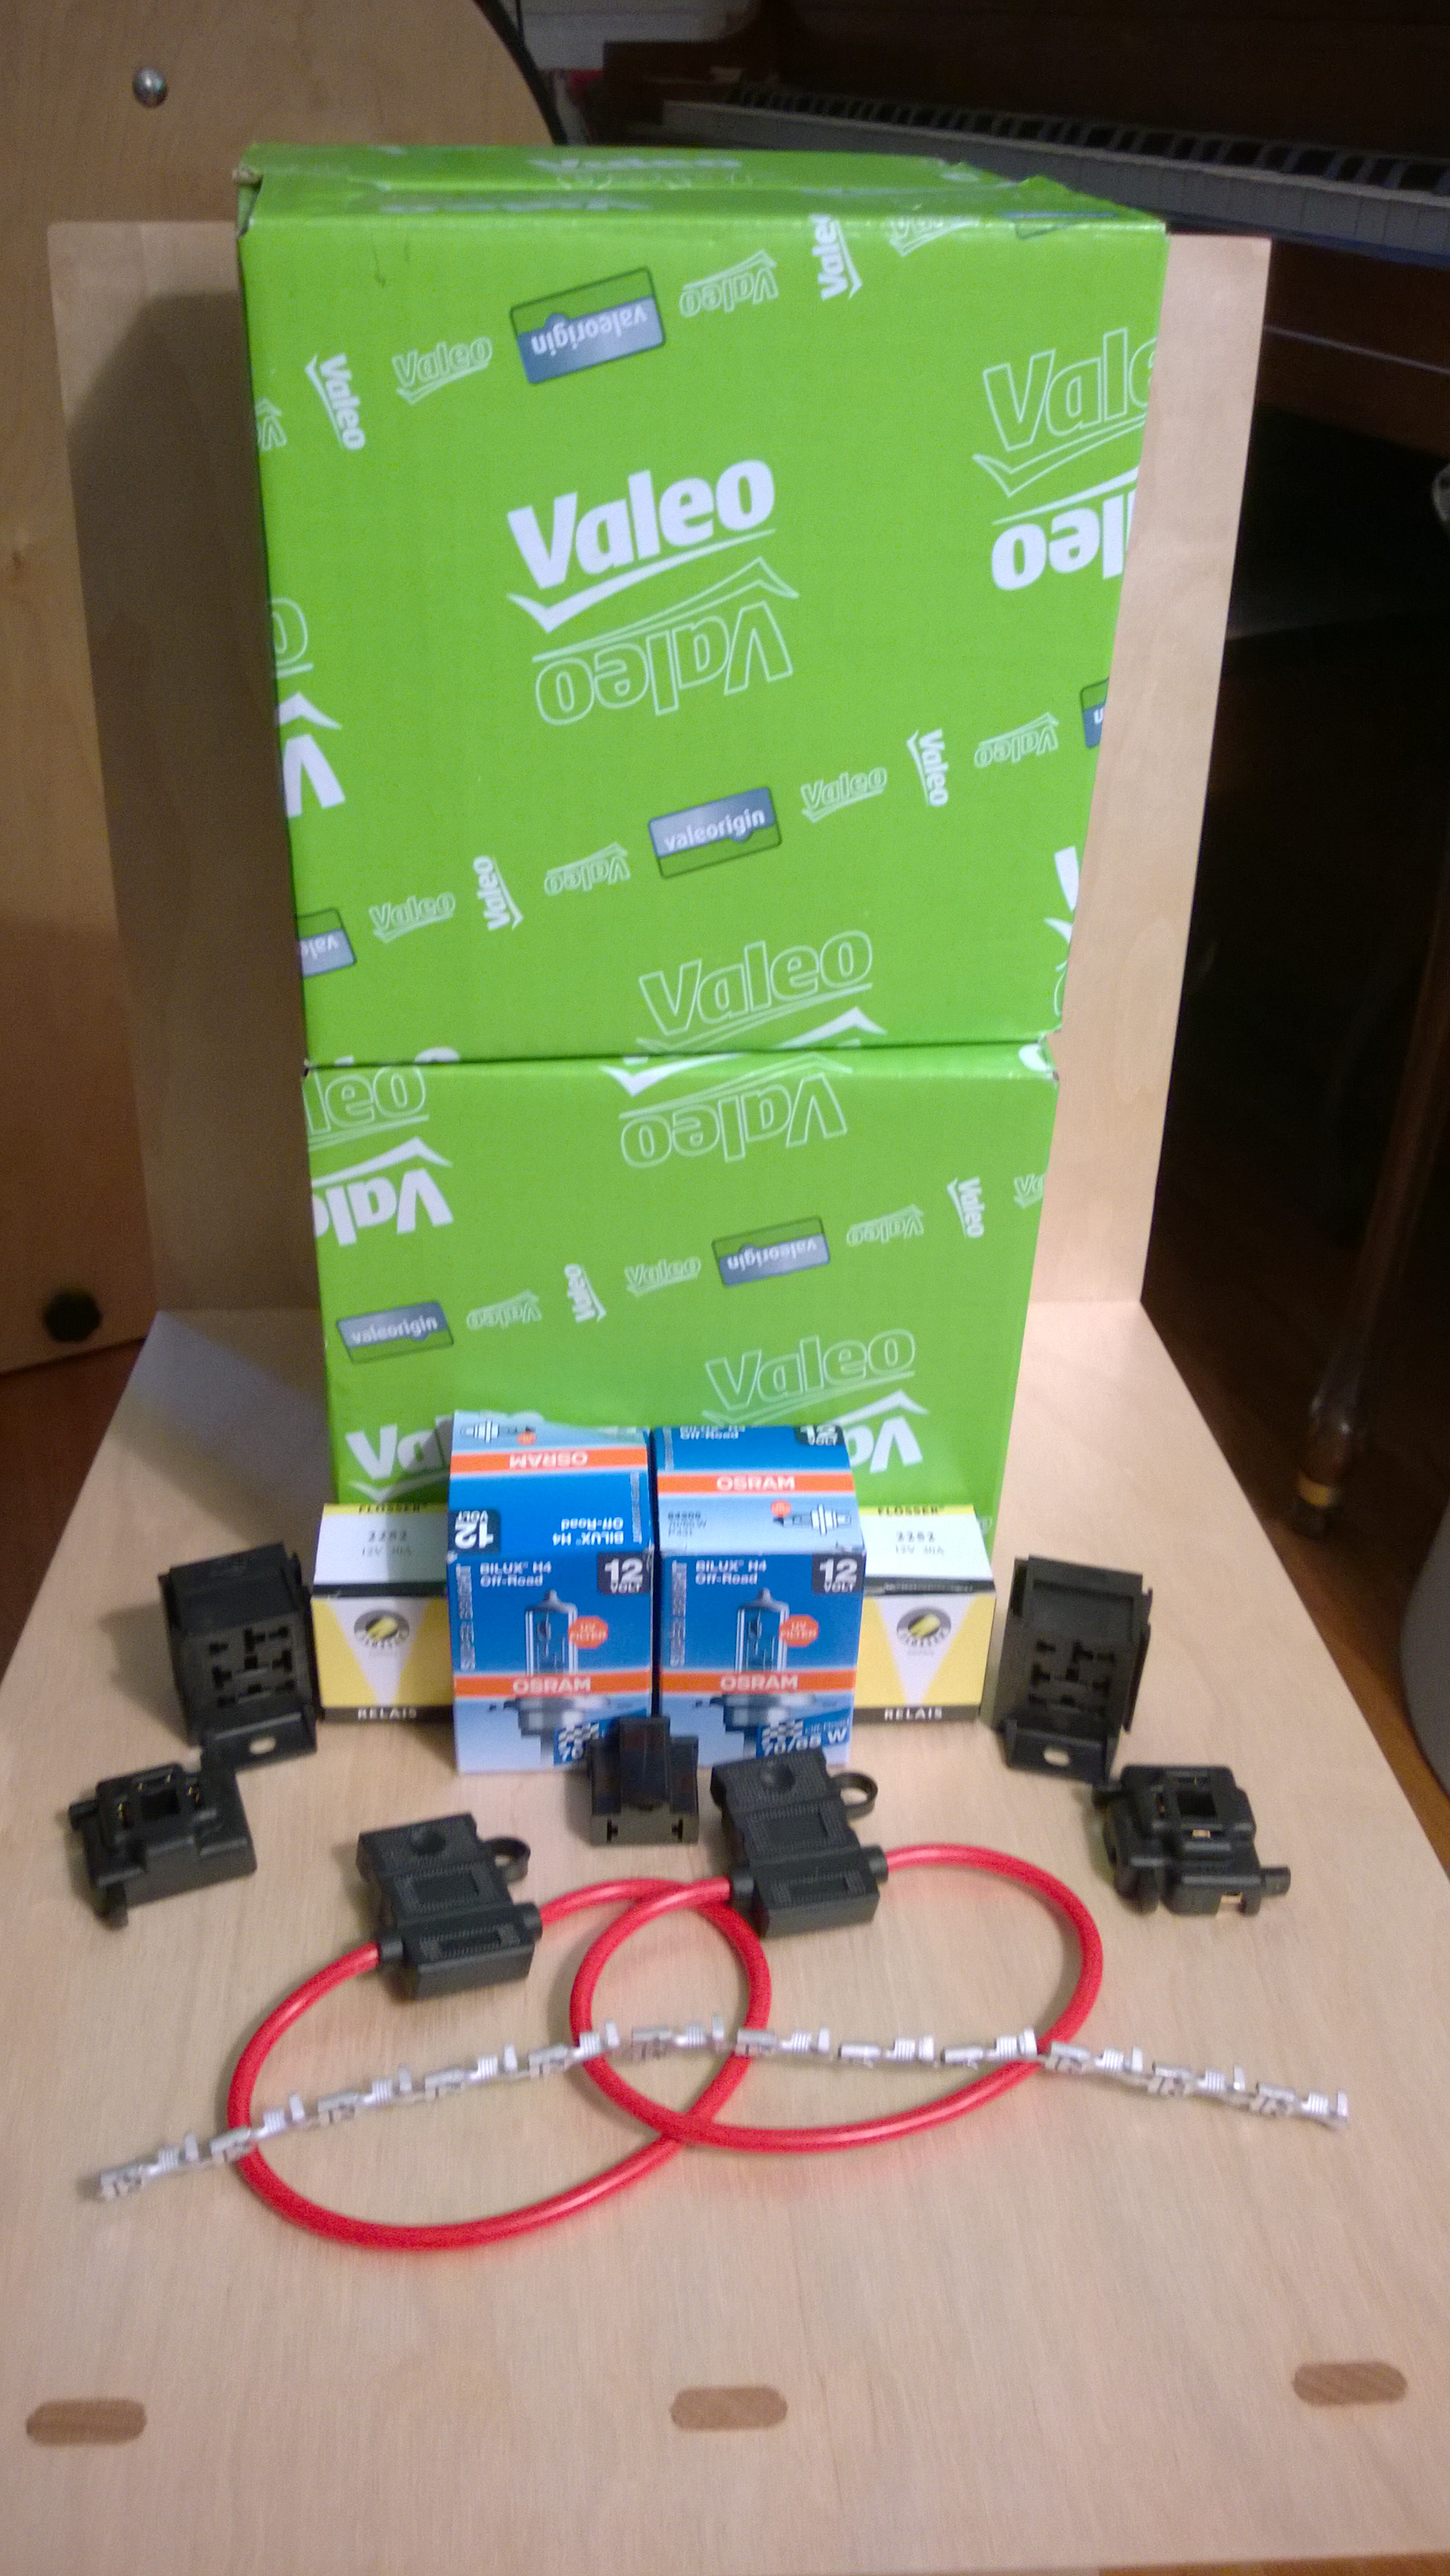
- Cibie H4 units
- Some bulbs to go with the lights
- Relay kit to rewire for the new lights
First off he has some great links that show the differences between different headlights and how the beam is directed at the road. The light is only useful if it is on the road in front of you. Stock lights , very little light makes it to the road and not enough to see like a newer car headlights can. The light patttern for the Cibies was wider than the Hellas I was looking at. Is this important, yes. More light on the road and not in oncoming drivers eyes is a primary headlight requirement.
Relay kit? Why do I need a relay kit you say? A new wiring setup to your headlights , even your stock headlights is beneficial. The stock wiring is too small of a wire gauge and can’t handle the power requirements of the new headlights. There is a voltage drop and even the stock headlights do not get full power given the small gauge stock wiring. The thicker gauge wire on the new setup eliminates the voltage drop and supports the higher amp draw of new headlights. Now there is a perfectly good detailed writeup at Moab Jeeper on this very topic in detail with many pictures, so I will not add much more here.
Tools Needed:
- Safety Glasses
- Torx T15 for removing headlights and headlight bezel
- Wire Cutters
- Wire Strippers
- Solder gun ( a high amp version as you are soldering 12 gauge stranded wire which sucks up a lot of heat)
- Solder
- Heat Shrink
- Drill
- Self tapping screws to attach relay boxes
- zip ties
The kit does not come with wire. It does come with relays, relay blocks, all the appropriate pins, fuses, plugs, and crimp connectors one needs for the installation. Could you get all this yourself? Of course you can buy it all yourself, but probably not for less than Daniel’s price plus time lost searching down all the parts and pieces plus shipping. Daniel provides it all in one shot and that time savings is worth it to me.

Now for wire I actually ordered the 12 gauge stranded from AutoZone in red and black 100 ft rolls each since I am most likely rewiring 3 jeeps. I picked up the plastic wire wrap (1/2 and 3/8) for a few bucks to protect the cable at our local McGuckin Hardware. The 18 gauge for the relay connections I purchased at Home Depot.

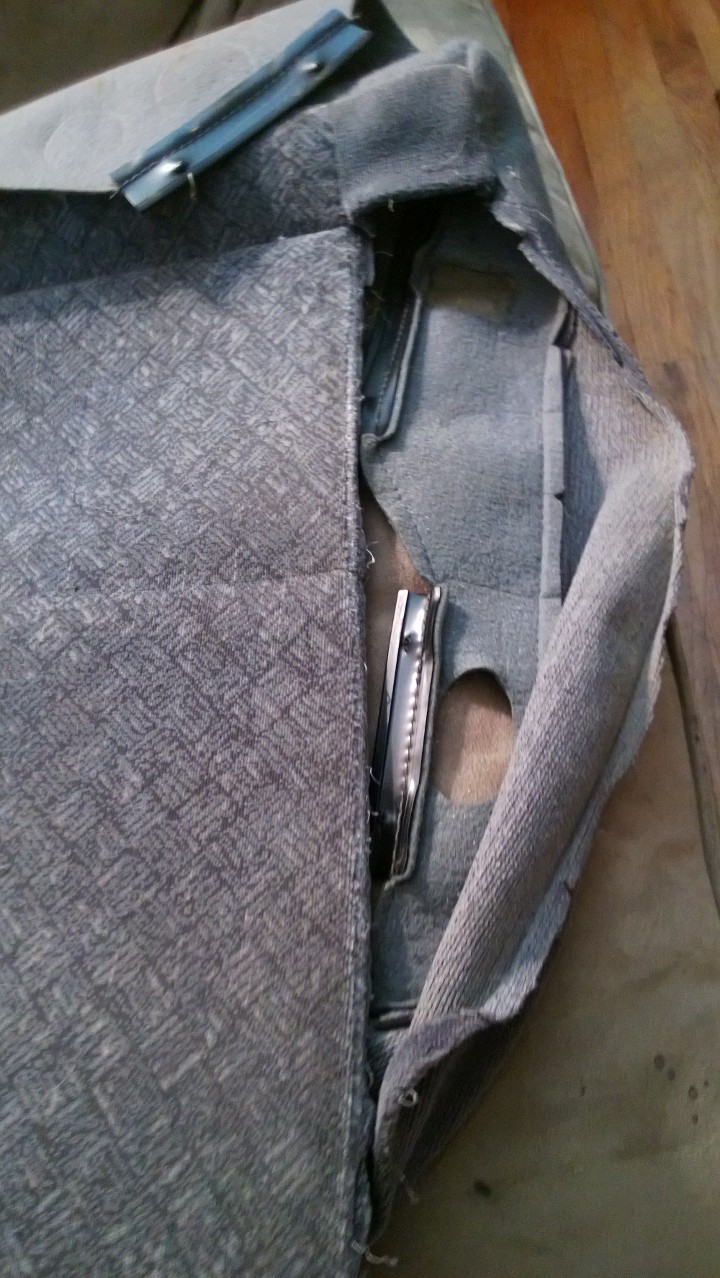
Now the setup at Moab Jeeper is great and I followed it as my guide except I used the provided spring connectors for the headlights. The springs are quite strong on the headlight connector and I have no concerns that they will fail. So omitting the solder connections for the headlights, my install was the close to the same. The spring connecter is below:

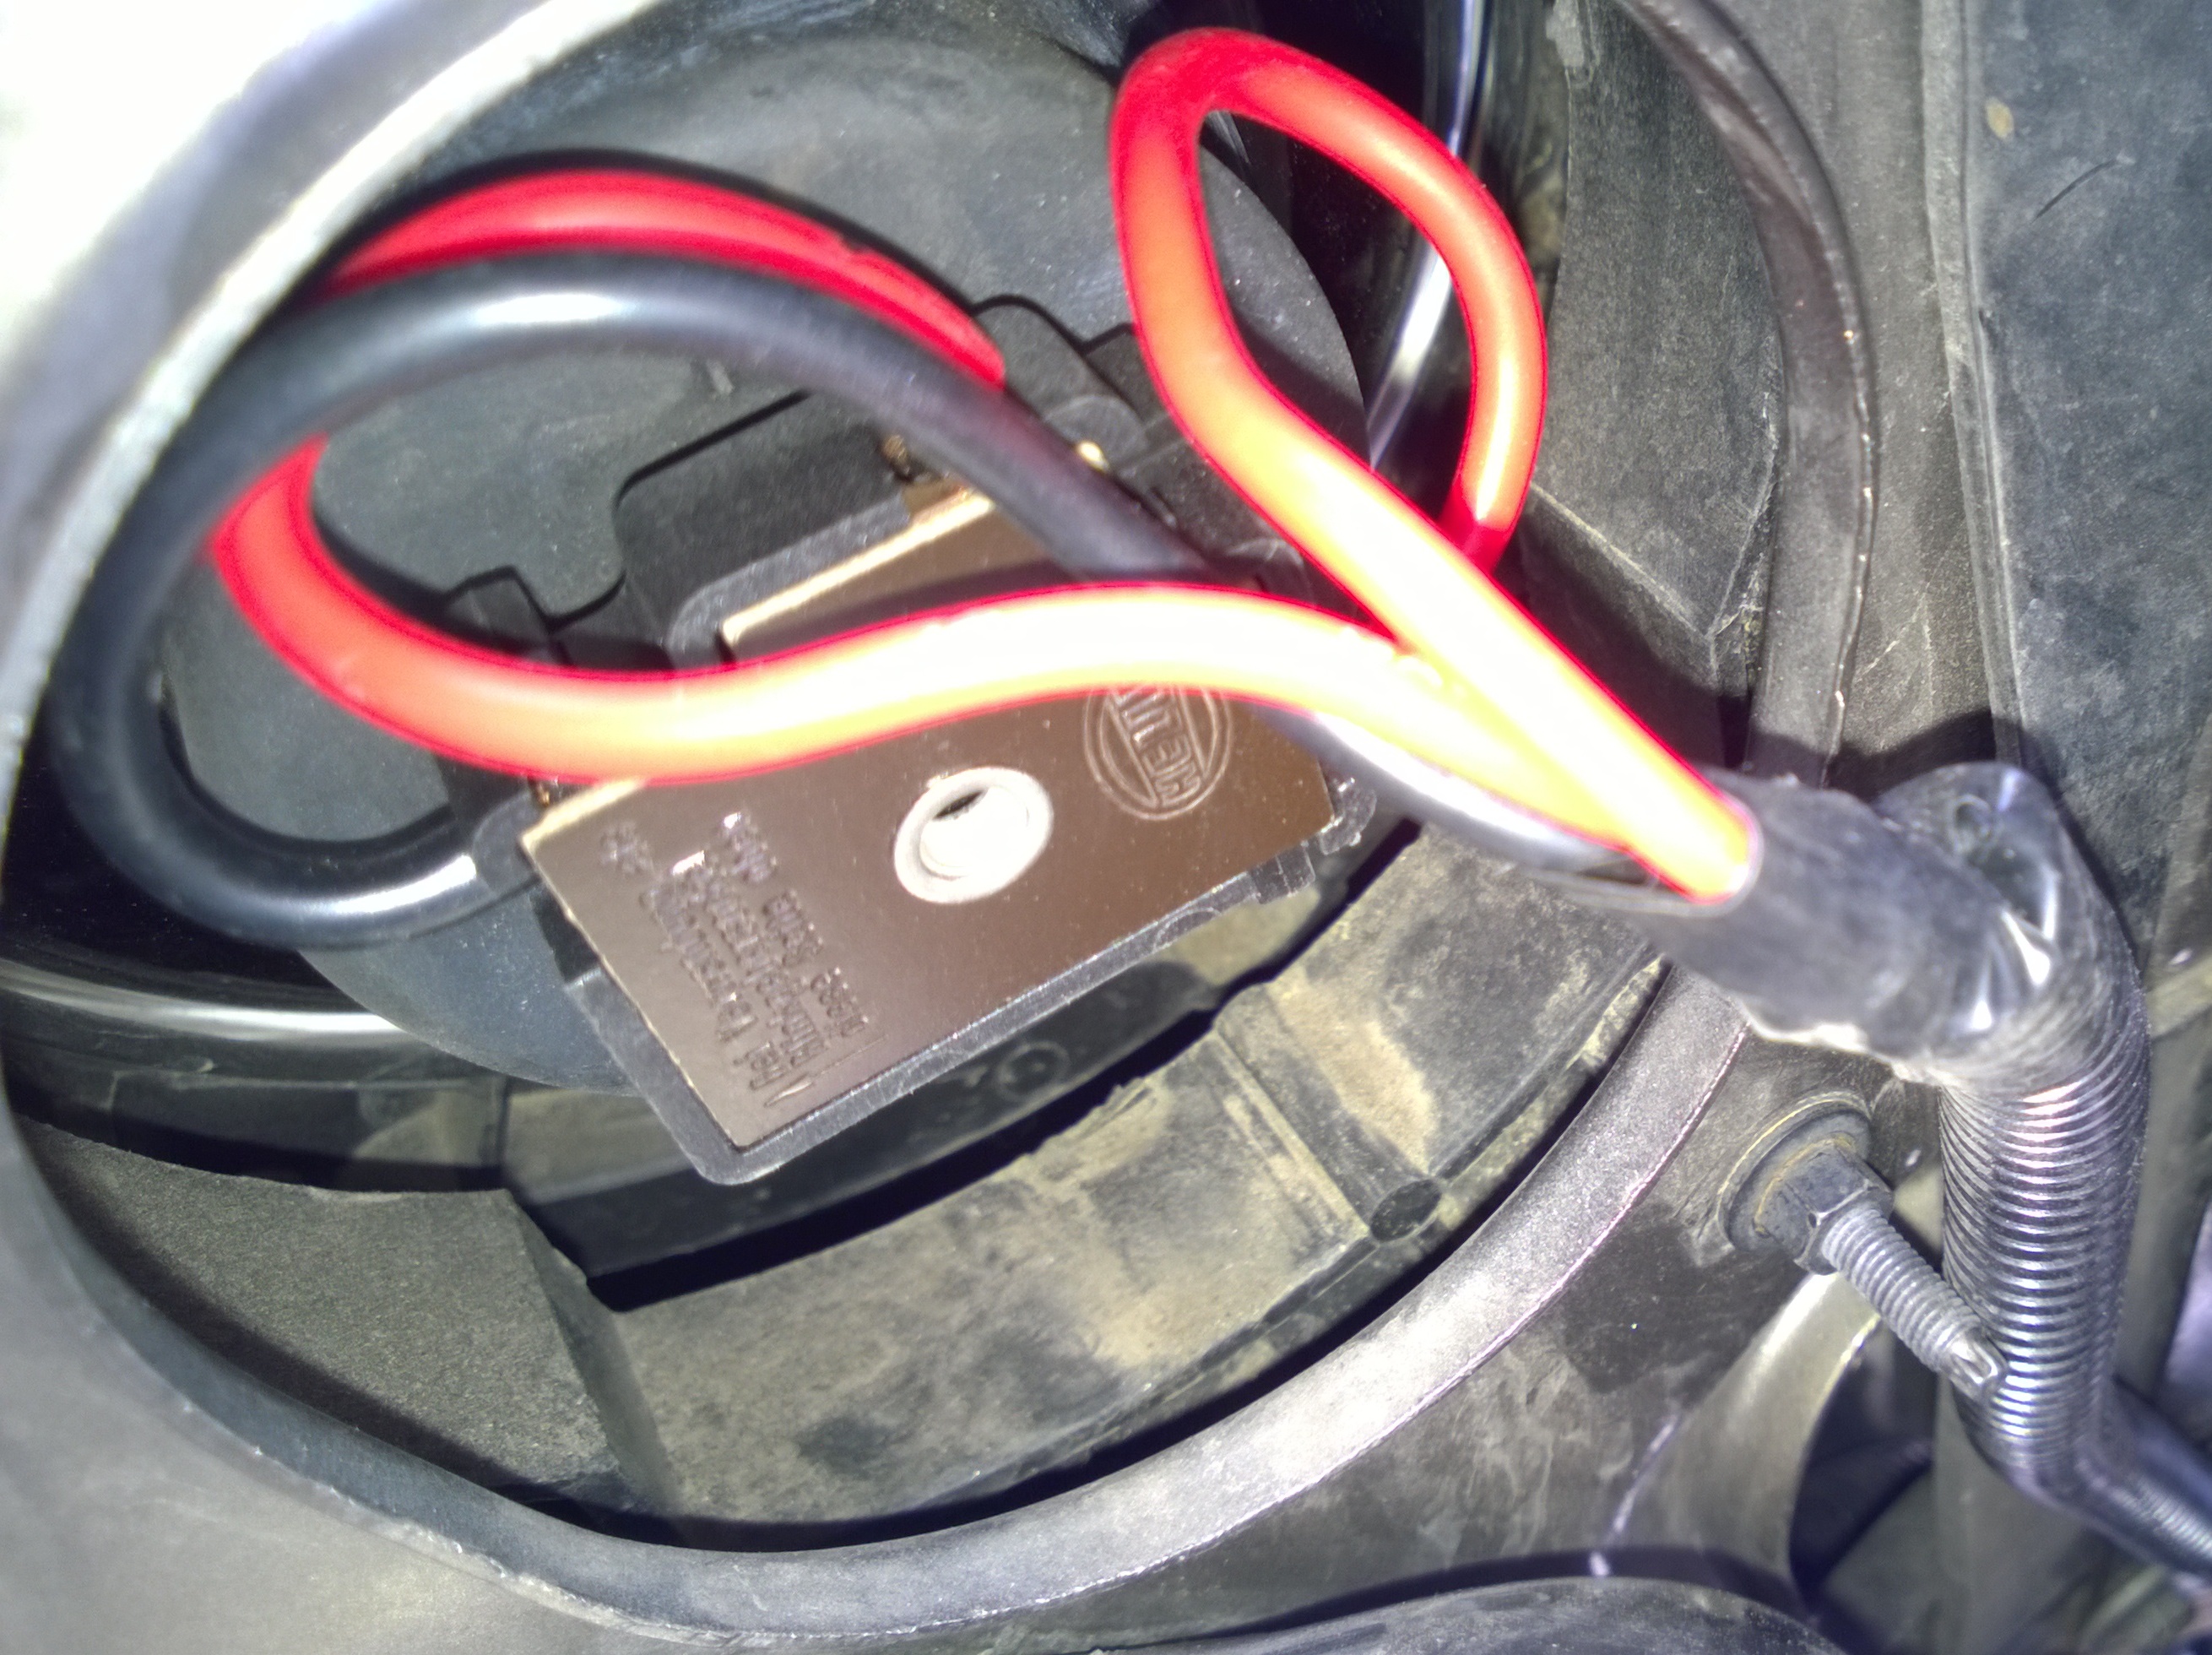
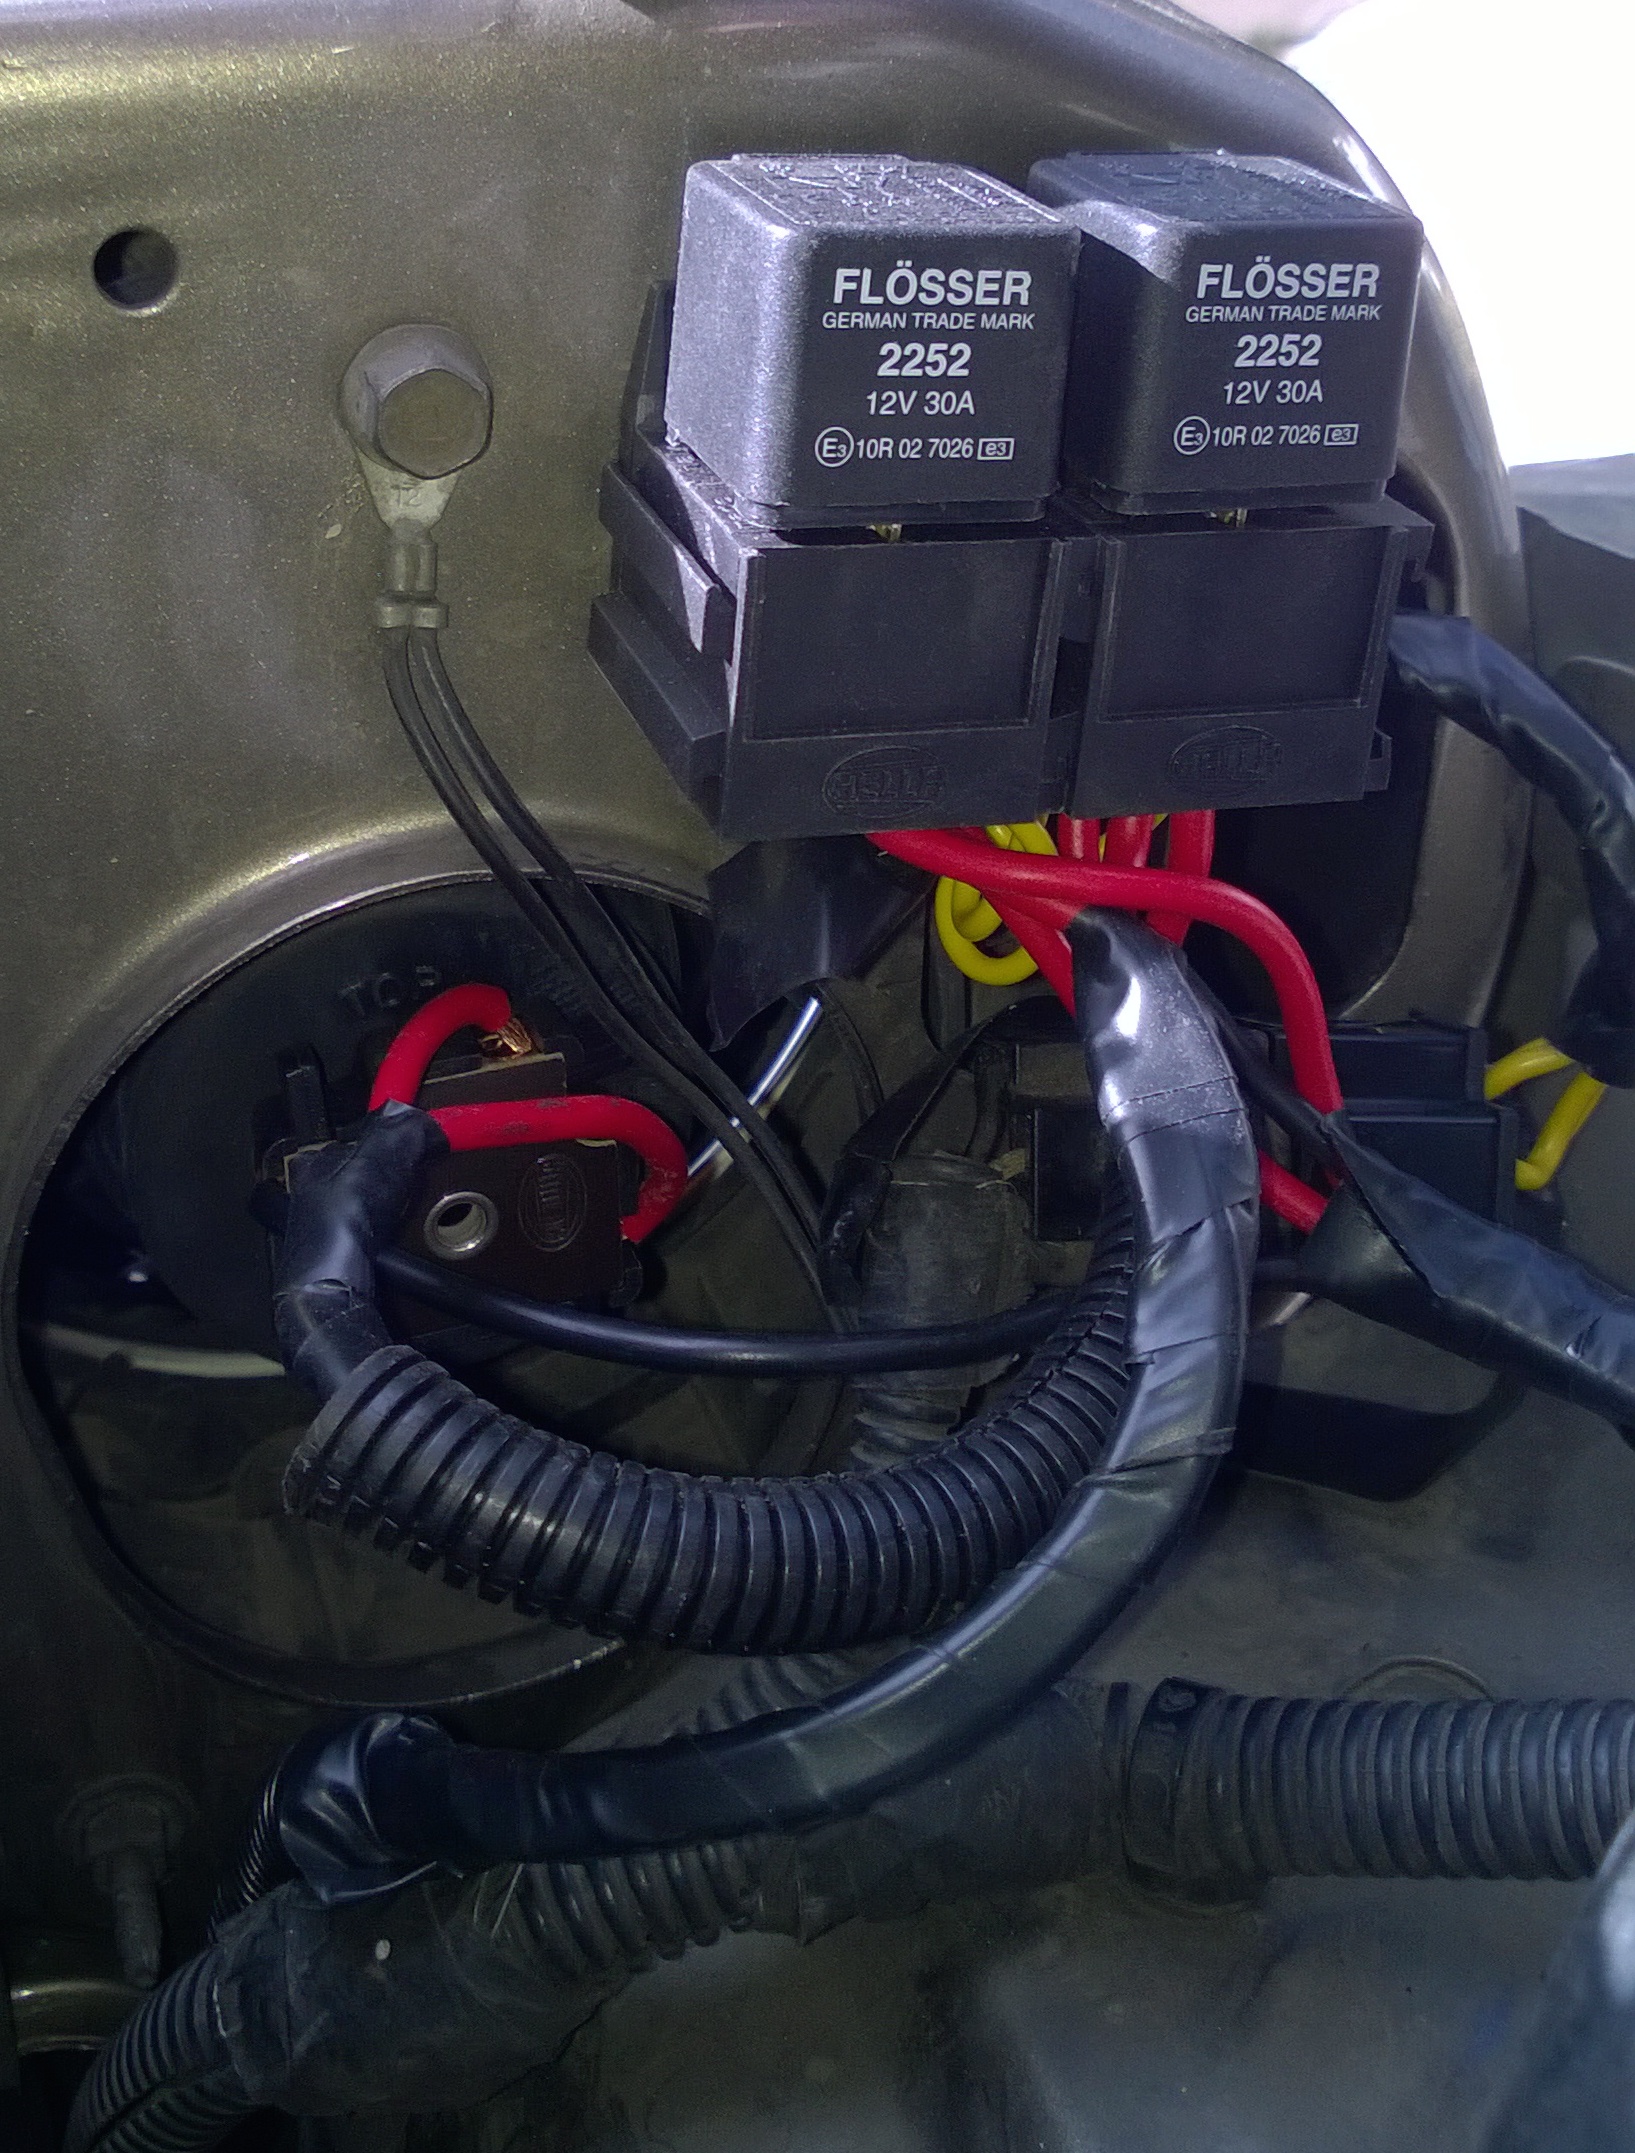
I chose to use the spot just above and to the right of the passenger side headlight to mount the relays. This gave plenty of room to remove the headlight connector without any issues. Beware the wires you are running are hot all the time to the relays from the battery. With this in mind, wrap them with a plastic protective shield and be careful of the routing. My fuses are near the battery so if they shorted it would not cause a huge problem except for lack of headlights. I carry spare fuses in my glovebox in case they ever fail. The relay on the left is for Low Beams, the relay on the right for High Beams. It looks to be the same relay as the lockers in the relay box so if one ever failed I could swap in an emergency.

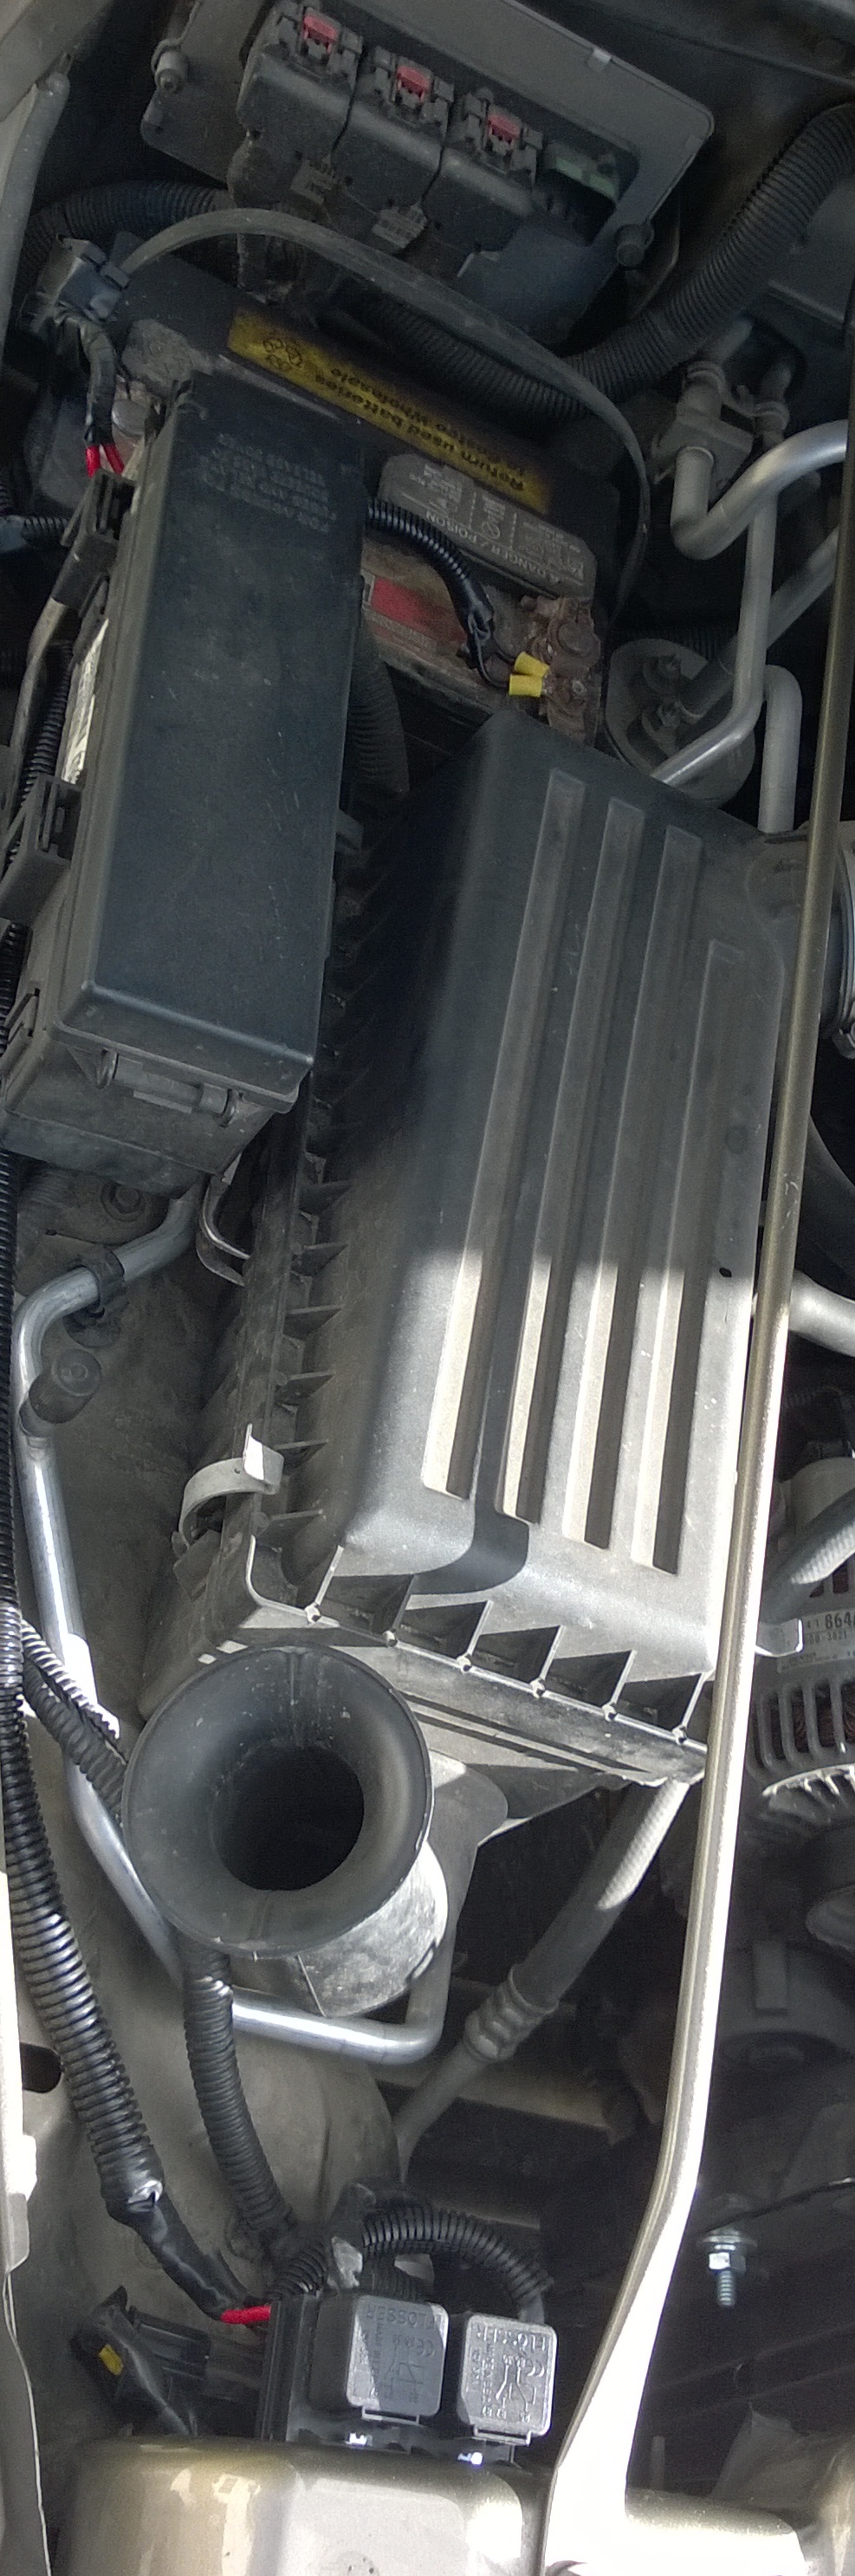
I chose to have the fuses near the battery so I spliced, soldered, and heat shrinked the fuse connectors to the ends of my cables at the battery. I did use the crimp on connectors for the battery but then thinking these are for headlights, I’d hate for them to fail in the dark in the middle of the mountains. I then soldered the crimp connectors after I crimped them for solid contact. The fuses you can see next to the battery handle on the left in the picture below. Since I removed the battery connectors to do this installation it was also a good time to clean up any corrosion from the terminals and battery.

The protected cable comes in on the left side of the hood by the relay/fuse box.

The instructions for connecting the relays are on the Moab Jeeper link and cover it well. The relay control though comes from your existing headlights. Daniel includes a connector for this in the kit. This is step 19 on Moab Jeeper where they diverted and just solder tabs to the end to place into the headlight plug. Soldered tabs or connector, I don’t see much plus or minus to the build, to each their own, both look to be solid.
Looking at the back of the new connector one just needs to solder the left wire for highs, the right wire set is for grounds to both relays, the top is for lows. Connecting the relay ends to the signal and ground for the new relays as shown in the article.
All done and I tested the lights hooking up only the passenger side first. The light was significantly better with just the wiring upgrade only.
The Cibie headlight swap was easy, remove the screws, pull the connector, reverse.
Aiming was pretty straight forward from Daniels site with a few caveats:
- Requires a T15 Torx screwdriver
- Requires a 25′ Measuring tape
- Headlights are 32″ center to center on the LJ/TJ.
- Use blue painters tape, easy to see at night and easy to remove
- Best to aim with the bezel still off if you can
- Level ground is critical for 25′ from jeep to wall/object you are aiming to
- Careful adjusting the headlights as the unit is plastic! There are three adjusting screws though the service manual says there are 3.
- Driver side, top right, bottom right and bottom left
- Passenger side, top left, bottom left, bottom right
- Beware the plastic housing for aiming is very fragile! If you don’t adjust the third screw along with them you can over stress the plastic housing and break it. These are about 12o bucks new, an expensive mistake. I picked up a new on for my TJ that I was adjusting due to new tires for 86 plus shipping from MoparOnlineParts.com. Note they are a different part number for each side of the vehicle.
- There is a noticeable horizontal cutoff, way cool actually versus non focused stock lights.
Pictures don’t do justice as cameras and adjustments in lighting on laptops, etc vary. All I can say is I am very happy with the setup. Almost as much as the truck lites but I do not know the performance and safety of them and there is that ice melting issue. I think the rewire would benefit any of the solutions one would go with. Now to rewiring the TJ and maybe a JK.

So please check out Daniel Sterns’ Lighting site, he has responded by email and answered all my questions. http://www.danielsternlighting.com/
Also check out Moab Jeeper for the rewire. http://www.moabjeeper.com/articles/technical/listing.cfm?articleID=476